Saltar al contenido principal

How to fix the Oven Knob

Qué necesitas

  1. How to fix the Oven Knob, Oven Knob: paso 1, imagen 1 de 1
    • Remove the plug of the oven from the socket for safety reasons.

  2. How to fix the Oven Knob: paso 2, imagen 1 de 2 How to fix the Oven Knob: paso 2, imagen 2 de 2
    • If the knob is loose, the first step is to completely remove the oven knob.

    • To remove it completely, hold it firmly and pull it straight off the shaft.

    • Make sure the knob is in the off position.

  3. How to fix the Oven Knob: paso 3, imagen 1 de 3 How to fix the Oven Knob: paso 3, imagen 2 de 3 How to fix the Oven Knob: paso 3, imagen 3 de 3
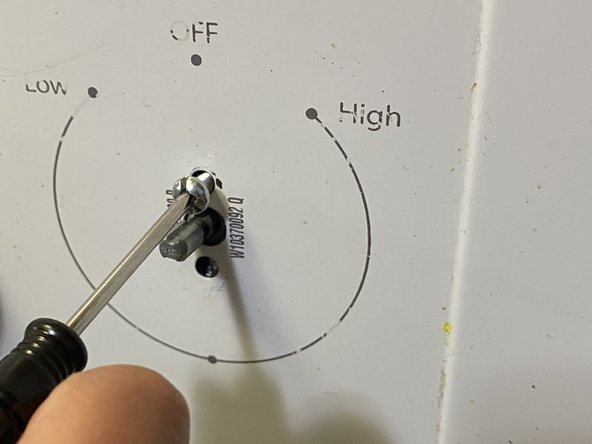
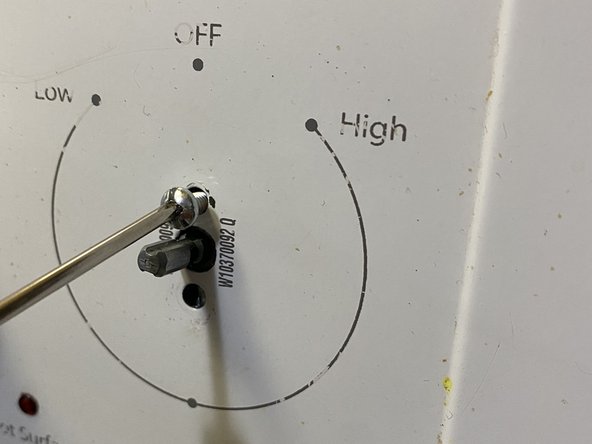
    • If the screw is loosened beforehand, we first need to completely remove the screw from the shaft.

    • To remove the screw, use a Phillips #00 screwdriver to unscrew it from the shaft hole.

  4. How to fix the Oven Knob: paso 4, imagen 1 de 1
    • Pull the shaft out and hold the shaft firmly. You will see two holes above and below this shaft.

  5. How to fix the Oven Knob: paso 5, imagen 1 de 1
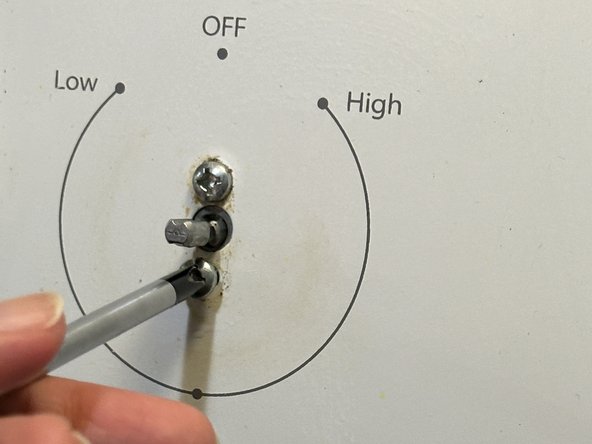
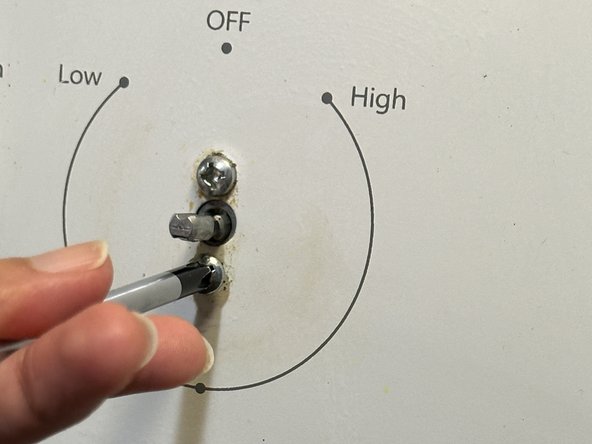
    • Now insert the screw in one of the holes.

  6. How to fix the Oven Knob: paso 6, imagen 1 de 3 How to fix the Oven Knob: paso 6, imagen 2 de 3 How to fix the Oven Knob: paso 6, imagen 3 de 3
    • Tighten the screw with a screwdriver and make sure the screw is tightly attached.

    • Repeat the same process for the other hole.

  7. How to fix the Oven Knob: paso 7, imagen 1 de 3 How to fix the Oven Knob: paso 7, imagen 2 de 3 How to fix the Oven Knob: paso 7, imagen 3 de 3
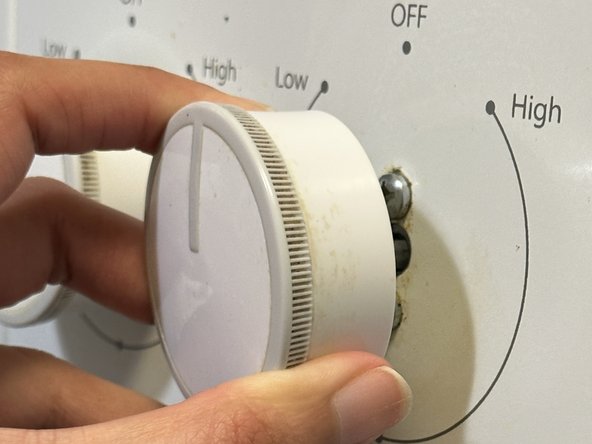
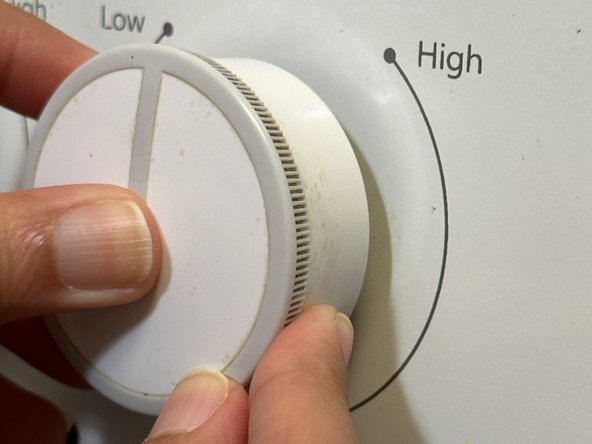
    • To fix the knob, slide the knob onto the shaft, aligning it with the D-shaped side of the shaft.

    • The front of the shaft is referred to as D-shaped because its shape resembles the letter D.

    • Now, with a little pressure, push on the shaft and affix the knob onto the shaft.

  8. How to fix the Oven Knob: paso 8, imagen 1 de 1
    • Test the button by turning on the gas supply, and ensure that the knob operates smoothly and ignites the burner.

Conclusión

This device is reassembled, follow these instructions in reverse order to disassemble.

2 personas más completaron esta guía.

Lovepreet Kaur

Miembro Desde 09/04/23

184 Reputación

1 Guía escrita

Equipo

Un comentario

I’ve fixed this on mine several times now, but now the screw won’t tighten on one of them? Almost like whatever it gets screwed into isn’t there? Any idea on what is, not sure it’s worth opening up the back to see if something fell off.

AMKSNAPS - Contestar

Agregar Comentario

Ver Estadísticas:

Ultimas 24 horas: 0

Ultimos 7 días: 11

Ultimos 30 días: 44

Todo El Tiempo: 178