Esta versión puede contener ediciones incorrectas. Cambie a la última instantánea verificada.
Qué necesitas
-
Este paso está sin traducir. Ayuda a traducirlo
-
Start by removing the card from the PC if you haven't already.
-
-
Este paso está sin traducir. Ayuda a traducirlo
-
The fan's power cable is located towards the bottom-left of the card.
-
Disconnect the cable from the card.
-
-
Este paso está sin traducir. Ayuda a traducirlo
-
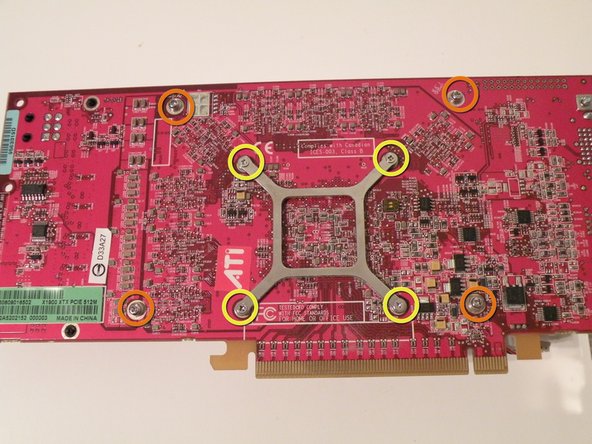
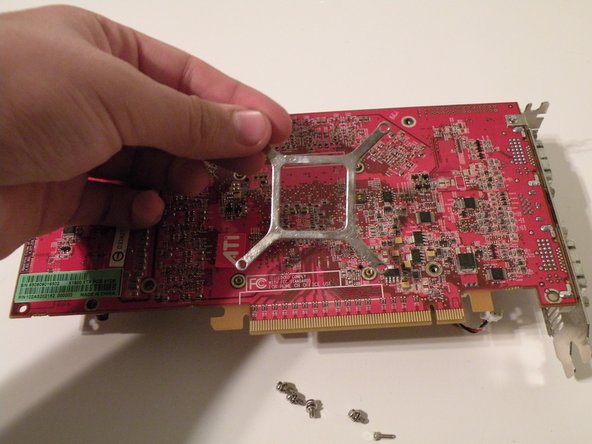
Removing the heatsink from the card:
-
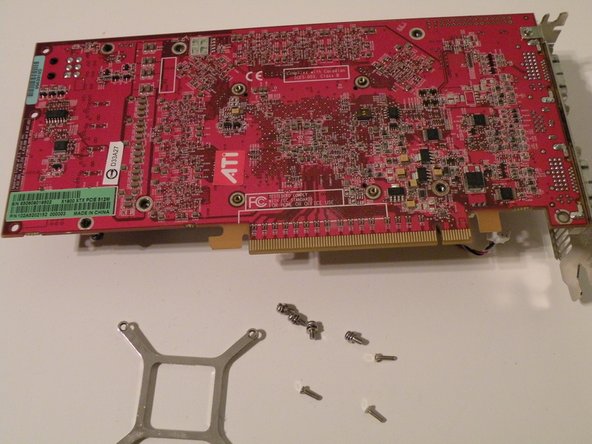
The clamp is held on by four small Phillips screws. Remove them, then the clamp.
-
Remove the four phillips screws surrounding the clamp.
-
-
-
Este paso está sin traducir. Ayuda a traducirlo
-
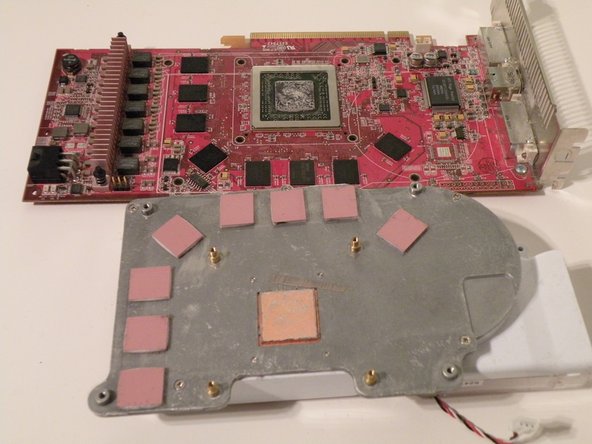
Replacing Thermal Paste:
-
Using a Q-tip/cotton swab and rubbing alcohol, clean the copper plate that protrudes from the bottom of the heatsink.
-
-
Este paso está sin traducir. Ayuda a traducirlo
-
Removing the heatsink's plastic cover:
-
Remove these Phillips screws.
-
Seperate the plastic cover from the metal heat sink.
-
-
Este paso está sin traducir. Ayuda a traducirlo
-
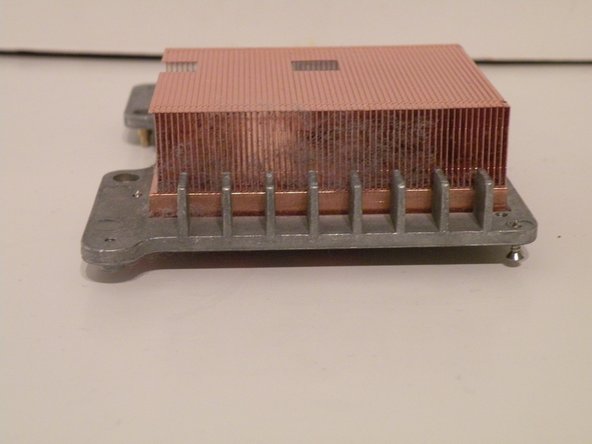
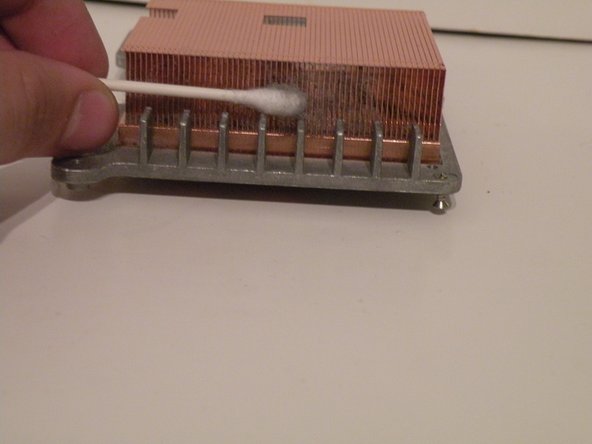
Cleaning dust out of the heat sink:
-
Using a cotton swab/q-tip, clean the edges of the heat sink. You can also use canned air if available.
-
-
Este paso está sin traducir. Ayuda a traducirlo
-
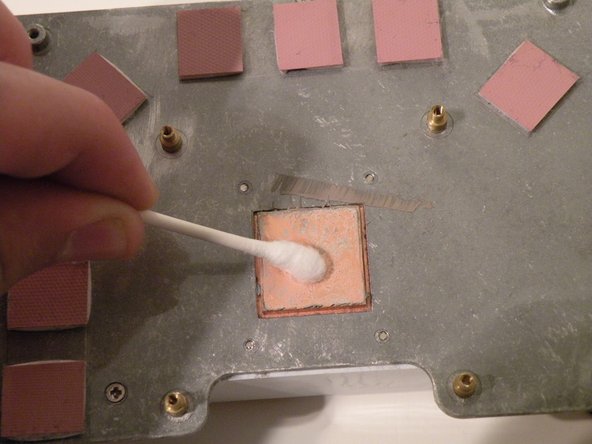
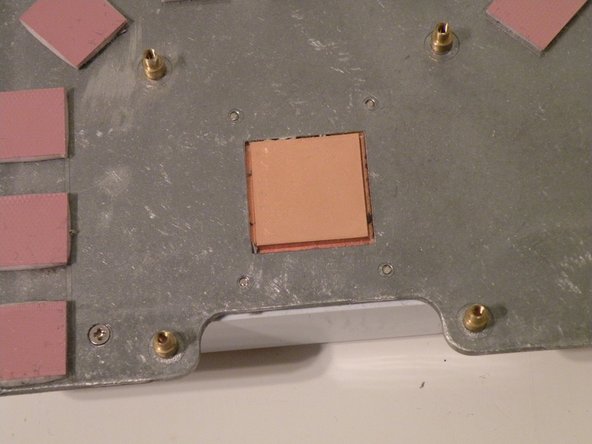
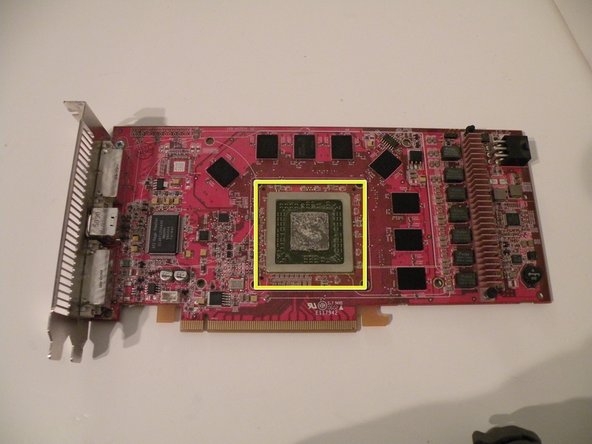
Using the same method that you used to clean the copper plate, clean the surface of the GPU die.
-
-
Este paso está sin traducir. Ayuda a traducirlo
-
Re-Applying Thermal Paste:
-
Apply a small glob of thermal paste to the corner of the die, (I recommend using Arctic Silver 5) and use an index card to spread a thin, even layer of it over the surface of the chip.
-
For more detailed directions, follow our Applying Thermal Paste Guide.
-


Cancelar: No complete esta guía.
13 personas más completaron esta guía.

Equipo
