Introducción
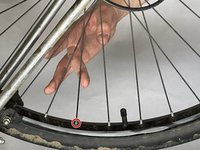
Bike rim maintenance is an integral part of ensuring a bicycle works properly. Neglecting a bent rim can further compromise the bike's structural integrity, as every turn wears down the brake pads due to scraping.
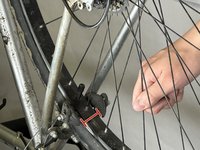
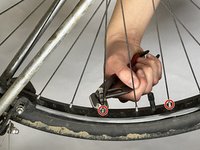
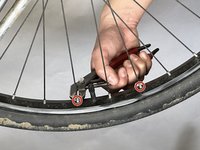
This guide will show you how to straighten or true your bent bicycle rim using common tools. Truing the bike rim only requires a pair of pliers, and a desire to get one's mode of transportation working as good as new again!
Qué necesitas
-
-
Bring your bike somewhere with ample space so you have room to work.
-
-


To reassemble your device, follow these instructions in reverse order.
To reassemble your device, follow these instructions in reverse order.
Cancelar: No complete esta guía.
Una persona más ha completado esta guía.

Equipo
