Introducción
If the light bulb inside the hood of your whirlpool microwave (model WMH31017HB) is not working or has been broken, use this guide to replace the damaged lightbulb with a new one. This guide also works on the other following models of the whirlpool microwave. These include models WML35011KB and YWMH31017HB.
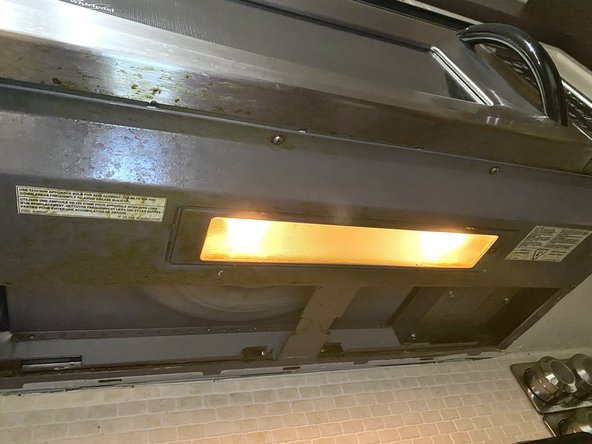
The lights on the hood are essential, especially during nighttime, as it helps the stove area to be brighter for those who are cooking when it is dark. Working without hood lights is difficult as usually in a kitchen the lights that are made to see the stove clearly, are the ones installed in the microwave range hood.
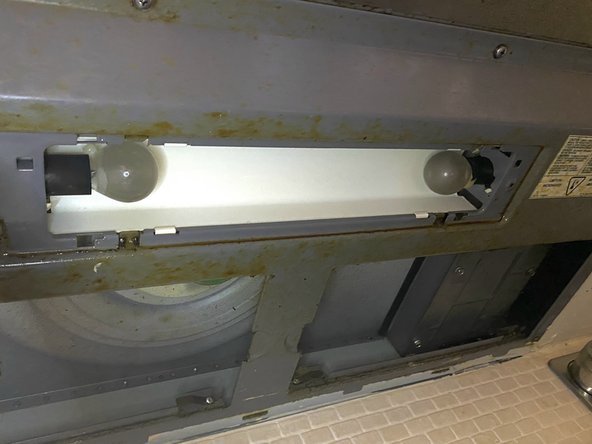
Before using this guide, inspect the bulb through the lid to check to see if the bulb has shattered, as this can happen often. A shattered lightbulb is a bit more dangerous as the user has to ensure no glass falls down as they open the lid.
Before beginning, make sure that there is no food on the stove and the stove is cooled down and empty.
Qué necesitas


Close the lid and screw with the screwdriver again.
Close the lid and screw with the screwdriver again.

Equipo

York University, Team O-21, Woodhouse Winter 2023 Miembro de York University, Team O-21, Woodhouse Winter 2023
YORK-WOODHOUSE-W23SOG21
1 Miembro
1 Guía escrita