
How to Replace a Transition Strip (T Molding)

Rojean Noorinayer y otro contribuidor
Última actualización: 28 de jun. de 2021
Vistas: 8.4 k
Ver estadísticas:
- Últimas 24 horas:
- 8
- Últimos 7 días:
- 39
- Últimos 30 días:
- 181
- Todo El Tiempo:
- 8,412
Comentarios: 0
Nadie ha escrito comentarios en esta guía. ¿Quieres escribir el primero?
Go to guide commentsCompletado: 0 1
Nadie ha marcado esta guía como "completada". ¿Quieres marcarla tú?
1 persona acaba de marcar esta guía como "completada". ¡Has sido tú, excelente trabajo!
Favoritos: 1 2
1 persona ha marcado como "Favorita" y se ha suscrito a esta guía. ¿Serás tú la próxima persona en hacerlo?
2 personas marcaron como favorita (y se suscribieron) esta guía, ¡incluyéndote a ti!
Introducción
Ir al paso 1 ↓Use this guide to replace a T molding. A T molding is a transition strip used to connect two floorings at the same height.
A loose/ broken T molding can become a hazard as it might cause someone to trip over. Dirt can also add up under the transition strip, making it difficult to clean.
Step 2 of this guide requires measuring and cutting the T molding. Make sure to perform step 1 before purchasing your new T molding so that the place of purchase can cut it for free.
Qué necesitas
Herramientas


-
-
-
Measure the exact width of the doorway using a tape measure.
 Pregunta a FixBot
-
-
-
Mark the T molding based on the doorway measure.
-
Cut the T molding using a sharp saw (table saw).
-
If you don't have access to a sharp saw, cut the T molding using a jigsaw and use sanding paper to soften the end.
-
-
-
Use a utility knife to remove all the glue or any material used to keep the old T molding in place.
-
Clean up the area thoroughly.
-
-
-
-
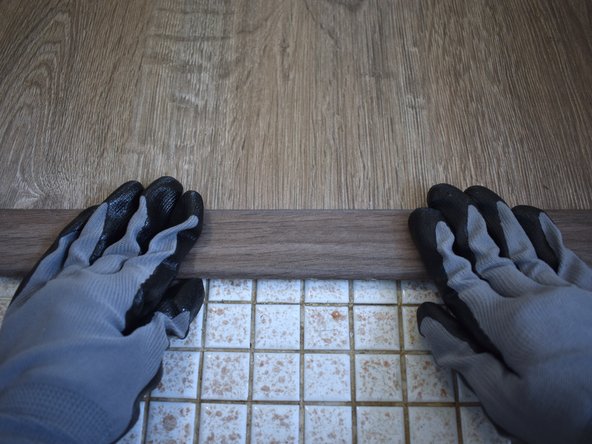
Insert the T molding into the gap.
-
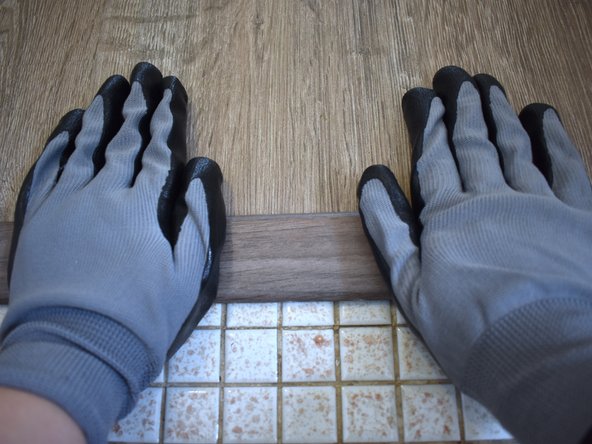
Press the T molding firmly onto the ground.
-
-
-
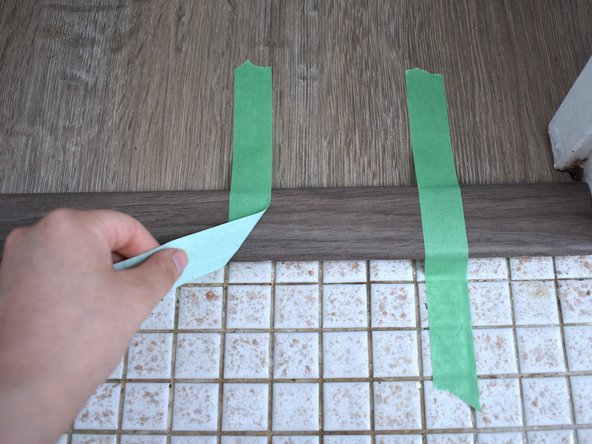
Tape the T molding onto the floor.
-
Wait 24 hours for the glue to dry.
-
Remove the tapes.
-
-






To reassemble your device, follow these instructions in reverse order.

Equipo

York University, Team S1-G19, Melo-Thaiss Summer 2021 Miembro de York University, Team S1-G19, Melo-Thaiss Summer 2021
YORK-MELO-THAISS-SU21S1G19
1 Miembro
12 Guías creadas
