Saltar al contenido principal

Esta versión puede contener ediciones incorrectas. Cambie a la última instantánea verificada.

Qué necesitas

  1. Este paso está sin traducir. Ayuda a traducirlo

    : paso 1, imagen 1 de 1
    • Measure the diameter of the inside of the original hose.

  2. Este paso está sin traducir. Ayuda a traducirlo

    : paso 2, imagen 1 de 1
    • Choose the right size of the hose end.

    • Know the difference between the male and female ends (the featured end is female).

    • Hoses typically come in sizes 5/8", 3/4", and 1/2".

  3. Este paso está sin traducir. Ayuda a traducirlo

    : paso 3, imagen 1 de 1
    • Remove the original broken end by using a utility knife to cut 2-3 inches from the hose.

    • Place the hose on a flat surface such as a workbench, and perform a smooth, straight cut.

  4. Este paso está sin traducir. Ayuda a traducirlo

    : paso 4, imagen 1 de 1
    • Remove the fitting.

  5. Este paso está sin traducir. Ayuda a traducirlo

    : paso 5, imagen 1 de 3 : paso 5, imagen 2 de 3 : paso 5, imagen 3 de 3
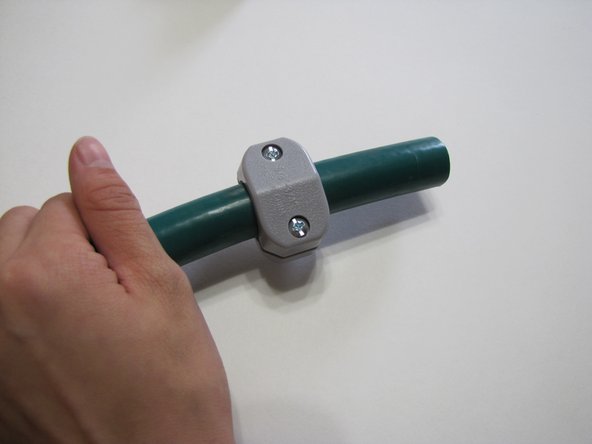
    • Attach the new fitting.

    • Slide the clamp onto the hose.

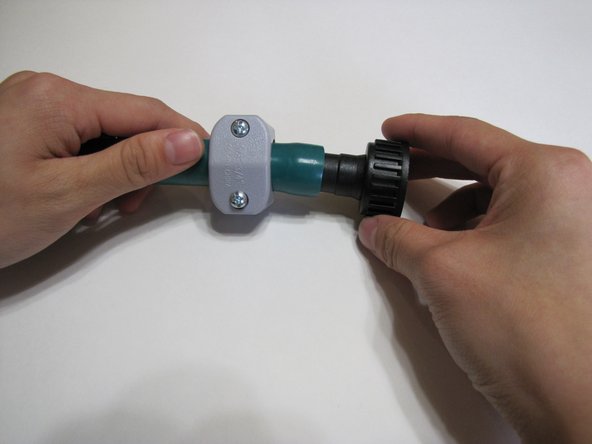
    • Insert the new fitting.

    • Soak the hose in warm water or let it sit in the sun to make it more pliable.

  6. Este paso está sin traducir. Ayuda a traducirlo

    : paso 6, imagen 1 de 1
    • Tighten the clamp with a screwdriver.

Linea de Meta

3 personas más completaron esta guía.

Un comentario

Warm water is a good idea.

pwkoughan - Contestar

Agregar Comentario

Ver Estadísticas:

Ultimas 24 horas: 5

Ultimos 7 días: 41

Ultimos 30 días: 131

Todo El Tiempo: 6,081