Introducción
The interior walls in your house are subject to the wear and tear of everyday life. It’s easy to put a small hole in your wall accidentally. How do you repair that hole if it’s part of a textured wall?
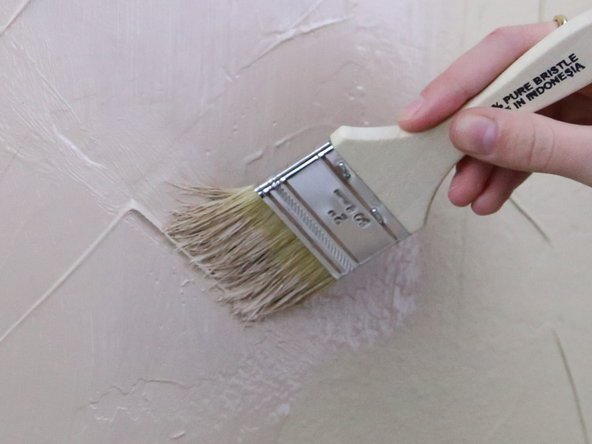
If you’ve recently put a small hole in your Spanish Knife textured wall, this guide is for you. My guide reviews how to spackle the hole, re-texture the wall, and re-paint the wall. When you’ve completed these instructions, you won’t be able to tell there was ever damage to the wall.
Please note that the amount of time it will take you to complete the repair process depends on the size of your hole and the humidity in the air. Higher humidity will increase the dry time for spackle and joint compound.
Before beginning, remove all loose jewelry. Also, wear clothes that you don’t mind getting dirty with spackle, Joint Compound, or paint.
Qué necesitas
-
-
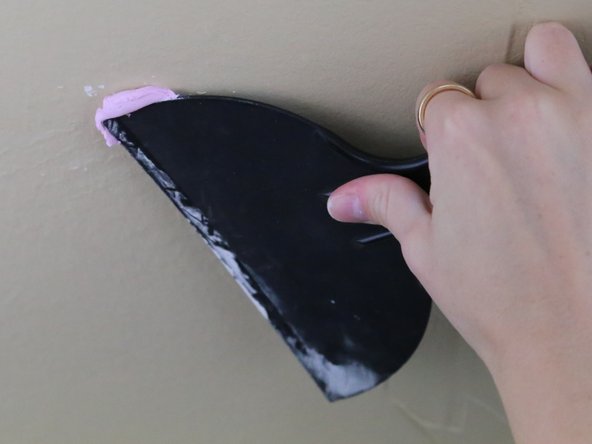
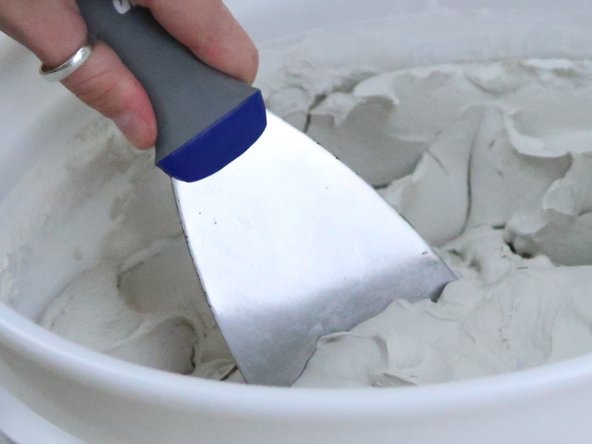
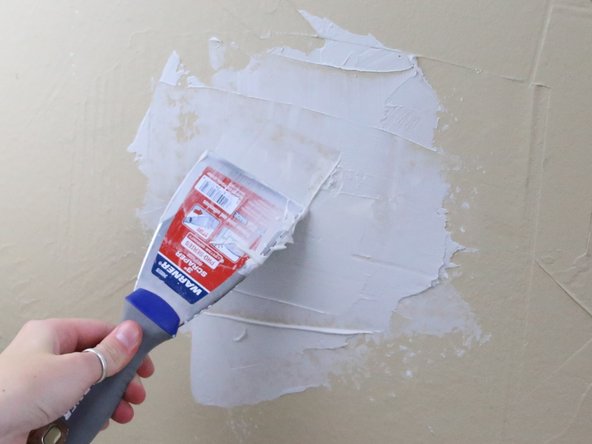
Remove any debris from the hole in the wall.
-
-


You’ve successfully spackled, textured, and painted. Your wall is now as good as new!
You’ve successfully spackled, textured, and painted. Your wall is now as good as new!

Equipo

University of North Texas, Team 1-4, Boettger Spring 2022 Miembro de University of North Texas, Team 1-4, Boettger Spring 2022
UNT-BOETTGER-S22S1G4
1 Miembro
1 Guía escrita