Introducción
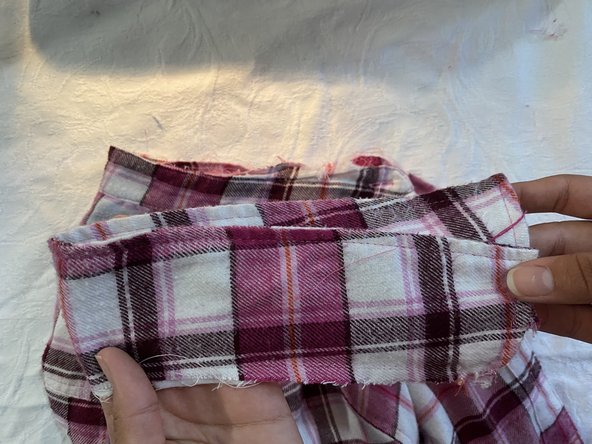
A shirt collar with un-stitched or soiled fabric might lead you to think that it’s no longer usable. However, this is actually a simple repair, and fixing and re-using clothing reduces textile waste, and consequently, the negative environmental impact it causes. Not to mention, it saves you money!
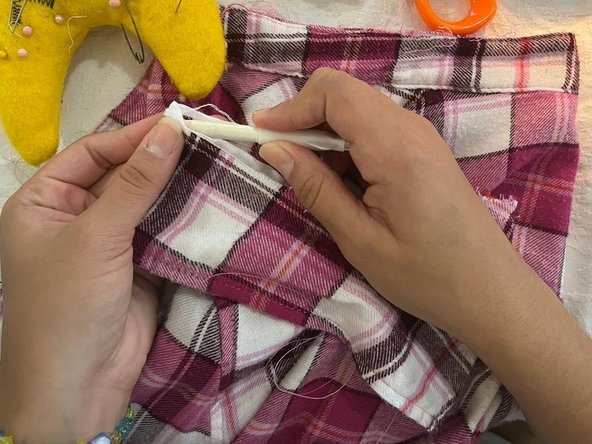
If your shirt's collar is unstitched or stained, this guide will help you to fix it in about 20 minutes. Knowledge in using a sewing machine is required to perform a satisfactory fix. Beware of punctures while using the sewing machine, and burns while ironing the fabric to set the needlework.
How to use a sewing machine: https://craftspress.com/how-to-use-a-sew...
Qué necesitas


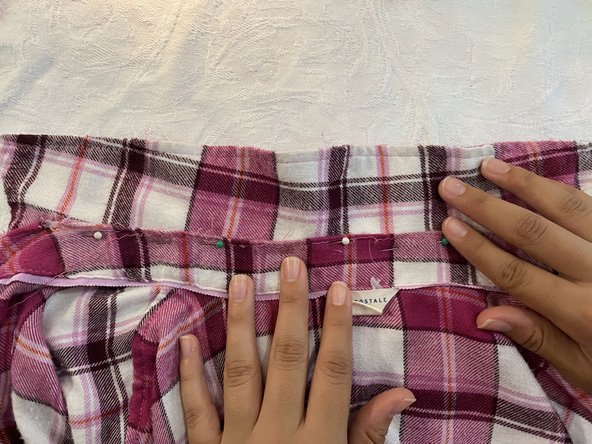

Enjoy your like-new collar!
Enjoy your like-new collar!

Equipo

University of Puerto Rico Mayagüez, Team 3-12, Cools Stephens Spring 2022 Miembro de University of Puerto Rico Mayagüez, Team 3-12, Cools Stephens Spring 2022
UPRM-COOLS STEPHENS-S22S3G12
1 Miembro
1 Guía escrita