Introducción
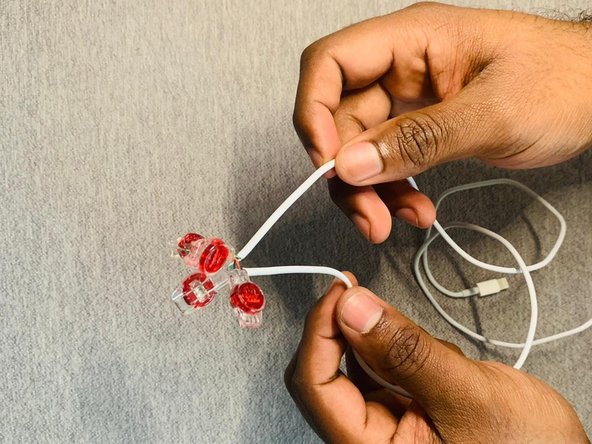
This guide shows how to repair a damaged Apple USB cable. The guide is based on a very simple technique of slipping in the wire through a scotch lock to re-establish the connection. This procedure doesn’t involve any kind of complicated equipment or parts. The main components are the 3M scotch locks that are very light and easy to use. This guide is economical and time-saving.
Qué necesitas
-
-
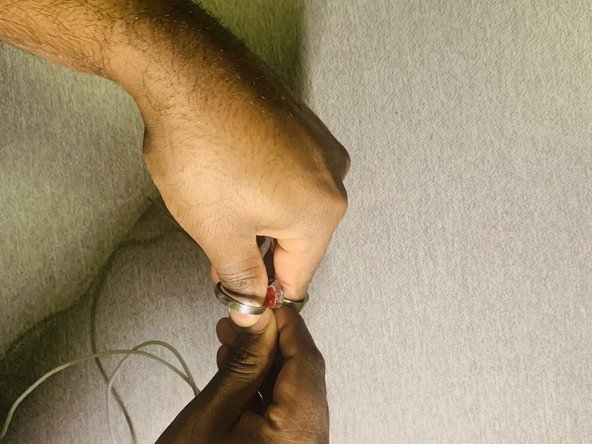
Identify the short in the wire and cut the damaged portion of the USB cable with the help of scissors.
-
-


The best way to repair your USB cable, without any complicated soldering technique and this procedure is very economical.
The best way to repair your USB cable, without any complicated soldering technique and this procedure is very economical.
Cancelar: No complete esta guía.
2 personas más completaron esta guía.

Equipo

York University, Team S2-G21, O'Regan Winter 2021 Miembro de York University, Team S2-G21, O'Regan Winter 2021
YORK-O'REGAN-W21S2G21
1 Miembro
3 Guías creadas