Saltar al contenido principal
Únete a la Comunidad de Reparación - Crear Cuenta

How to Repair Automobile Scratches & Paint Chips

Qué necesitas

  1. How to Repair Automobile Scratches & Paint Chips, How to Repair Automobile Scratches & Paint Chips: paso 1, imagen 1 de 1
    • Check the inside of the driver's side door to find the manufacturer's paint code.

    • This sticker can be found directly next to the VIN number.

    • Use this paint code to order the exact same color paint online or find it at your local hardware store.

    Pregunta a FixBot

    Agregar Comentario

  2. How to Repair Automobile Scratches & Paint Chips: paso 2, imagen 1 de 1
    • Fill a medium-sized bucket with warm water and a small amount of soap.

    • A little soap goes a long way.

    Pregunta a FixBot

    Agregar Comentario

  3. How to Repair Automobile Scratches & Paint Chips: paso 3, imagen 1 de 3 How to Repair Automobile Scratches & Paint Chips: paso 3, imagen 2 de 3 How to Repair Automobile Scratches & Paint Chips: paso 3, imagen 3 de 3
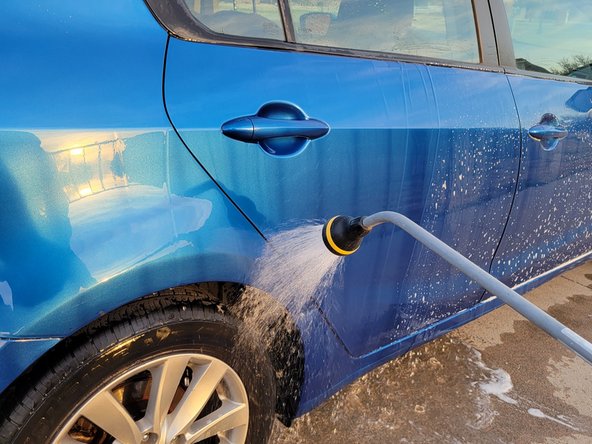
    • Use soapy water and sponge to wash the car.

    • Rinse off the soap with a water hose.

    Pregunta a FixBot

    Agregar Comentario

  4. How to Repair Automobile Scratches & Paint Chips: paso 4, imagen 1 de 1
    • Use a clean towel to dry the freshly washed car.

    • Make sure the area is completely dry before continuing.

    Pregunta a FixBot

    Agregar Comentario

  5. How to Repair Automobile Scratches & Paint Chips: paso 5, imagen 1 de 1
    • Use sandpaper to buff out scratches. Start from 150 and continue until 400 grit.

    • This levels out the area so the paint will be applied evenly.

    Pregunta a FixBot

    Agregar Comentario

  6. How to Repair Automobile Scratches & Paint Chips: paso 6, imagen 1 de 2 How to Repair Automobile Scratches & Paint Chips: paso 6, imagen 2 de 2
    • Use a small amount of grease remover and a cloth to clean any wax from the area.

    Pregunta a FixBot

    Agregar Comentario

  7. How to Repair Automobile Scratches & Paint Chips: paso 7, imagen 1 de 2 How to Repair Automobile Scratches & Paint Chips: paso 7, imagen 2 de 2
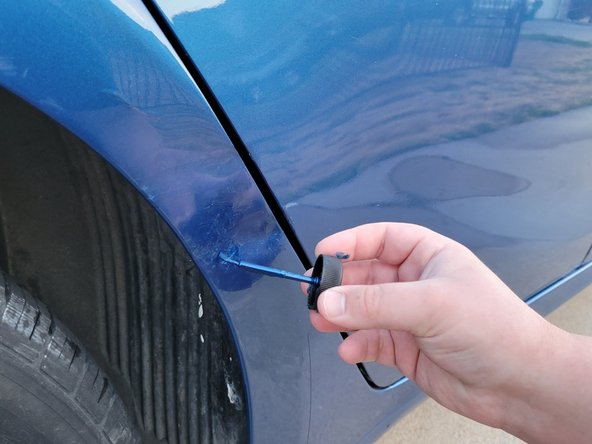
    • Starting with a small amount of paint, apply the first coat of paint to the scratched area.

    • Use as little paint as possible to prevent clumping.

    • Wait 15-20 minutes for the coat to fully dry before continuing.

    Pregunta a FixBot

    Agregar Comentario

  8. How to Repair Automobile Scratches & Paint Chips: paso 8, imagen 1 de 2 How to Repair Automobile Scratches & Paint Chips: paso 8, imagen 2 de 2
    • If necessary, apply a second coat of paint to the area.

    • This may be necessary for deep scratches or chips.

    • Wait 15-20 minutes before continuing.

    • Continue to reapply if needed.

    Pregunta a FixBot

    Agregar Comentario

  9. How to Repair Automobile Scratches & Paint Chips: paso 9, imagen 1 de 3 How to Repair Automobile Scratches & Paint Chips: paso 9, imagen 2 de 3 How to Repair Automobile Scratches & Paint Chips: paso 9, imagen 3 de 3
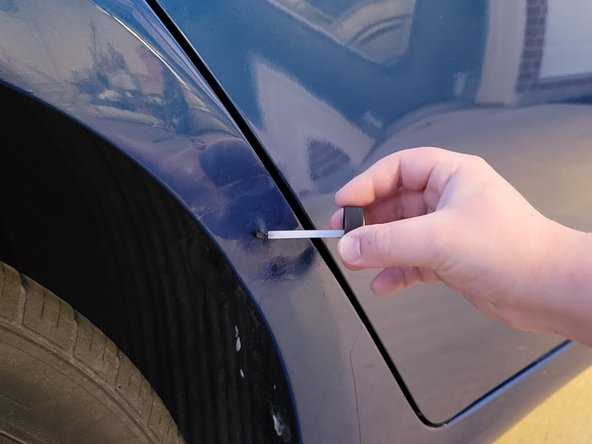
    • Use the small paintbrush to apply clear coat over the freshly dried paint.

    • Wait 10-15 minutes for the clear coat to dry.

    Pregunta a FixBot

    Agregar Comentario

  10. How to Repair Automobile Scratches & Paint Chips: paso 10, imagen 1 de 1
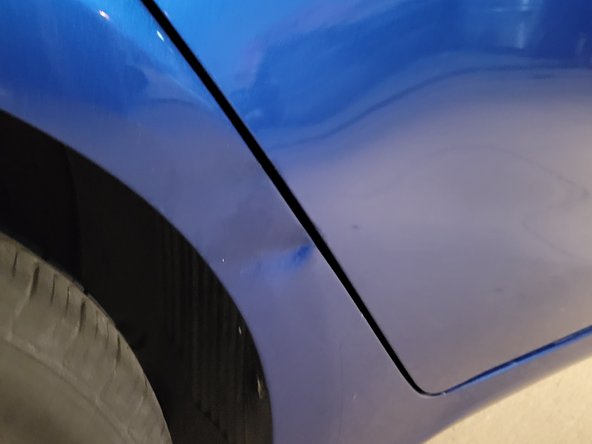
    • Give your car a quick look over to ensure you got every spot.

    • If you missed a spot, no worries. Just go through this guide again.

    • Now your car is as good as new!

    Pregunta a FixBot

    Agregar Comentario

Conclusión

After the clear coat has dried, your car’s paint job should be looking like it did the day you drove it off the lot!

Cancelar: No complete esta guía.

4 personas más completaron esta guía.

1Guía Comentario

Kann man die folgende Sonax Autopolitur für den 6. Schritt verwenden?

Engin Mutlu - Contestar Compartir

Agregar Comentario

Ver Estadísticas:

Ultimas 24 horas: 8

Ultimos 7 días: 51

Ultimos 30 días: 182

Todo El Tiempo: 4,379