Saltar al contenido principal

How to Remove the Freezer Shelves and Bottom Bin From an Older Whirlpool Side‑By‑Side Refrigerator

  1. How to Remove the Freezer Shelves and Bottom Bin From an Older Whirlpool Side‑By‑Side Refrigerator, Open the freezer door: paso 1, imagen 1 de 1
    • Pull the handle of the freezer door towards you to open it.

  2. How to Remove the Freezer Shelves and Bottom Bin From an Older Whirlpool Side‑By‑Side Refrigerator, Open the refrigerator door: paso 2, imagen 1 de 1
    • Pull the handle of the refrigerator door towards you to open it.

  3. How to Remove the Freezer Shelves and Bottom Bin From an Older Whirlpool Side‑By‑Side Refrigerator, Move the shelf to the left: paso 3, imagen 1 de 2 How to Remove the Freezer Shelves and Bottom Bin From an Older Whirlpool Side‑By‑Side Refrigerator, Move the shelf to the left: paso 3, imagen 2 de 2
    • Slide the shelf to the left side of the freezer.

    • Keep track of the position of each shelf as you remove it; there are two slightly different sizes.

  4. How to Remove the Freezer Shelves and Bottom Bin From an Older Whirlpool Side‑By‑Side Refrigerator, Tilt the right edge of the shelf up: paso 4, imagen 1 de 1
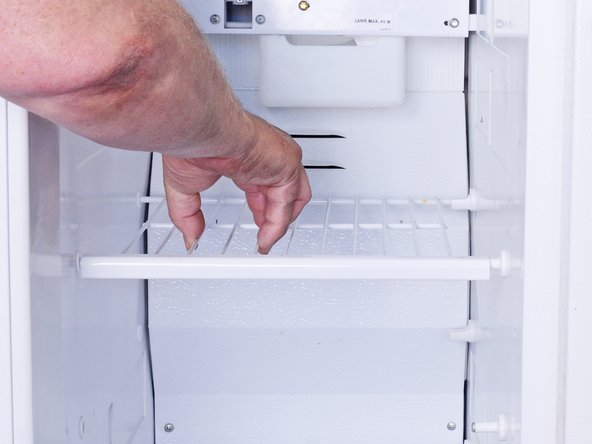
    • Lift the right edge of the shelf upward to tilt it.

  5. How to Remove the Freezer Shelves and Bottom Bin From an Older Whirlpool Side‑By‑Side Refrigerator, Remove the shelf: paso 5, imagen 1 de 1
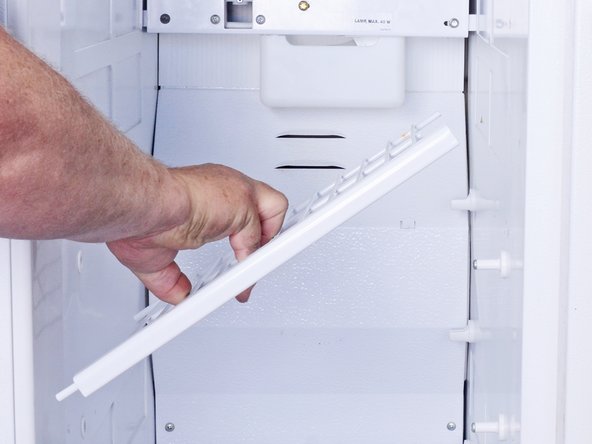
    • Shift the shelf back to the right while keeping it tilted. It should now be released from its slot and you can remove it from the freezer.

  6. How to Remove the Freezer Shelves and Bottom Bin From an Older Whirlpool Side‑By‑Side Refrigerator, Repeat for remaining shelves: paso 6, imagen 1 de 1
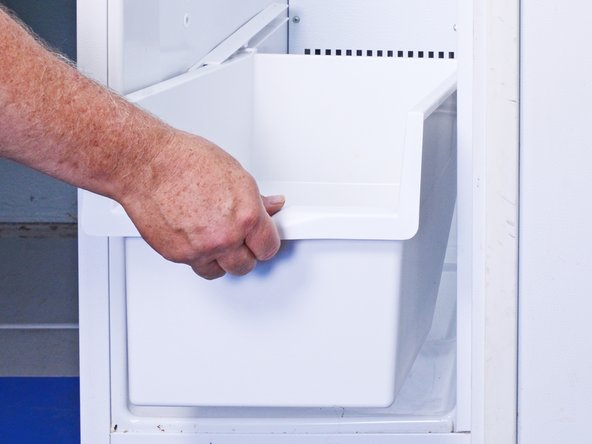
    • Repeat these steps for any other shelves you wish to remove.

  7. How to Remove the Freezer Shelves and Bottom Bin From an Older Whirlpool Side‑By‑Side Refrigerator, Remove the bottom bin: paso 7, imagen 1 de 1
    • Slide and remove the bottom bin from the freezer portion.

Conclusión

To reassemble your device, follow these instructions in reverse order.

Repair didn’t go as planned? Ask our Answers community for help.

Take your e-waste to an R2 or e-Stewards certified recycler.

Bill Gilbert

Miembro Desde 06/30/22

29,911 Reputación

213 Guías creadas

Equipo

iFixit Miembro de iFixit

Staff

135 Miembros

17,198 Guías creadas

0 comentarios

Agregar Comentario

Ver Estadísticas:

Ultimas 24 horas: 3

Ultimos 7 días: 19

Ultimos 30 días: 55

Todo El Tiempo: 570