Introducción
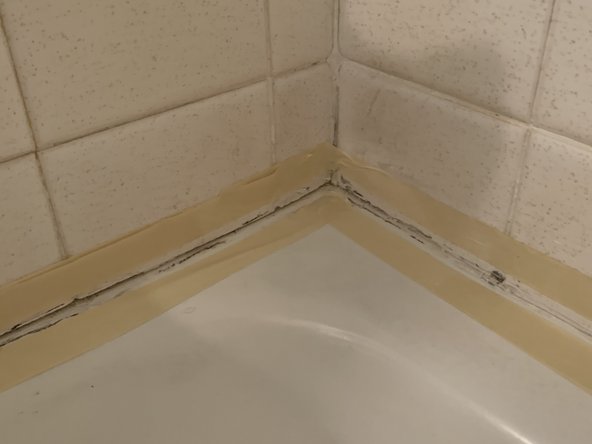
The procedure being performed is the replacement of the caulk around the bathtub. The process first starts with the removal of the caulk and cleaning of access caulk. It is supposed to dry overnight to prevent molding of the walls. Be careful with the caulk remover as it is dangerous if it gets in the eyes or mouth.
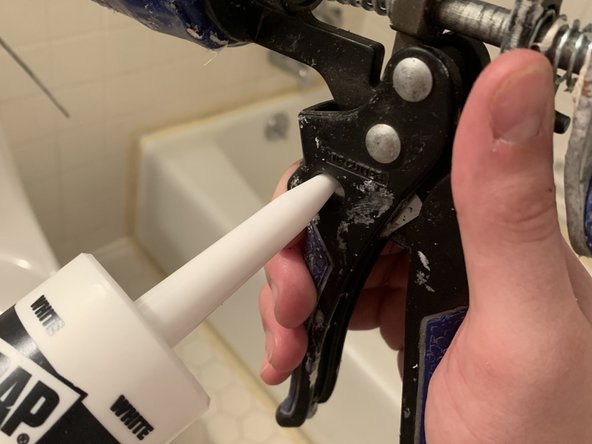
The process of loading the caulk gun is as followed:
- Puncture it by sticking the metal rod alongside the caulk gun into the head of the new caulk
- Cut the tip of the new caulk with the cutter that is inside of the caulk gun handle, and make sure to cut it at the label with the desired width you want to caulk.
- Let the pump part of the caulk gun be back as far as possible so the caulk is able to fit into the gun
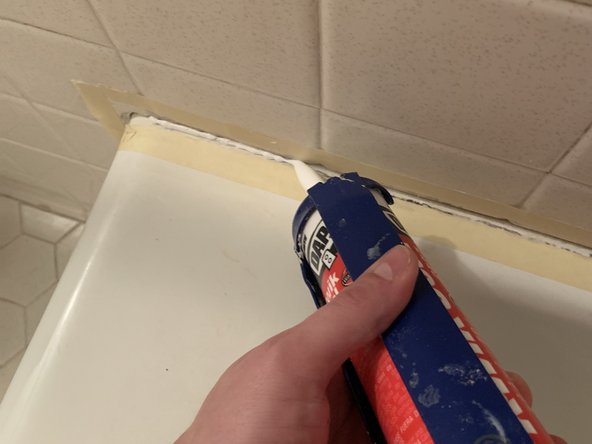
- Once it’s in place just pull the trigger until there is enough pressure for the caulk to come out
Qué necesitas
-
-
Remove current caulk from bathtub using a sharp tool such as a knife or utility tool. Test it first in a small area to not scrape the bathtub.
-
-


If you are how unhappy how the caulk turned out; don’t worry you can just do the following the steps again as there is no permanent damage done with caulking.
If you are how unhappy how the caulk turned out; don’t worry you can just do the following the steps again as there is no permanent damage done with caulking.
Equipo

University of Memphis, Team S5-G13, Willis Spring 2020 Miembro de University of Memphis, Team S5-G13, Willis Spring 2020
UM-WILLIS-S20S5G13
1 Miembro
1 Guía escrita