Introducción
Having a broken/ripped toy isn't much fun. So these instructions will help you fix your beloved stuffed animal.
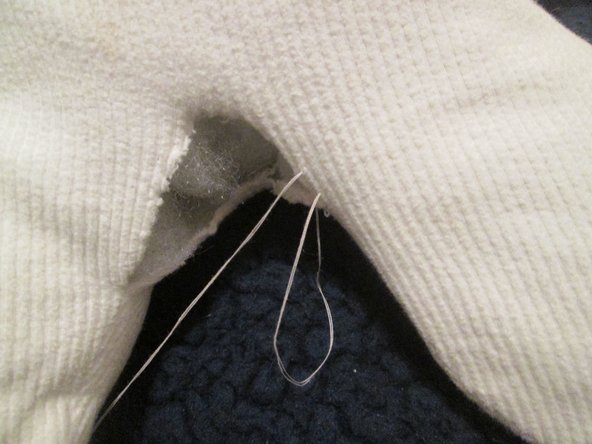
In this case, a stuffed bear has been ripped by its legs and has lost some of it's stuffing. We will go step-by-step on how to refill it with stuffing and sew it up.
Qué necesitas
-
-
Use Polyester Fiberfill stuffing to fill the stuffed bear via rip. Add more stuffing for a firmer toy.
-
-


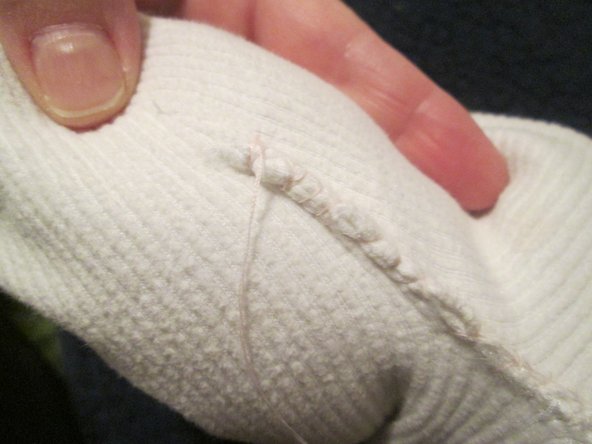


To reassemble your device, follow these instructions in reverse order.
To reassemble your device, follow these instructions in reverse order.
Equipo

Oakland University, Team 6-1, Walwema Winter 2016 Miembro de Oakland University, Team 6-1, Walwema Winter 2016
OAK-WALWEMA-W16S6G1
10 Miembros
10 Guías creadas