Saltar al contenido principal
Únete a la Comunidad de Reparación - Crear Cuenta

How to Fix a Ripped Necktie Seam

Qué necesitas

    1. How to Fix a Ripped Necktie Seam, Ripped Seam: paso 1, imagen 1 de 1
      • Iron the area of the necktie that is ripped.

      • Ironing the necktie allows for clean lines and no wrinkles in the fabric.

      • When ironing, be careful not to burn yourself.

      Pregunta a FixBot

      Agregar Comentario

    2. How to Fix a Ripped Necktie Seam: paso 2, imagen 1 de 1
      • Position your tie with ripped seam facing up.

      Pregunta a FixBot

      Agregar Comentario

    3. How to Fix a Ripped Necktie Seam: paso 3, imagen 1 de 1
      • Gather your thread and scissors.

      • Cut to desired length.

      • Make sure your thread matches the color of your tie.

      Pregunta a FixBot

      Agregar Comentario

    4. How to Fix a Ripped Necktie Seam: paso 4, imagen 1 de 2 How to Fix a Ripped Necktie Seam: paso 4, imagen 2 de 2
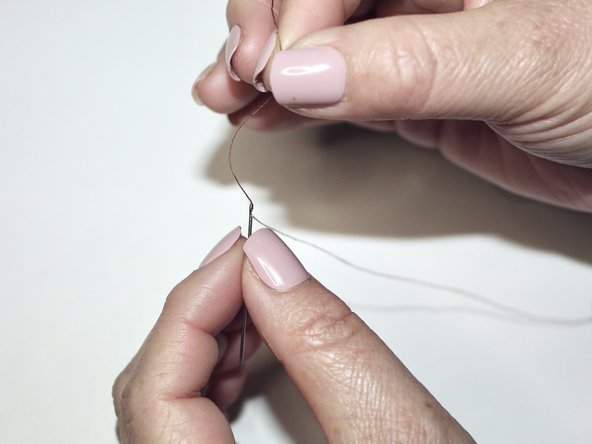
      • Gather your cut thread and needle.

      • Loop your thread through the eye of the needle.

      • Pull the thread until it is even on both ends.

      • Be careful of sharp needle.

      Pregunta a FixBot

      Agregar Comentario

    5. How to Fix a Ripped Necktie Seam: paso 5, imagen 1 de 1
      • Tie the end of the thread with a knot.

      Pregunta a FixBot

      Agregar Comentario

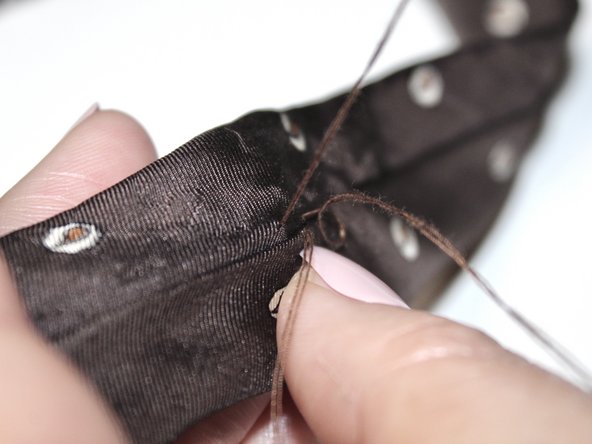
    6. How to Fix a Ripped Necktie Seam: paso 6, imagen 1 de 3 How to Fix a Ripped Necktie Seam: paso 6, imagen 2 de 3 How to Fix a Ripped Necktie Seam: paso 6, imagen 3 de 3
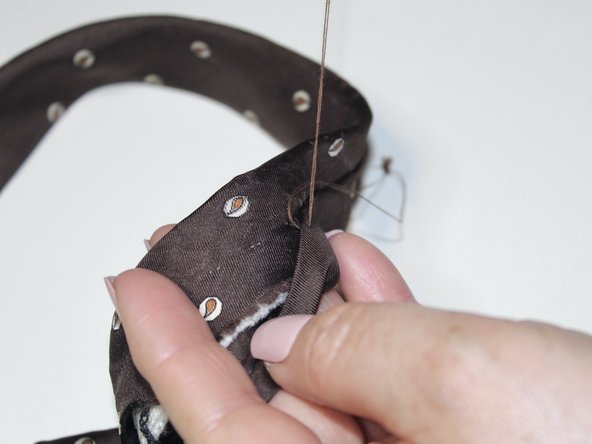
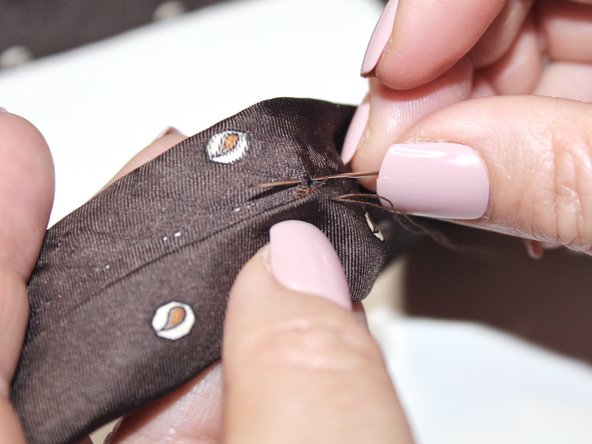
      • Poke your needle from the inside of the tie.

      • Pull the thread all the way through until it reaches the tied knot.

      • Leave about 1/4 inches from the original hole.

      • Poke your needle from the outside of the tie and pull thread until knot.

      • Be careful of sharp needle going in and out of fabric

      Pregunta a FixBot

      Agregar Comentario

    7. How to Fix a Ripped Necktie Seam: paso 7, imagen 1 de 3 How to Fix a Ripped Necktie Seam: paso 7, imagen 2 de 3 How to Fix a Ripped Necktie Seam: paso 7, imagen 3 de 3
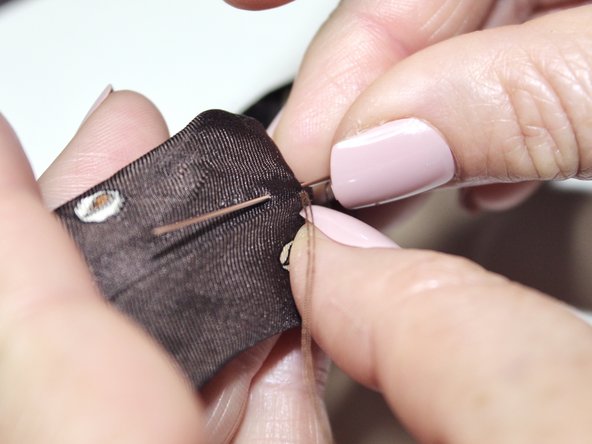
      • Repeat the sewing pattern until you reach the end.

      • Make sure your final thread is through the inside of tie.

      Pregunta a FixBot

      Agregar Comentario

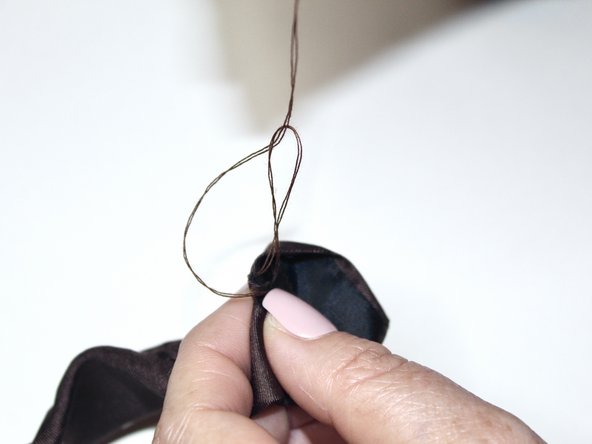
    8. How to Fix a Ripped Necktie Seam: paso 8, imagen 1 de 2 How to Fix a Ripped Necktie Seam: paso 8, imagen 2 de 2
      • Once the entire seam has been sewn, create a loop with the thread.

      • To tie a knot, bring your needle through the loop and pull.

      • Repeat the knot 2-3 more times.

      • Make sure the knot is flat against the fabric.

      Pregunta a FixBot

      Agregar Comentario

    9. How to Fix a Ripped Necktie Seam: paso 9, imagen 1 de 2 How to Fix a Ripped Necktie Seam: paso 9, imagen 2 de 2
      • Cut off any excess thread.

      • Do not cut too close to knot or it may unravel.

      Pregunta a FixBot

      Agregar Comentario

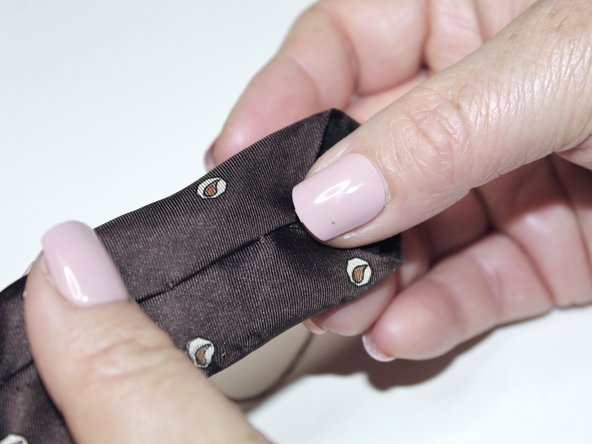
    10. How to Fix a Ripped Necktie Seam: paso 10, imagen 1 de 1
      • (Optional) Iron over seam for better results.

      Pregunta a FixBot

      Agregar Comentario

Conclusión

To reassemble your device, follow these instructions in reverse order.

Cancelar: No complete esta guía.

Una persona más ha completado esta guía.

Beverly Fan

Miembro Desde 02/02/23

196 Reputación

1 Guía escrita

Equipo

UC Davis, Team 2-4, Andersen Winter 2023 Miembro de UC Davis, Team 2-4, Andersen Winter 2023

UCD-ANDERSEN-W23S2G4

Miembros de 3

2 Guías creadas

0Guía Comentarios

Agregar Comentario

Ver Estadísticas:

Ultimas 24 horas: 1

Ultimos 7 días: 32

Ultimos 30 días: 134

Todo El Tiempo: 3,356