Esta versión puede contener ediciones incorrectas. Cambiar a la última instantánea verificada.
Qué necesitas
Resumen del Video
-
Este paso está sin traducir. Ayuda a traducirlo
-
Remove any screws securing the door's inside panel.
-
Feel underneath the door handles for additional screws, and remove them if any are present.
-
Feel around the bottom edge of the door's inside panel for additional screws.
-
-
Este paso está sin traducir. Ayuda a traducirlo
-
If there are any screws fastening the door's handle to the inside panel, remove them.
-
Remove the door handles.
-
Use your fingers or a screwdriver to unclip the handle's push rod from the handle assembly.
-
-
Este paso está sin traducir. Ayuda a traducirlo
-
If the panel is press-fit onto the door, use your hands to un-clip the panel.
-
-
-
Este paso está sin traducir. Ayuda a traducirlo
-
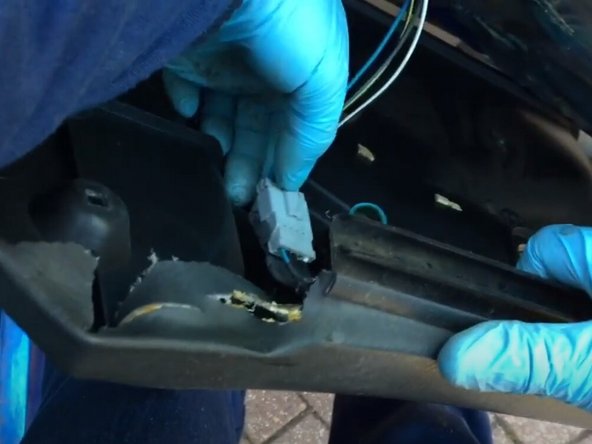
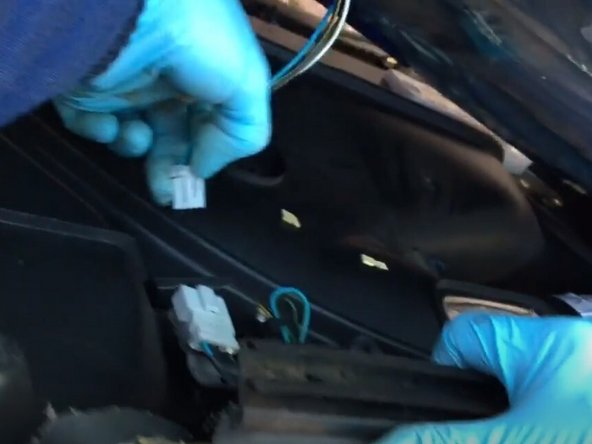
Use your fingers to disconnect any cables connecting the panel and the inside of the door.
-
Remove the panel from the door.
-
-
Este paso está sin traducir. Ayuda a traducirlo
-
Remove the plastic cover from the inside of the door to access the interior mechanisms.
-
-
Este paso está sin traducir. Ayuda a traducirlo
-
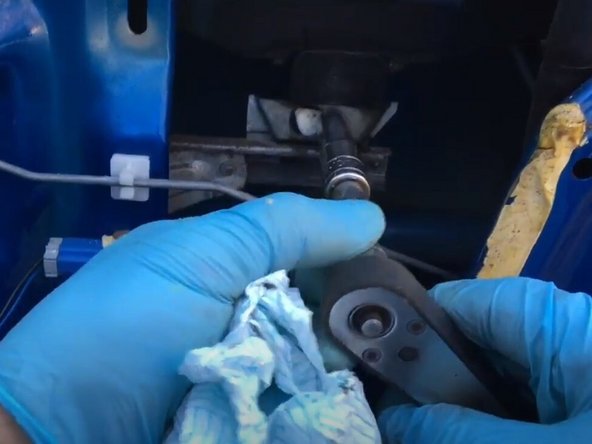
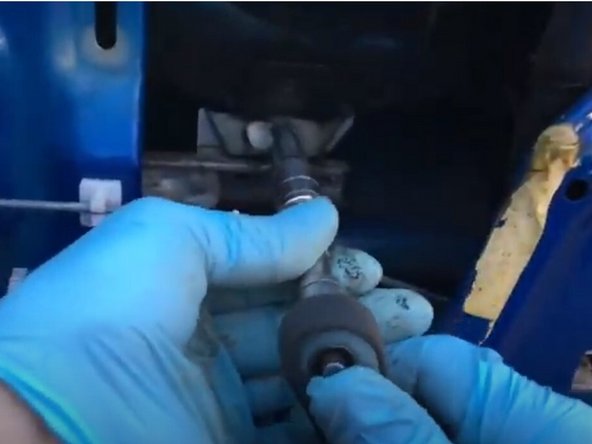
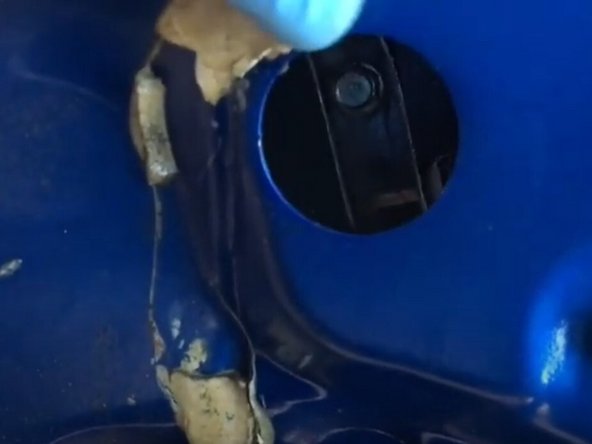
Use a socket wrench to loosen the bolt on the window mechanism.
-
Wipe any grease or debris from the window mechanism using a cloth.
-
-
Este paso está sin traducir. Ayuda a traducirlo
-
Use your hands to replace the window in the window clamp.
-
Re-tighten the window clamp using a socket wrench.
-
-
Este paso está sin traducir. Ayuda a traducirlo
-
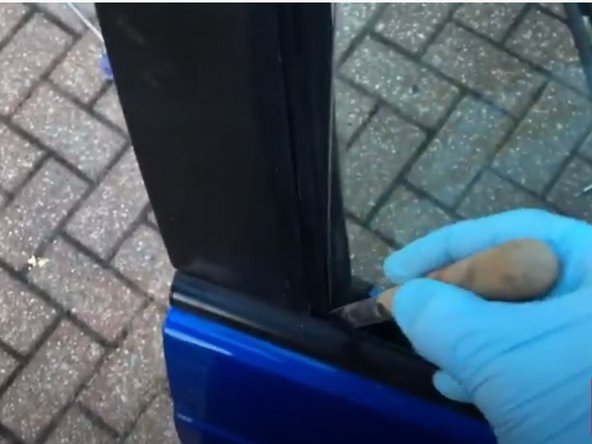
Slide a putty knife between the glass window panel and the rubber door seal.
-
Pry the rubber door seal outwards and position the window in the door channel.
-
-
Este paso está sin traducir. Ayuda a traducirlo
-
Lower the window mechanism until you are able to view the window clamp on the inside portion of the door.
-
If the glass has become detached from the inside window mechanism, repeat steps 6 and 7 to reclamp the window to the mechanism.
-


Cancelar: No complete esta guía.
2 personas más completaron esta guía.