
How to Fill a Crack in a Glass Container

M Keating y 2 otros contribuidores
Última actualización: 12 de mar. de 2024
Vistas: 6.7 k
Ver estadísticas:
- Últimas 24 horas:
- 22
- Últimos 7 días:
- 89
- Últimos 30 días:
- 431
- Todo El Tiempo:
- 6,661
Comentarios: 1
1 guide comment.
Go to guide commentsCompletado: 3 4
3 personas han marcado esta guía como "completada". ¿Serás tú la próxima persona en hacerlo?
4 persona acaba de marcar esta guía como "completada". ¡Incluyéndote, excelente trabajo!
Favoritos: 0 1
Nadie ha marcado como "Favorita" ni se ha suscrito a esta guía. ¿Quieres hacerlo tú?
1 persona marcó (y se suscribió) a esta guía como favorita, ¡y ese eres tú!
Introducción
Ir al paso 1 ↓This guide gives step by step instructions on how to repair any cracked glass vase or jar. The main tool being used in this guide is two part epoxy to cure the crack. By following this guide you will be able to get more out of your glass and reduce the amount of waste you produce. Be sure to be careful while dealing with broken glass and if needed wear protective equpiment during the repair. Before begining the repair be sure to be in a safe enviornment where glass can be handled.
Qué necesitas
Herramientas
-
×2
-
-
-
-
-
-
-


-
-
-
Clean the jar or vase with dish soap to remove all dust, fingerprints and dirt.
-
Dry the glass using a paper towel, and allow it time to completely dry.
 Pregunta a FixBot
-
-
-
Mix the two-part epoxy on a piece of cardboard or a disposable plate.
-
Use a toothpick to mix the epoxy for at least 20 seconds.
-
-
-
Apply the epoxy to the crack in the glass using a putty knife. Work the adhesive back and forth across the crack, pressing the epoxy into the damaged area.
-
Allow the epoxy to cure for at least 5 minutes.
-
-
-
Remove the excess epoxy with a razor blade.
-
Wipe the crack with a clean rag moistened with acetone to remove any additional epoxy raised above the crack.
-
Allow the glass to cure for at least 24 hours.
-
-
-
-
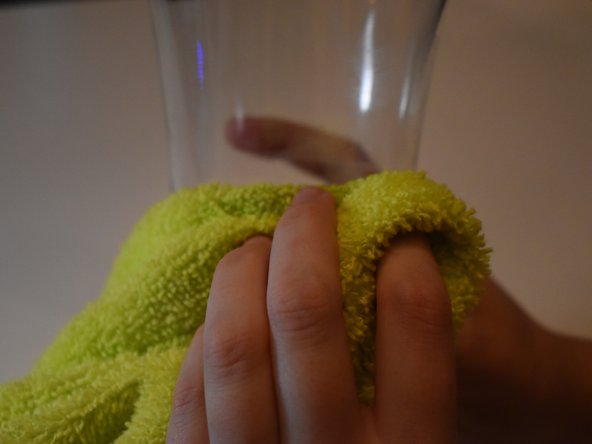
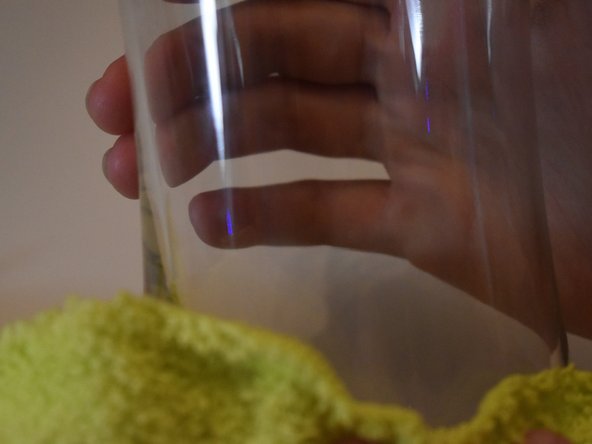
After 24 hours, polish the newly repaired glass with a clean rag and glass cleaner.
-
-




Thanks for following our guide! We hope it was simple and helped you to reduce your amount of waste!!
Cancelar: No complete esta guía.
3 personas más completaron esta guía.

Equipo

Austin Community College, Team 1-3, Meigs Summer 2023 Miembro de Austin Community College, Team 1-3, Meigs Summer 2023
AUSTINCC-MEIGS-SU23S1G3
1 Miembro
12 Guías creadas
