Qué necesitas
-
Este paso está sin traducir. Ayuda a traducirlo
-
Power off the Galaxy S6 Edge Plus and remove the SIM card tray.
-
-
Este paso está sin traducir. Ayuda a traducirlo
-
Heat up to soften the adhesive around the back cover.
-
Pull up a gap to insert the prying tool and a poker card.
-
Run the poker card and case opening tool around the edges to separate the back cover.
-
-
Este paso está sin traducir. Ayuda a traducirlo
-
Undo the 18 screws in the rear housing.
-
Pull up the rear housing from LCD assembly with frame.
-
-
-
Este paso está sin traducir. Ayuda a traducirlo
-
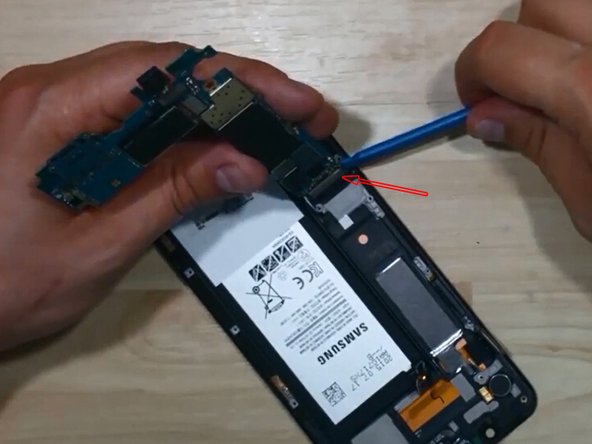
Pry up the screen flex connector, battery flex connector, ear speaker flex connector and proximity sensor flex connector.
-
Pry up the motherboard and turn it upside down to release the connector behind.
-
Pry up the connectors on the motherboard to release the front facing and rear facing camera if necessary.
-
-
Este paso está sin traducir. Ayuda a traducirlo
-
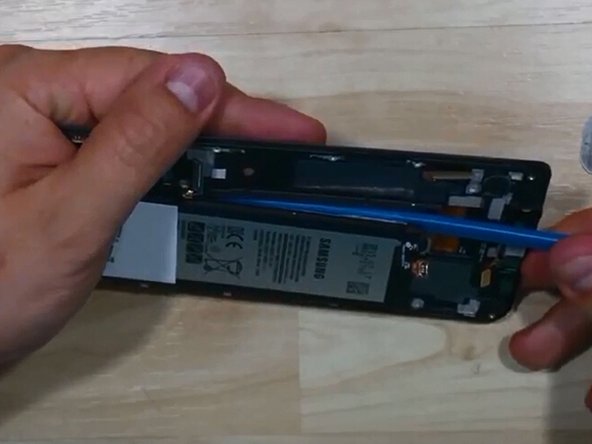
Pry up around the edges of battery as there're two main adhesive sticker underneath.
-
Insert the Spudger to pry up the adhesive.
-
Tear the battery by hands.
-
-
Este paso está sin traducir. Ayuda a traducirlo
-
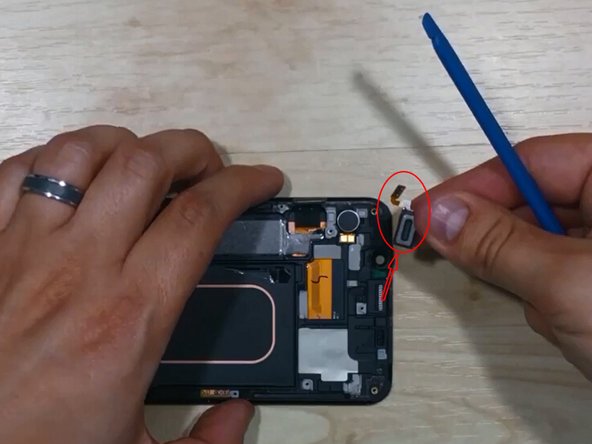
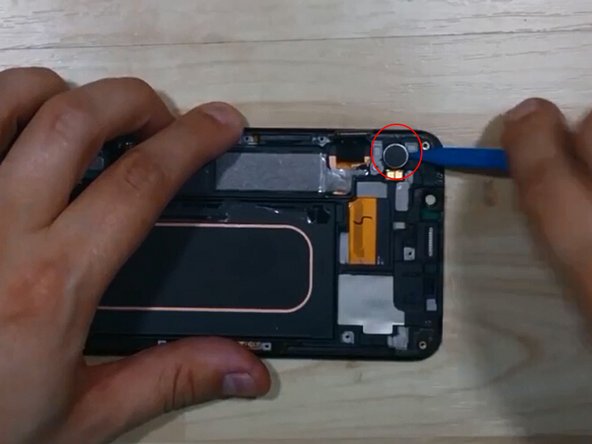
Pry up to release the proximity sensor module.
-
Pry up to release the ear speaker.
-
Pry up to release the vibrating motor.
-
-
Este paso está sin traducir. Ayuda a traducirlo
-
As stated by the video, the charging port flex ribbon assembly cannot be removed until the front glass is torn down as it’s assembled with the navigator flex in between the glass and LCD.
-


17 comentarios
Hi there.
Is this a good way to replace the frame around the camera? I dropped it and chipped it slightly and since the phone is less than 2 months old for me, it is kind of bothering me.
I guess my main concern is, once I do this, is it going to go back together as good as new? I'll probably only need to remove the back cover yeah?
Thanks in advance!
hello, you will need to remove the back cover glass b4 you replace the camera lens and holder. replace processing is simple a hot air gun will help a lot.
check here: https://www.amazon.com/dp/B01M3PL8E8
ggmall -
Every one of these I have seen has a lot of adhesive near the home button which makes the screen coming out much harder then any video or tutorial I have seen online showing.