Introducción
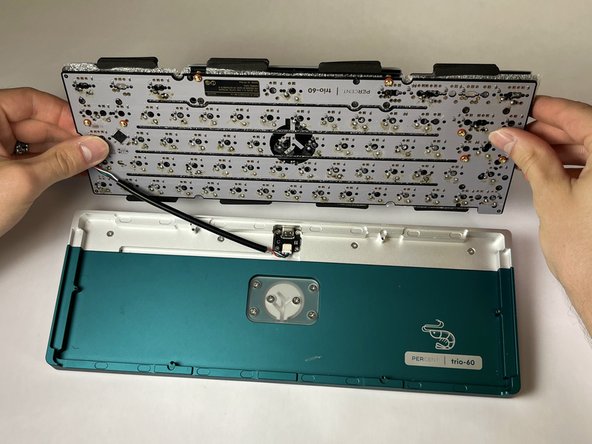
If your Percent Studio Trio-60 mechanical keyboard has a faulty switch, use this guide to repair it. This guide will show you how to easily disassemble and repair a key switch so that you are able to use your mechanical keyboard again.
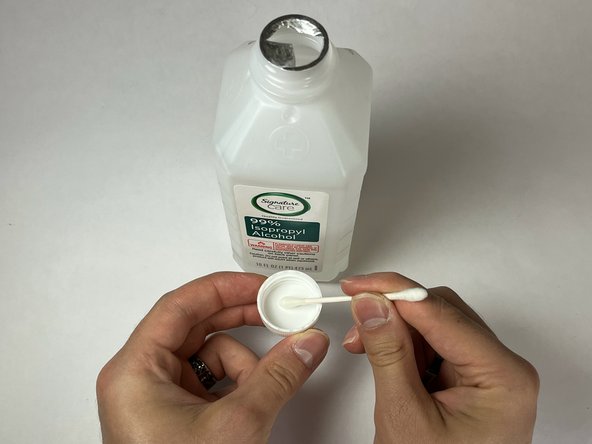
Most of the materials needed for this guide are common household materials or can easily be acquired. The highest cost item is probably the desoldering tool. You can use a hand pump, but investing in an electric desoldering tool would make the process much easier.
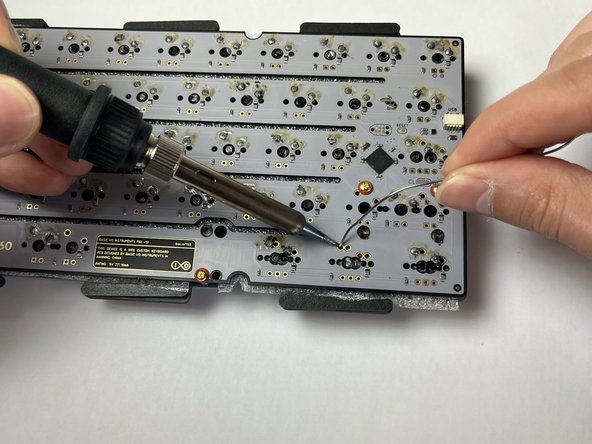
Flux fumes are toxic so when doing this repair, make sure you're in a well-ventilated area.
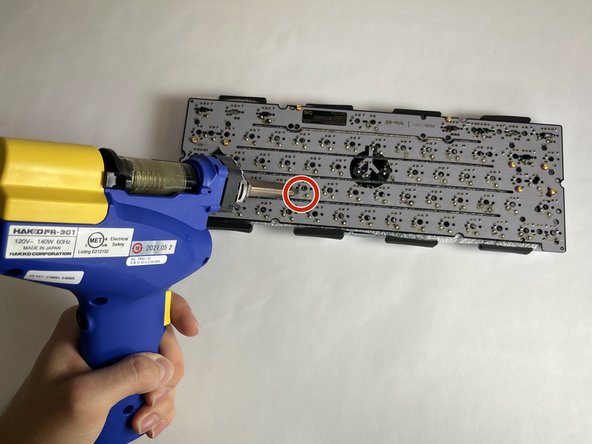
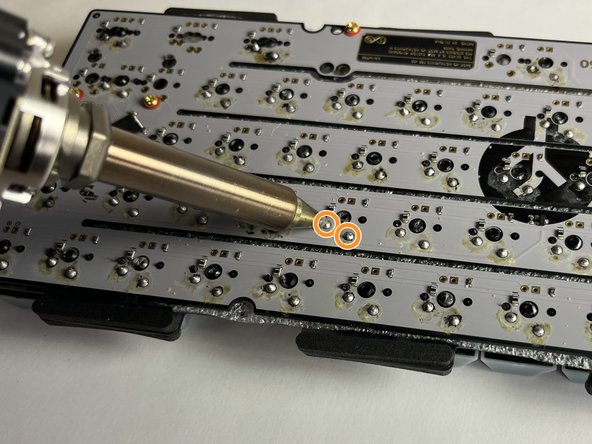
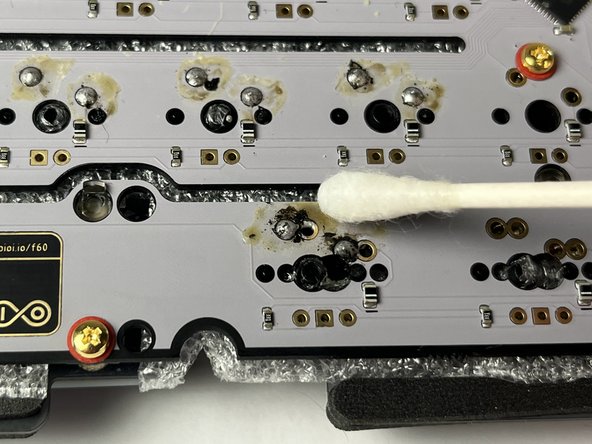
Steps 7 and 11 require you to desolder and solder connections on the keyboard. Use this guide to assist you in these steps:
Qué necesitas


To reassemble your device, follow these instructions in reverse order.
To reassemble your device, follow these instructions in reverse order.

Equipo

UC Davis, Team 1-3, Morris Spring 2023 Miembro de UC Davis, Team 1-3, Morris Spring 2023
UCD-MORRIS-S23S1G3
3 Miembros
1 Guía escrita