Introducción
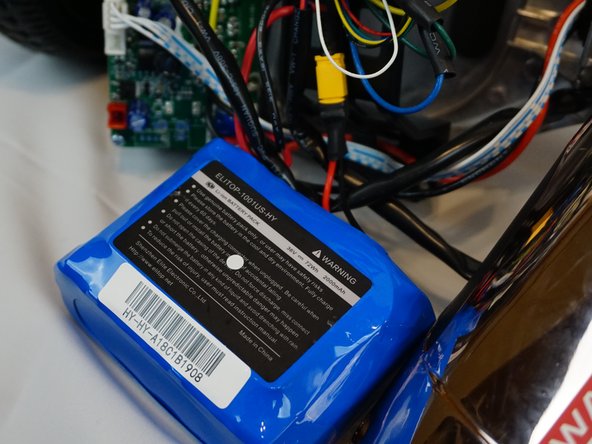
Hoverboards were a thing of science-fiction, but since introduced in 2013 they became a sensation. The battery is a major component in providing electricity to the hoverboard. When the battery gets damaged it is not that difficult to replace it in order to keep the board running.
Qué necesitas
-
-
Remove the twenty screws from the top outer cover using a Phillips #1 screwdriver.
-
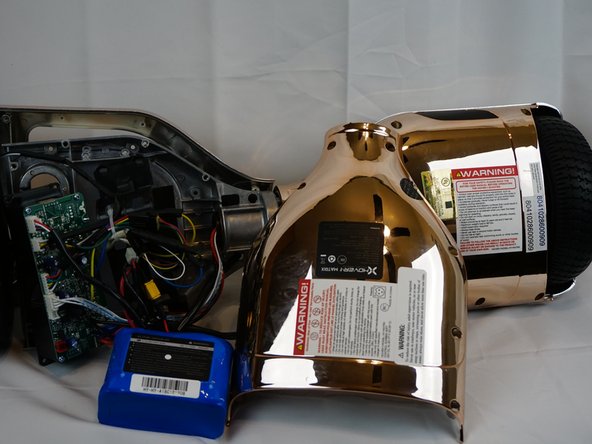
Lift the left and right sides of the outer cover away from the rest of the hoverboard.
-
-


To reassemble the device, follow these instructions in reverse order.
To reassemble the device, follow these instructions in reverse order.
Cancelar: No complete esta guía.
Una persona más ha completado esta guía.

Equipo

UC Davis, Team S7-G2, Lore Fall 2018 Miembro de UC Davis, Team S7-G2, Lore Fall 2018
UCD-LORE-F18S7G2
3 Miembros
4 Guías creadas