Saltar al contenido principal

Hover-1 Liberty Battery Replacement

Qué necesitas

  1. Hover-1 Liberty Battery Replacement, Bottom Cover: paso 1, imagen 1 de 2 Hover-1 Liberty Battery Replacement, Bottom Cover: paso 1, imagen 2 de 2
    • Flip the hoverboard over so the labels are facing upwards.

    • Remove the twenty 18mm screws using a Phillips #2 screwdriver and twisting counterclockwise.

  2. Hover-1 Liberty Battery Replacement: paso 2, imagen 1 de 2 Hover-1 Liberty Battery Replacement: paso 2, imagen 2 de 2
    • Remove the bottom cover by lifting it away from the hoverboard.

    • The cover on the side without the battery has two wires connecting the power button and charging port.

  3. Hover-1 Liberty Battery Replacement: paso 3, imagen 1 de 3 Hover-1 Liberty Battery Replacement: paso 3, imagen 2 de 3 Hover-1 Liberty Battery Replacement: paso 3, imagen 3 de 3
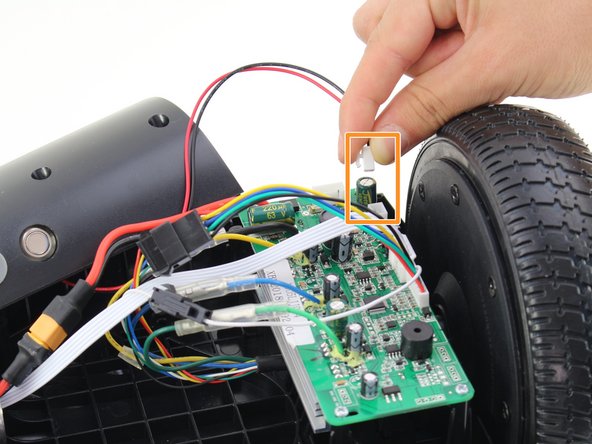
    • Remove one connector from the non-battery side circuit board.

    • Remove the next connector from the non-battery side circuit board.

    • To remove the connectors, pinch the plug and pull away from the circuit board.

  4. Hover-1 Liberty Battery Replacement, Battery: paso 4, imagen 1 de 2 Hover-1 Liberty Battery Replacement, Battery: paso 4, imagen 2 de 2
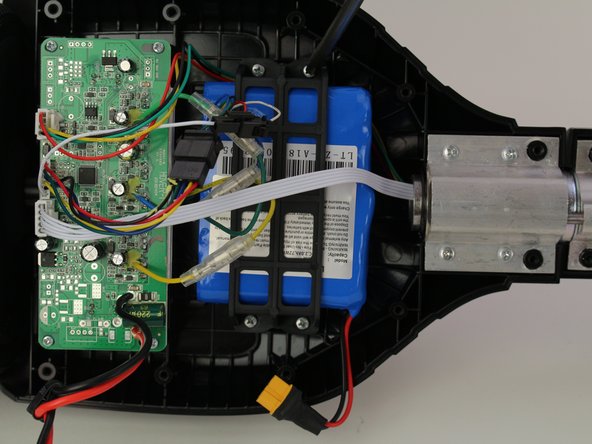
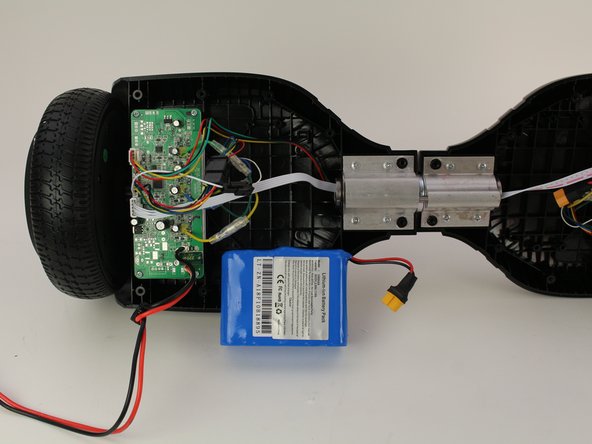
    • Disconnect the large red and black wire from the battery by pulling apart the connector.

  5. Hover-1 Liberty Battery Replacement: paso 5, imagen 1 de 2 Hover-1 Liberty Battery Replacement: paso 5, imagen 2 de 2
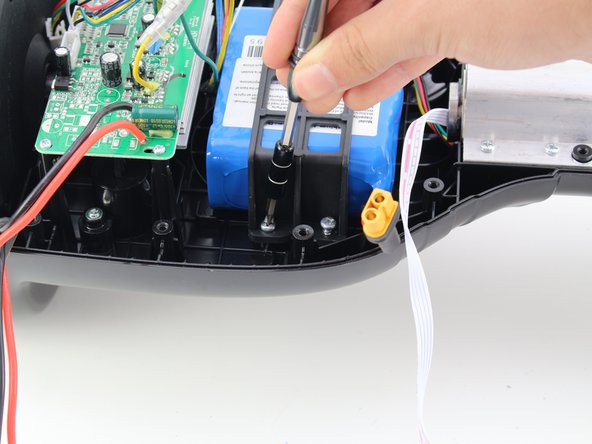
    • Remove the four 15mm Phillips #1 screws from the bracket holding the battery in place.

  6. Hover-1 Liberty Battery Replacement: paso 6, imagen 1 de 2 Hover-1 Liberty Battery Replacement: paso 6, imagen 2 de 2
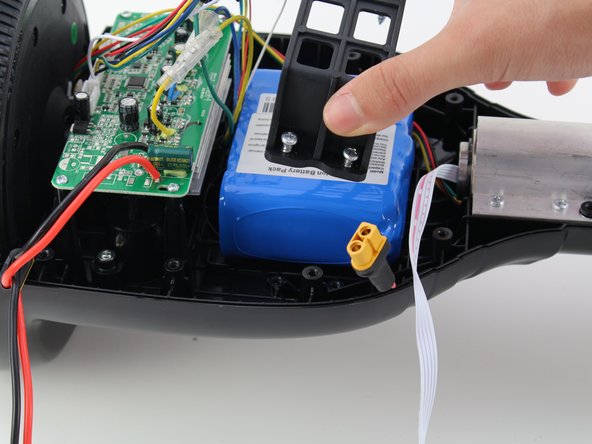
    • Remove the bracket by pulling it upwards, away from the hoverboard.

    • You will need to move some wires aside to remove the bracket successfully.

  7. Hover-1 Liberty Battery Replacement: paso 7, imagen 1 de 3 Hover-1 Liberty Battery Replacement: paso 7, imagen 2 de 3 Hover-1 Liberty Battery Replacement: paso 7, imagen 3 de 3
    • Remove the battery by grasping the battery and hoverboard firmly and pulling apart.

    • The battery is held in place by adhesive. So, some force is required to remove it.

Conclusión

To reassemble your device, follow these instructions in reverse order.

Una persona más ha completado esta guía.

Patrick Bacon

Miembro Desde 10/08/18

411 Reputación

2 Guías creadas

Equipo

Cal Poly, Team S13-G2, White Fall 2018 Miembro de Cal Poly, Team S13-G2, White Fall 2018

CPSU-WHITE-F18S13G2

3 Miembros

4 Guías creadas

0 comentarios

Agregar Comentario

Ver Estadísticas:

Ultimas 24 horas: 1

Ultimos 7 días: 12

Ultimos 30 días: 43

Todo El Tiempo: 2,432