Esta versión puede contener ediciones incorrectas. Cambie a la última instantánea verificada.
Qué necesitas
-
Este paso está sin traducir. Ayuda a traducirlo
-
Remove the ten 9mm machine screws by using a long Phillips #2 screwdriver to rotate the screws counterclockwise.
-
Remove the twelve 9mm sheet metal screws by using a long Phillips #2 screwdriver to rotate the screws counterclockwise.
-
-
Este paso está sin traducir. Ayuda a traducirlo
-
Puncture the two black stickers by using the tip of a screwdriver.
-
Remove the two 9mm machine screws by using a long Phillips #2 screwdriver to rotate the screws counterclockwise.
-
-
-
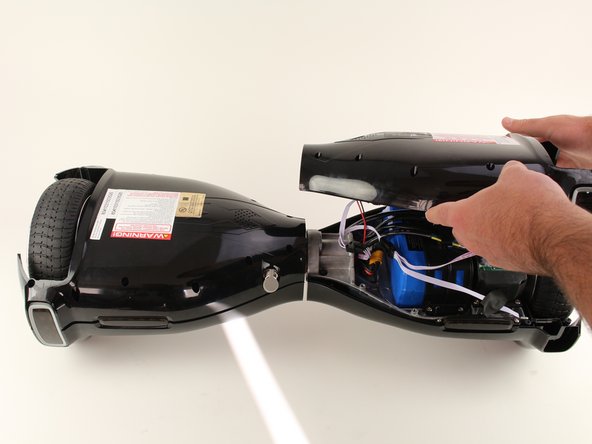
Este paso está sin traducir. Ayuda a traducirlo
-
Unplug the battery by pulling gently on both sides of the orange connector.
-


Equipo

Cal Poly, Team S17-G6, White Fall 2018 Miembro de Cal Poly, Team S17-G6, White Fall 2018
CPSU-WHITE-F18S17G6
4 Miembros
7 Guías creadas