Saltar al contenido principal

Esta versión puede contener ediciones incorrectas. Cambie a la última instantánea verificada.

Qué necesitas

  1. Este paso está sin traducir. Ayuda a traducirlo

    : paso 1, imagen 1 de 1
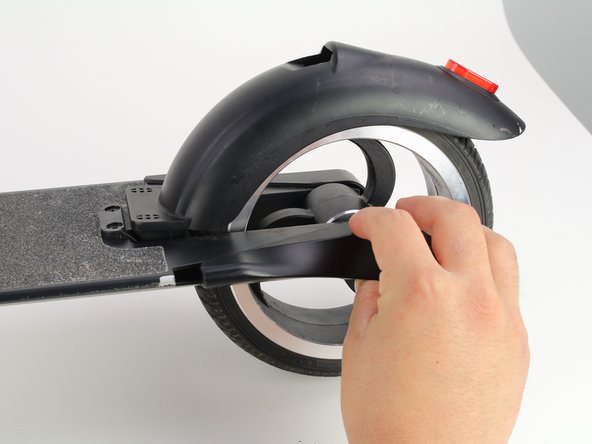
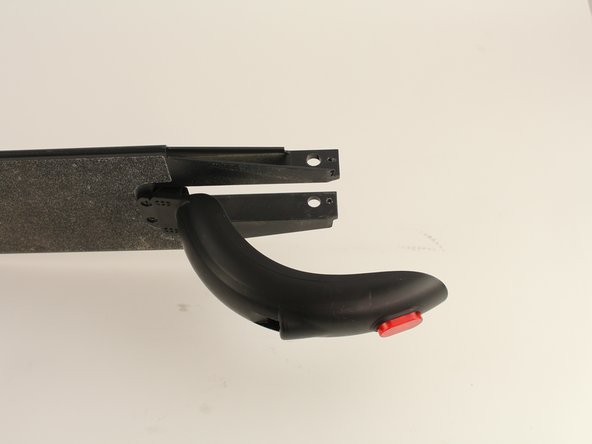
    • Peel off the reflective red axle sticker using a plastic spudger.

  2. Este paso está sin traducir. Ayuda a traducirlo

    : paso 2, imagen 1 de 1
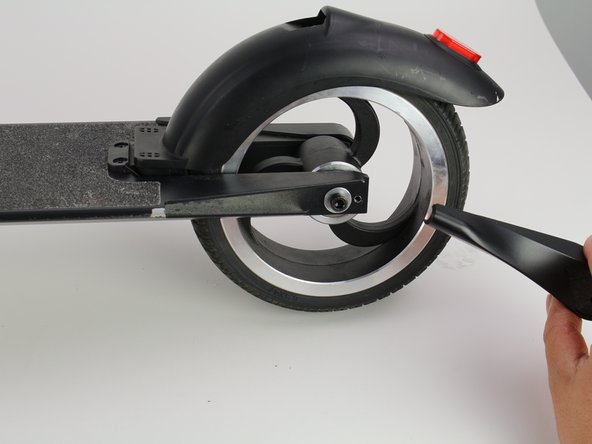
    • Use a Phillips #2 screwdriver to remove the 2mm screw located underneath the reflective sticker.

  3. Este paso está sin traducir. Ayuda a traducirlo

    : paso 3, imagen 1 de 3 : paso 3, imagen 2 de 3 : paso 3, imagen 3 de 3
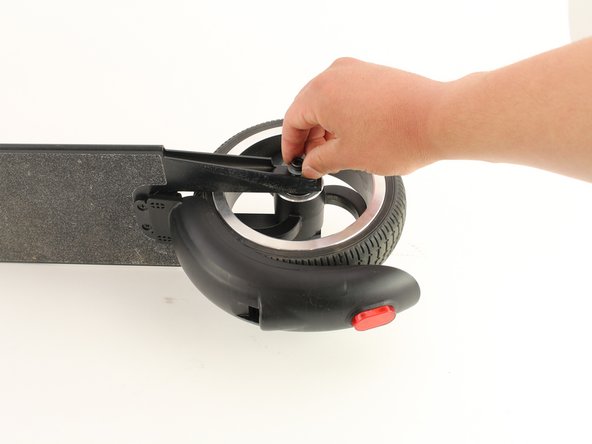
    • Grip the deck flare and slide it towards the tail end of the scooter.

  4. Este paso está sin traducir. Ayuda a traducirlo

    : paso 4, imagen 1 de 1
    • Remove the 6 mm axle screws by using a hex bit 5.0.

    • Make sure to try loosening both sides. One of the axle screws spins freely and will not loosen.

  5. Este paso está sin traducir. Ayuda a traducirlo

    : paso 5, imagen 1 de 3 : paso 5, imagen 2 de 3 : paso 5, imagen 3 de 3
    • Repeat Steps 1-3 for the other side.

    • Apply pressure to the axle using a hex bit 5.0 to push it slightly out on the other side.

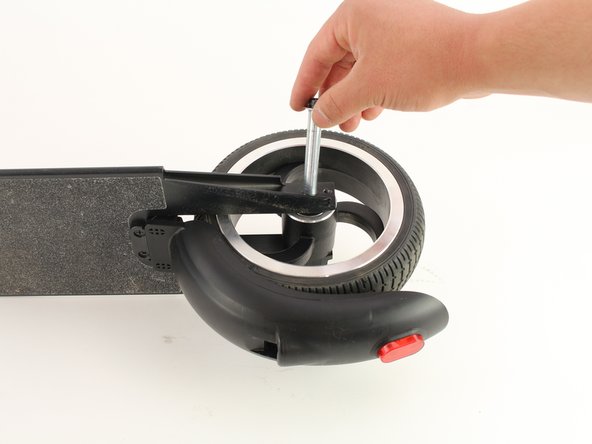
    • Take hold of the 6 mm axle screw on the opposite side and remove the axle by pulling firmly towards you.

  6. Este paso está sin traducir. Ayuda a traducirlo

    : paso 6, imagen 1 de 2 : paso 6, imagen 2 de 2
    • Pull backwards to remove the back wheel.

    • Washers may fall when the wheel is removed, so make sure to catch or gather the washers.

Linea de Meta

4 personas más completaron esta guía.

Andrew Gaskell

Miembro Desde 01/23/20

1,008 Reputación

5 Guías creadas

Equipo

Cal Poly, Team S1-G2, White Winter 2020 Miembro de Cal Poly, Team S1-G2, White Winter 2020

CPSU-WHITE-W20S1G2

4 Miembros

6 Guías creadas

Un comentario

Where do you buy the wheels

Thanks

antonio flores - Contestar

Agregar Comentario

Ver Estadísticas:

Ultimas 24 horas: 2

Ultimos 7 días: 7

Ultimos 30 días: 46

Todo El Tiempo: 2,253