Introducción
If you are ever in a position where the trucks on your Coast are broken or malfunctioning it is very important to replace them. Replace the trucks will ensure the coast is able to function at its highest potential.
Qué necesitas
-
-
In order to remove the trucks on the Hover-1 Coast, you must uncover the screws on the top of the board.
-
Using the pick tool to puncture the grip tape and reveal the screws.
-
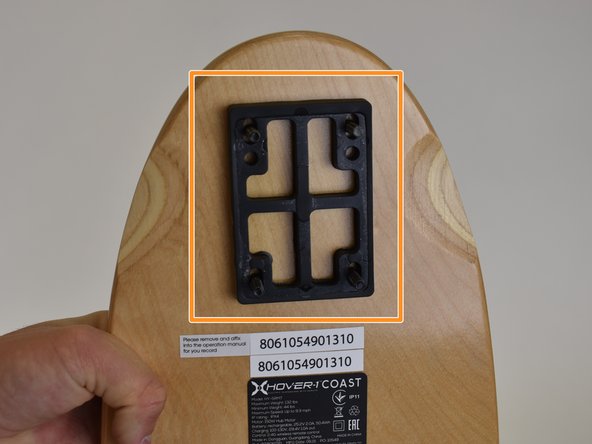
The board should look like this.
-
-
-
-
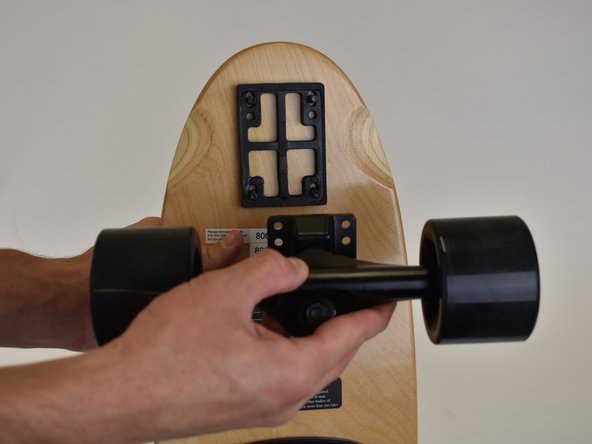
Once all four screws have been revealed, locate the socket wrench and the Phillips #1 screwdriver in the wrench handle.
-
Place the 9/16 inch socket wrench over the nut; place the the Phillips #1 screwdriver in the screw.
-
Hold the socket wrench in place and twist the screwdriver counterclockwise to loosen the nuts.
-


To reassemble your device, follow these instructions in reverse order.
To reassemble your device, follow these instructions in reverse order.

Equipo

Linn Benton Community College, Team S2-G2, Karnes Fall 2018 Miembro de Linn Benton Community College, Team S2-G2, Karnes Fall 2018
LBCC-KARNES-F18S2G2
3 Miembros
6 Guías creadas