Saltar al contenido principal

Hoover T-Series WindTunnel Pet UH30310 Motor Replacement

Qué necesitas

  1. Hoover T-Series WindTunnel Pet UH30310 Motor Replacement, Motor: paso 1, imagen 1 de 1
    • Depress the hose-release tab.

  2. Hoover T-Series WindTunnel Pet UH30310 Motor Replacement: paso 2, imagen 1 de 1
    • Next, remove the hose from the connector, near the top of the vacuum's rear. This can be achieved by twisting and then pulling down.

  3. Hoover T-Series WindTunnel Pet UH30310 Motor Replacement: paso 3, imagen 1 de 1
    • Use a Phillips #1 screwdriver to remove the two screws on the part holding the hose to the back of the vacuum.

  4. Hoover T-Series WindTunnel Pet UH30310 Motor Replacement: paso 4, imagen 1 de 1
    • Use a Phillips #1 screwdriver to remove the two screws that secure the hose-release tab.

  5. Hoover T-Series WindTunnel Pet UH30310 Motor Replacement: paso 5, imagen 1 de 1
    • Use a Phillips #1 screwdriver to remove the two screws on the top of the vacuum holding the tab on the left of the vacuum.

  6. Hoover T-Series WindTunnel Pet UH30310 Motor Replacement: paso 6, imagen 1 de 2 Hoover T-Series WindTunnel Pet UH30310 Motor Replacement: paso 6, imagen 2 de 2
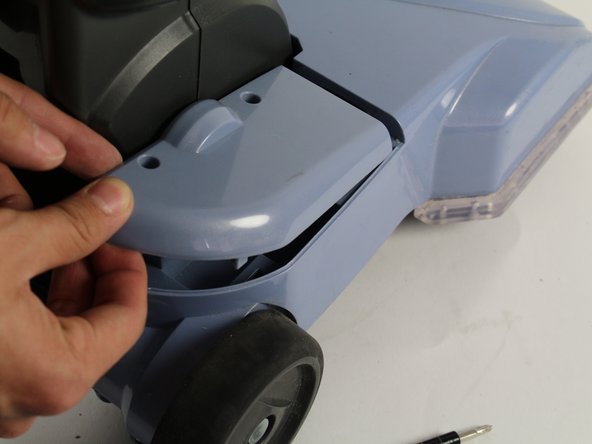
    • Use a Phillips #1 screwdriver to remove the two screws on the top of the vacuum head holding down the tab on the right.

    • To remove the tab, slide backwards and then pull up. There is a tab holding the piece down so use force if necessary.

  7. Hoover T-Series WindTunnel Pet UH30310 Motor Replacement: paso 7, imagen 1 de 2 Hoover T-Series WindTunnel Pet UH30310 Motor Replacement: paso 7, imagen 2 de 2
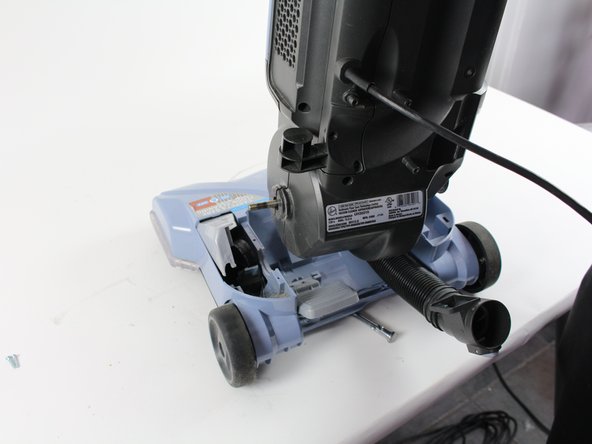
    • Slide the belt off of the metal rod on the left of the vacuum shaft. Pull the vacuum up and it should easily separate into two pieces.

  8. Hoover T-Series WindTunnel Pet UH30310 Motor Replacement: paso 8, imagen 1 de 3 Hoover T-Series WindTunnel Pet UH30310 Motor Replacement: paso 8, imagen 2 de 3 Hoover T-Series WindTunnel Pet UH30310 Motor Replacement: paso 8, imagen 3 de 3
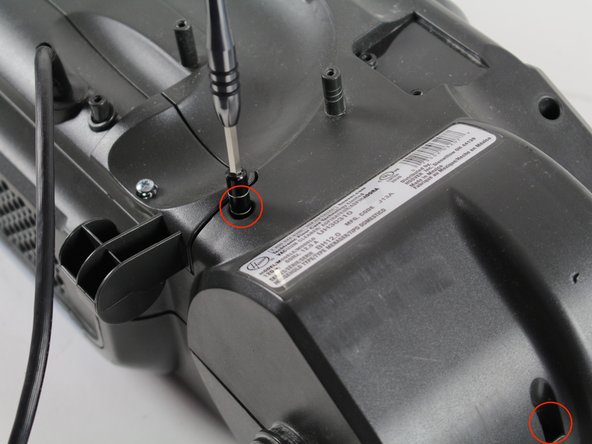
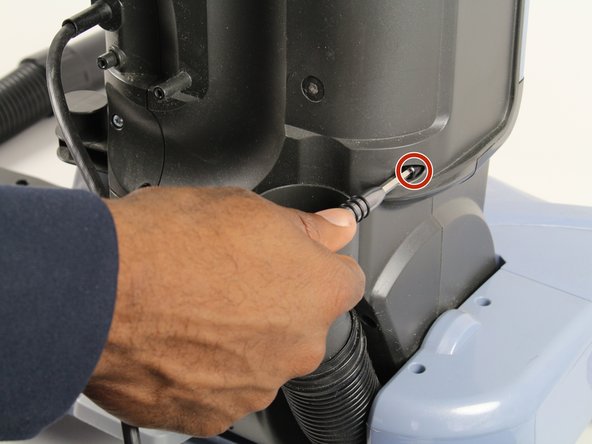
    • Use a Phillips #1 screwdriver to remove the 6 screws on the back and bottom of the vacuum shaft.

  9. Hoover T-Series WindTunnel Pet UH30310 Motor Replacement: paso 9, imagen 1 de 1
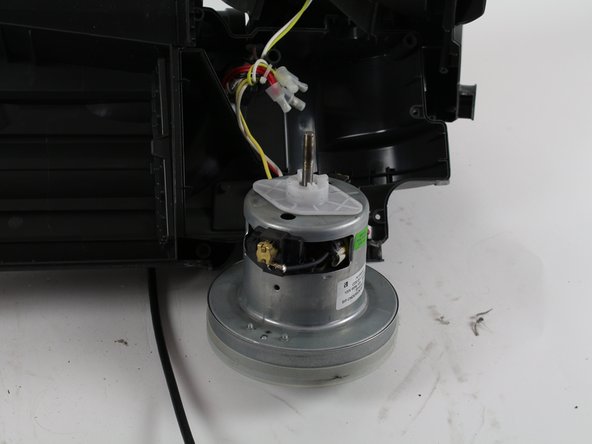
    • The top of the motor casing should then fold open, revealing the motor.

  10. Hoover T-Series WindTunnel Pet UH30310 Motor Replacement: paso 10, imagen 1 de 2 Hoover T-Series WindTunnel Pet UH30310 Motor Replacement: paso 10, imagen 2 de 2
    • The motor can now be accessed for replacement or repair

Conclusión

To reassemble your device, follow these instructions in reverse order.

2 personas más completaron esta guía.

Anthony Garcia

Miembro Desde 01/18/18

223 Reputación

1 Guía escrita

Equipo

Cal Poly, Team S12-G4, Banghart Winter 2018 Miembro de Cal Poly, Team S12-G4, Banghart Winter 2018

CPSU-BANGHART-W18S12G4

5 Miembros

9 Guías creadas

0 comentarios

Agregar Comentario

Ver Estadísticas:

Ultimas 24 horas: 1

Ultimos 7 días: 2

Ultimos 30 días: 9

Todo El Tiempo: 890