Saltar al contenido principal

Honda CRF250L Exhaust Replacement

Qué necesitas

  1. Honda CRF250L Exhaust Replacement, Honda CRF250L Exhaust: paso 1, imagen 1 de 3 Honda CRF250L Exhaust Replacement, Honda CRF250L Exhaust: paso 1, imagen 2 de 3 Honda CRF250L Exhaust Replacement, Honda CRF250L Exhaust: paso 1, imagen 3 de 3
    • Take off the existing exhaust.

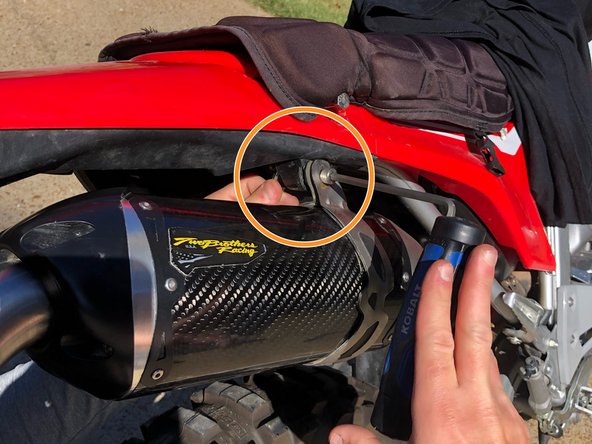
    • Remove the external hex bolt by the header with the 1/2" socket.

    • Then, remove the internal hex socket bolt by the exhaust with the 6mm Allen wrench.

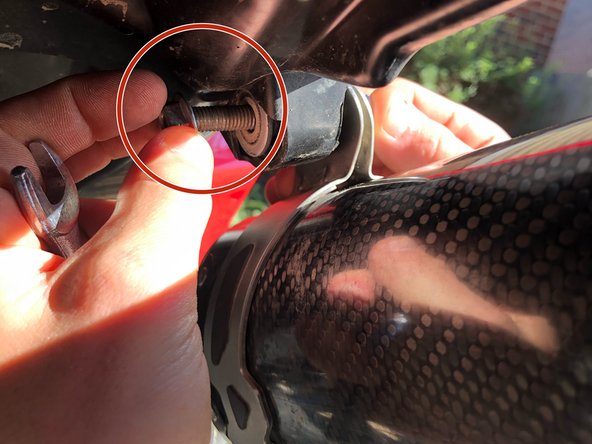
    • When unscrewing the bolt by the exhaust, make sure to hold the nut stationary with the 1/2" open-ended wrench.

  2. Honda CRF250L Exhaust Replacement: paso 2, imagen 1 de 1
    • Slide the pipe into the the exhaust.

    • The pipe should curve downward.

  3. Honda CRF250L Exhaust Replacement: paso 3, imagen 1 de 2 Honda CRF250L Exhaust Replacement: paso 3, imagen 2 de 2
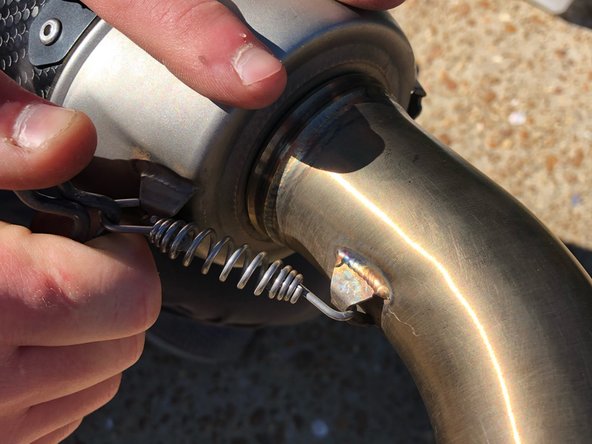
    • Hook the spring on to one of the slots that is welded on the pipe and exhaust.

    • Then, expand the spring to hook around the opposing slot using the spring hook.

  4. Honda CRF250L Exhaust Replacement: paso 4, imagen 1 de 1
    • Slide the clamp over the end of the pipe.

    • Make sure the bolt is stationed on top to tighten later.

  5. Honda CRF250L Exhaust Replacement: paso 5, imagen 1 de 1
    • Slide the mount over the exhaust.

  6. Honda CRF250L Exhaust Replacement: paso 6, imagen 1 de 1
    • Slide the new exhaust onto the header.

    • The exhaust should curve upward.

  7. Honda CRF250L Exhaust Replacement: paso 7, imagen 1 de 2 Honda CRF250L Exhaust Replacement: paso 7, imagen 2 de 2
    • Make sure that the mount is positioned to allow all holes to line up.

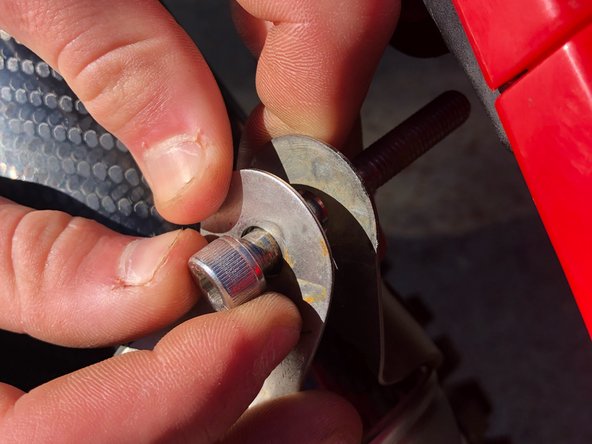
    • Insert the internal hex socket bolt.

  8. Honda CRF250L Exhaust Replacement: paso 8, imagen 1 de 3 Honda CRF250L Exhaust Replacement: paso 8, imagen 2 de 3 Honda CRF250L Exhaust Replacement: paso 8, imagen 3 de 3
    • Insert the bolt attached to the mount.

    • Install the nut to the backside of the internal hex socket bolt.

    • Tighten the internal hex socket bolt using the 6mm Allen wrench.

    • Keep the nut stationary using the 1/2" open-ended wrench.

  9. Honda CRF250L Exhaust Replacement: paso 9, imagen 1 de 1
    • Tighten the clamp.

    • Tighten the internal hex socket bolt on the clamp using the 6mm Allen wrench.

Conclusión

To reassemble your stock exhaust, follow these instructions in reverse order.

Una persona más ha completado esta guía.

0 comentarios

Agregar Comentario

Ver Estadísticas:

Ultimas 24 horas: 0

Ultimos 7 días: 18

Ultimos 30 días: 66

Todo El Tiempo: 1,287