Introducción
If you are experiencing issues with the camera on your Hisense Sero 8 device due to prolonged use, you can fix it by replacing the front and back camera sets. This guide will help you to repair the camera set. Before you begin, please check the troubleshooting guide to see the symptoms of your device.
Qué necesitas
-
-
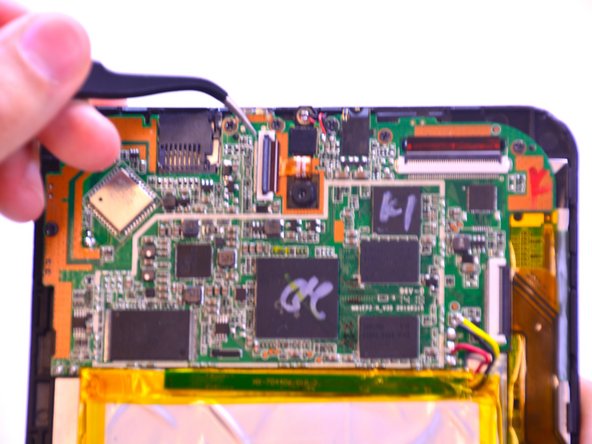
Use an opening tool to pry open a corner of the device, then slide the tool down the side of the device to completely open it.
-


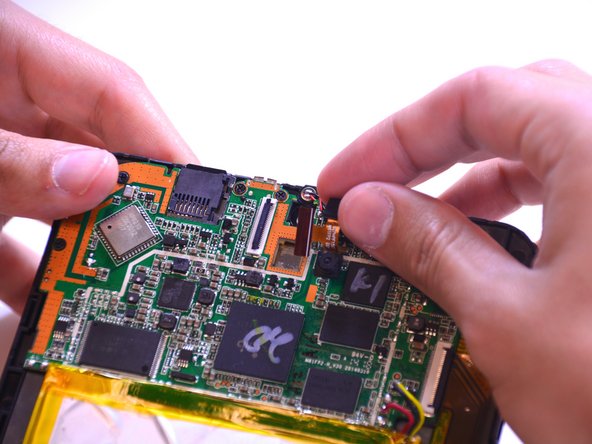
To reassemble your device, follow these instructions in reverse order.
To reassemble your device, follow these instructions in reverse order.
Cancelar: No complete esta guía.
Una persona más ha completado esta guía.
Equipo

USF Tampa, Team 1-2, Leahy Winter 2015 Miembro de USF Tampa, Team 1-2, Leahy Winter 2015
USFT-LEAHY-W15S1G2
3 Miembros
10 Guías creadas