Introducción
Is your coffee maker sputtering out like an old train? Is your coffee lukewarm after too many minutes? Start here, with this disassembly guide to learn the inner workings of your good for nothing (but soon to be better coffee maker)!
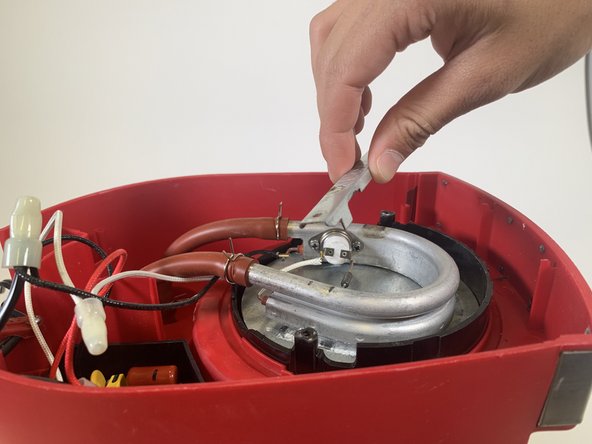
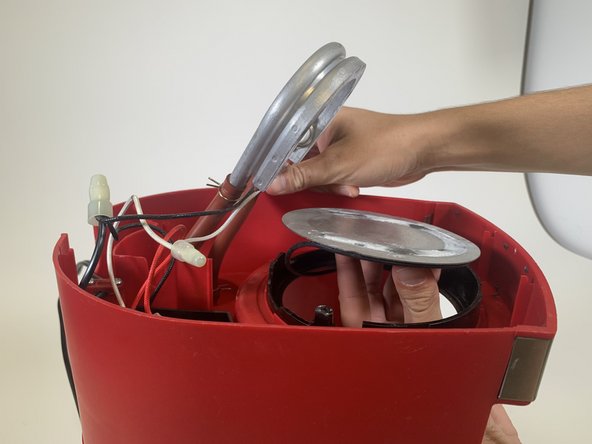
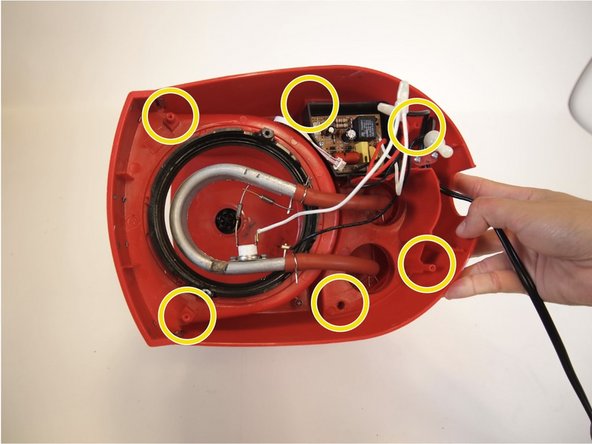
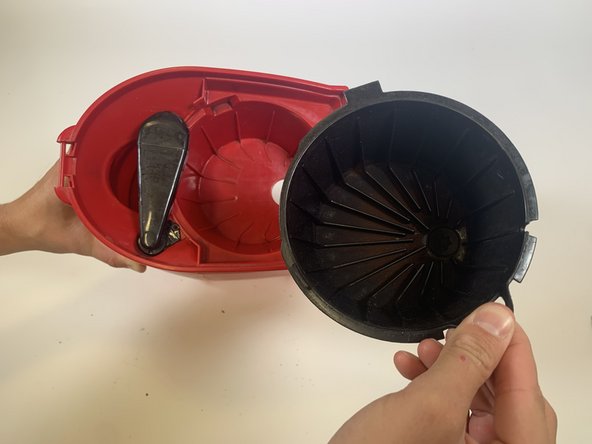
This disassembly will help expose parts that can allow you to repair clogs and the machine’s heating element. We will highlight how the spout and heating work. However, if you’re here to fix issues with the top circuit board, buttons, and display, just know that to access the parts, you will damage the exterior. The manufacturer designed this machine so that it is unable to be accessed without damaging the body!
This guide is of medium difficulty and can be accomplished by most experience levels. Make sure the device is unplugged from the wall and has not been in use for several hours before disassembling in order to ensure there are no hazards to your body and face.
Qué necesitas
-
-
Flip the coffee maker upside down and use the Spanner-8 bit, found in the Mako Driver Kit to remove the four 13 mm security screws.
-
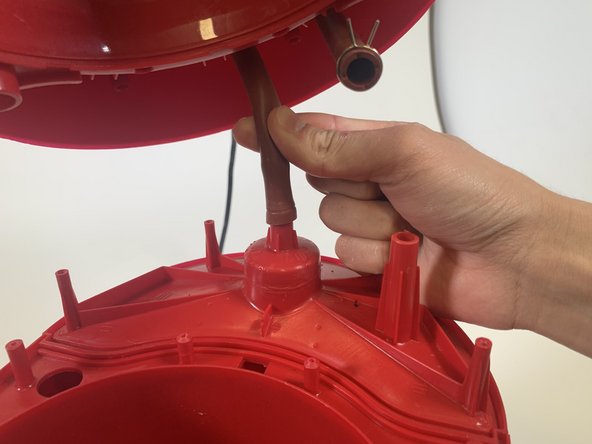
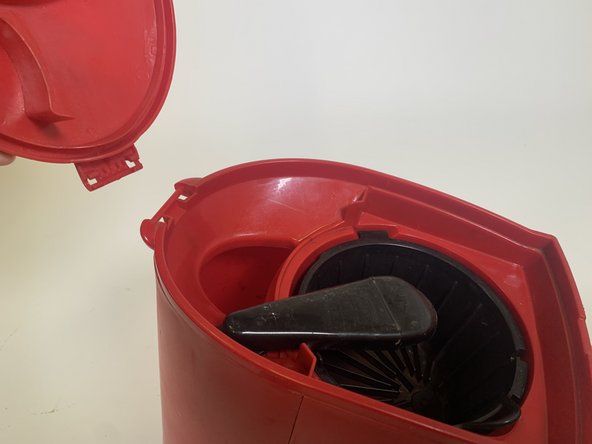
Once the bottom is loose, take it off, and put it to the side with the security screw.
-
-


To reassemble your device, follow these instructions in reverse order.
To reassemble your device, follow these instructions in reverse order.
Cancelar: No complete esta guía.
Una persona más ha completado esta guía.
Equipo

Tufts University School of Engineering, Team 1-10, Bell Fall 2023 Miembro de Tufts University School of Engineering, Team 1-10, Bell Fall 2023
TUFTS-BELL-F23S1G10
2 Miembros
1 Guía escrita