Saltar al contenido principal

HTC Trophy Display Assembly Replacement

Qué necesitas

  1. HTC Trophy Display Assembly Replacement, Battery: paso 1, imagen 1 de 3 HTC Trophy Display Assembly Replacement, Battery: paso 1, imagen 2 de 3 HTC Trophy Display Assembly Replacement, Battery: paso 1, imagen 3 de 3
    • Power off the phone before starting.

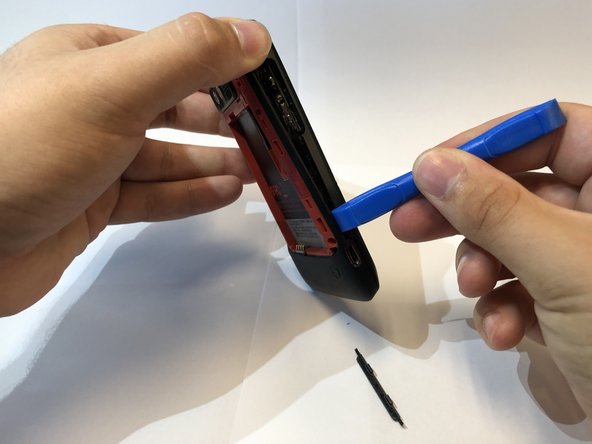
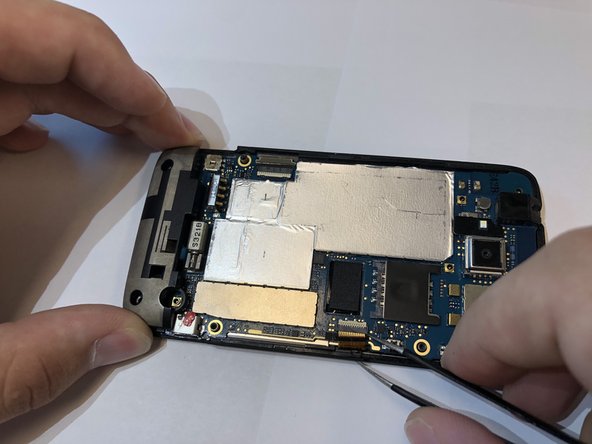
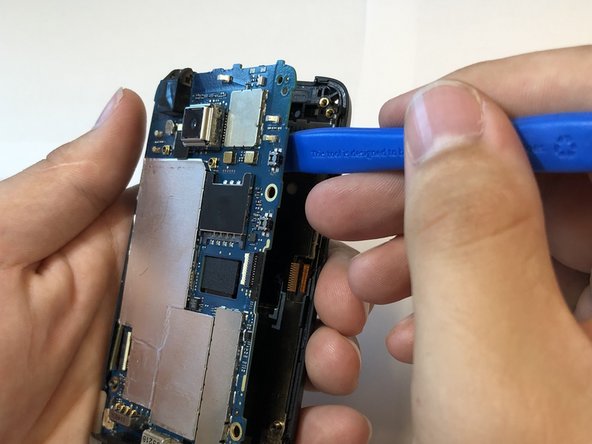
    • Remove the back panel by inserting the IFixIt opening tool into gap at the top of the rear and prying upward.

  2. HTC Trophy Display Assembly Replacement: paso 2, imagen 1 de 3 HTC Trophy Display Assembly Replacement: paso 2, imagen 2 de 3 HTC Trophy Display Assembly Replacement: paso 2, imagen 3 de 3
    • Remove the battery by inserting the IFixIt opening tool into the small gap between the battery and the surrounding plastic.

    • Apply a small force towards the bottom of the phone and lift upwards.

    • Be careful not to puncture the battery.

  3. HTC Trophy Display Assembly Replacement, Display Assembly: paso 3, imagen 1 de 3 HTC Trophy Display Assembly Replacement, Display Assembly: paso 3, imagen 2 de 3 HTC Trophy Display Assembly Replacement, Display Assembly: paso 3, imagen 3 de 3
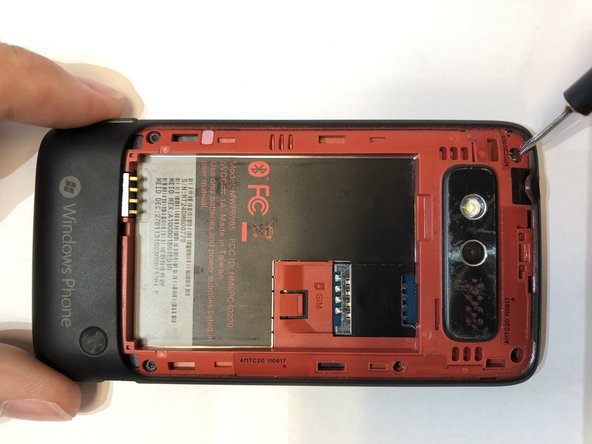
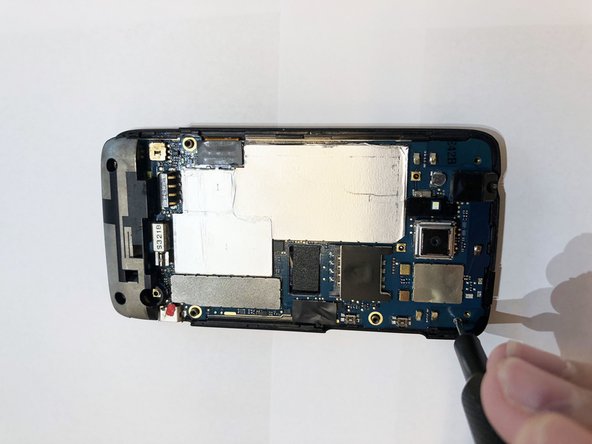
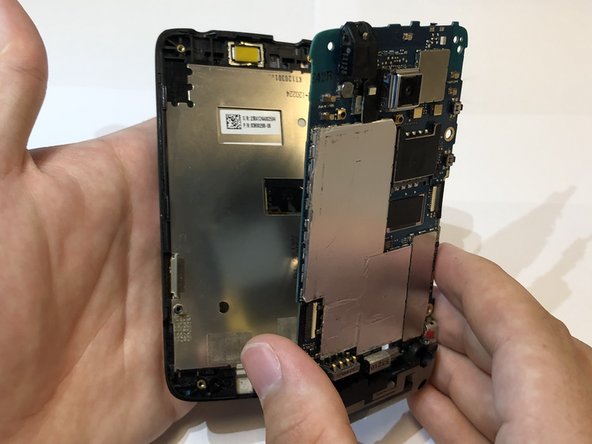
    • Remove the 5 screws holding the two phone halves together.

    • Three 4mm long T5 Torx screws.

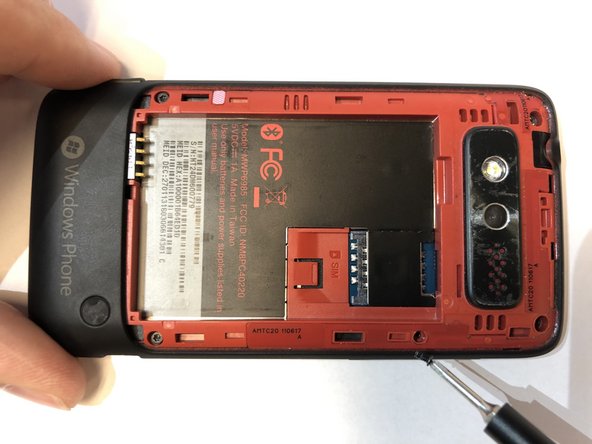
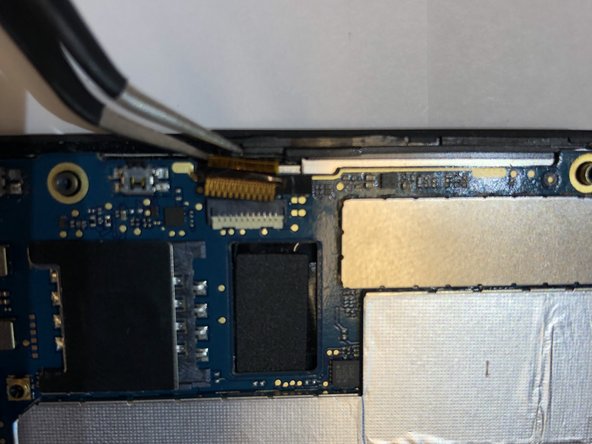
    • Press a T5 Torx screwdriver into the void sticker and remove the 4mm long T5 Torx screw.

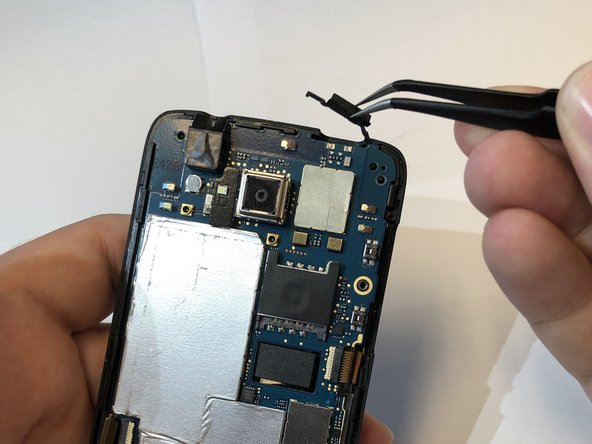
    • One 4mm long Philips #000 screw.

    • Remove the installed SIM card if one is present.

  4. HTC Trophy Display Assembly Replacement: paso 4, imagen 1 de 3 HTC Trophy Display Assembly Replacement: paso 4, imagen 2 de 3 HTC Trophy Display Assembly Replacement: paso 4, imagen 3 de 3
    • Insert the IFixIt opening tool into the seem of the plastic around the edge of the phone and pry the two halves apart.

    • There are small plastic clips holding the phone together. Slide the opening tool around the edge until it clicks apart to avoid damage.

    • The volume button will fall out when the phone is opened.

    • The black sticker beneath the battery will rip once the phone is separated.

  5. HTC Trophy Display Assembly Replacement: paso 5, imagen 1 de 3 HTC Trophy Display Assembly Replacement: paso 5, imagen 2 de 3 HTC Trophy Display Assembly Replacement: paso 5, imagen 3 de 3
    • Remove the three screws holding the mother board to the display assembly.

    • One 2mm long Philips #000 screw.

    • Two 4mm long T5 Torx screws in the holes of the plastic.

  6. HTC Trophy Display Assembly Replacement: paso 6, imagen 1 de 3 HTC Trophy Display Assembly Replacement: paso 6, imagen 2 de 3 HTC Trophy Display Assembly Replacement: paso 6, imagen 3 de 3
    Herramienta utilizada en este paso:
    Tweezers
    $4.99
    Comprar
    • Remove the black tape cover the ribbon cable connectors with tweezers.

    • Disconnect the ribbon cables from the connectors.

    • Ribbon cables are extremely fragile.

  7. HTC Trophy Display Assembly Replacement: paso 7, imagen 1 de 2 HTC Trophy Display Assembly Replacement: paso 7, imagen 2 de 2
    • Remove power button from the top of the phone with tweezers.

  8. HTC Trophy Display Assembly Replacement: paso 8, imagen 1 de 3 HTC Trophy Display Assembly Replacement: paso 8, imagen 2 de 3 HTC Trophy Display Assembly Replacement: paso 8, imagen 3 de 3
    • Use the iFixit opening tool to separate the motherboard from the display assembly.

Conclusión

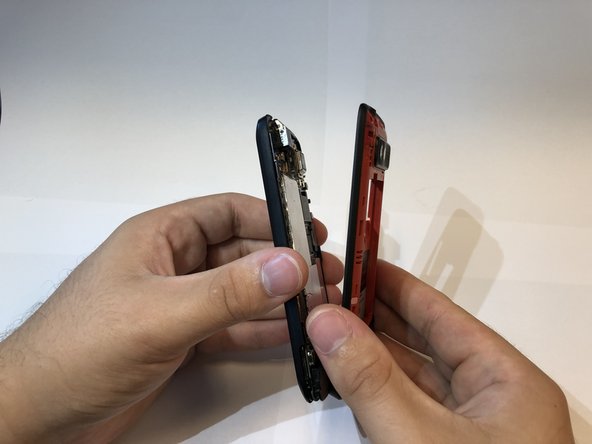
To reassemble your device, follow these instructions in reverse order.

Una persona más ha completado esta guía.

0 comentarios

Agregar Comentario

Ver Estadísticas:

Ultimas 24 horas: 0

Ultimos 7 días: 0

Ultimos 30 días: 3

Todo El Tiempo: 112