Esta versión puede contener ediciones incorrectas. Cambie a la última instantánea verificada.
Qué necesitas
-
Este paso está sin traducir. Ayuda a traducirlo
-
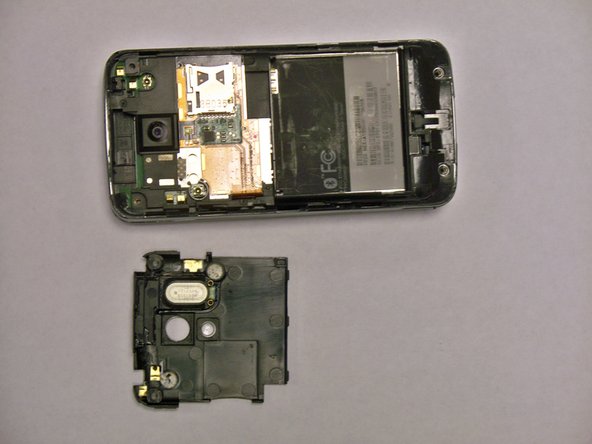
First, gently press on the back plate and push down toward the camera.
-
-
-
Este paso está sin traducir. Ayuda a traducirlo
-
Remove the two Phillips #00 screws from the backside of the screen.
-
-
Este paso está sin traducir. Ayuda a traducirlo
-
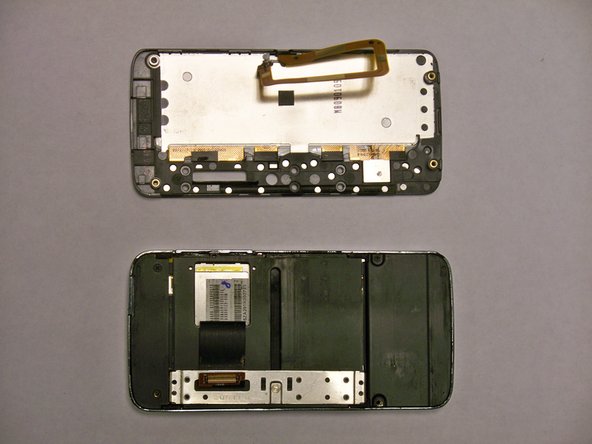
Insert a spudger or a plastic opening tool into the seam on the side of the phone.
-
Gently pry apart the two halves of the phone.
-
-
Este paso está sin traducir. Ayuda a traducirlo
-
Gently unplug the connectors.
-
Remove the screws with a 00 Phillips-head screwdriver.
-
-
Este paso está sin traducir. Ayuda a traducirlo
-
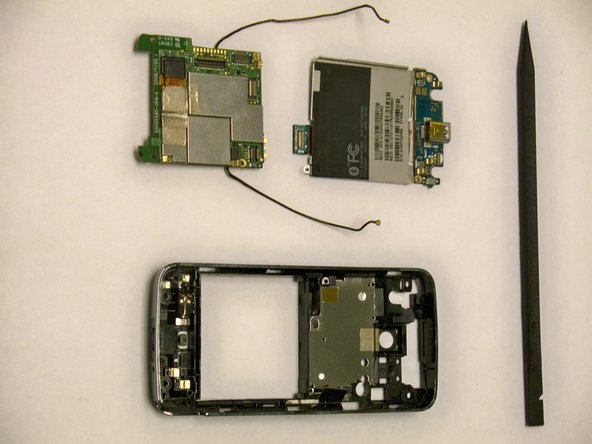
Gently lift the motherboard up using a nylon spudger.
-
-
Este paso está sin traducir. Ayuda a traducirlo
-
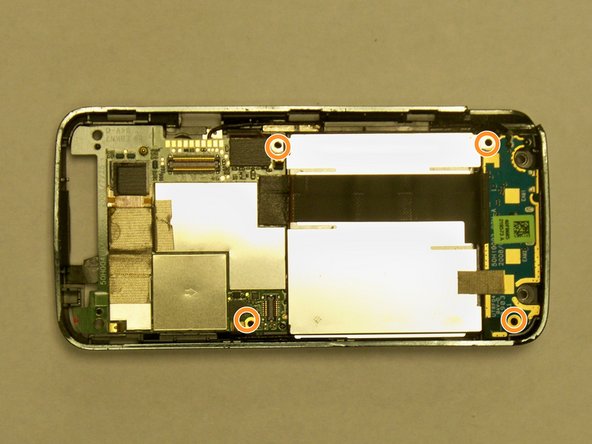
Remove the 4 screws circled in red using a 00 Phillips-head screwdriver.
-


Equipo

CSU Los Angeles, Team 1-6, Nelson Spring 2011 Miembro de CSU Los Angeles, Team 1-6, Nelson Spring 2011
CSULA-NELSON-S11S1G6
3 Miembros
8 Guías creadas