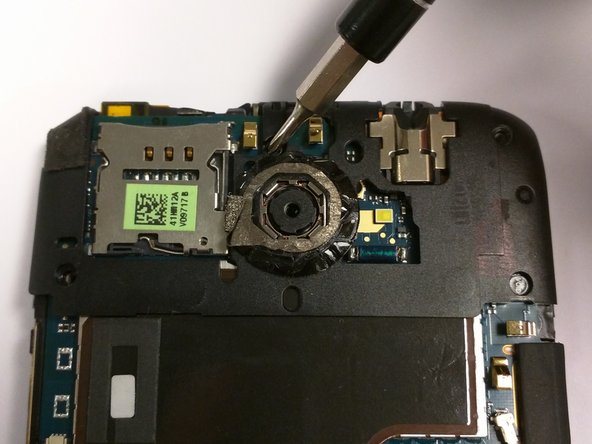
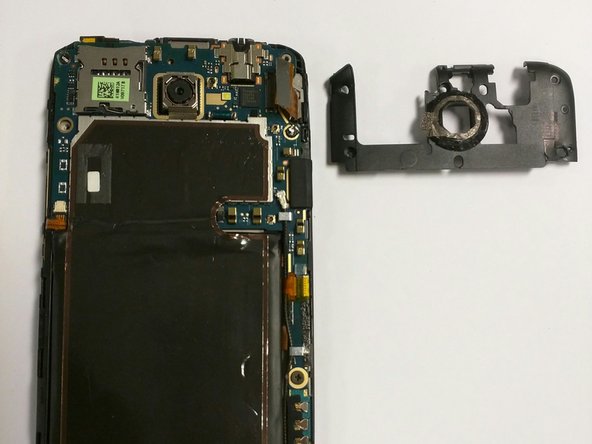
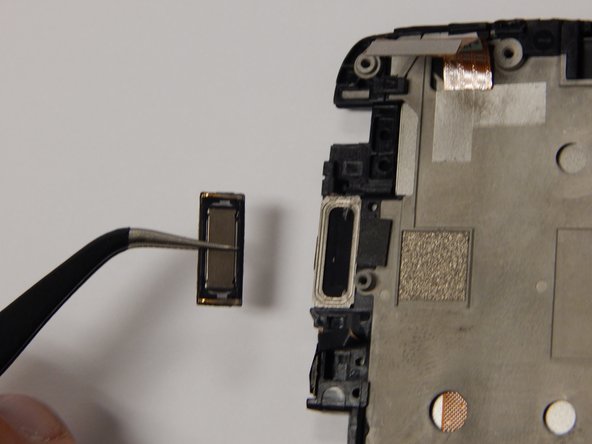
Saltar al contenido principal

HTC One X Plus Top Speaker Replacement

Qué necesitas

  1. HTC One X Plus Top Speaker Replacement, Top Speaker: paso 1, imagen 1 de 1
    • Hold down the power button to turn off your device.

    • Insert a pin, paper clip, or another similar object into the hole next to the micro sim card holder to remove it.

    • The SIM card slot is located on the top edge of the device.

  2. HTC One X Plus Top Speaker Replacement: paso 2, imagen 1 de 3 HTC One X Plus Top Speaker Replacement: paso 2, imagen 2 de 3 HTC One X Plus Top Speaker Replacement: paso 2, imagen 3 de 3
    • Using plastic opening tools, pry open the bottom of the device.

    • You will hear clicking sounds as the sides of the device detach from the screen.

    • Once both sides are detached use the suction cup tool to remove the screen completely from the black casing.

  3. HTC One X Plus Top Speaker Replacement: paso 3, imagen 1 de 3 HTC One X Plus Top Speaker Replacement: paso 3, imagen 2 de 3 HTC One X Plus Top Speaker Replacement: paso 3, imagen 3 de 3
    • Remove the five 2.4mm screws located around the camera using a Philips head screwdriver to remove the plastic cover.

    • Once you have disassembled your device the warranty will no longer be valid.

  4. HTC One X Plus Top Speaker Replacement: paso 4, imagen 1 de 3 HTC One X Plus Top Speaker Replacement: paso 4, imagen 2 de 3 HTC One X Plus Top Speaker Replacement: paso 4, imagen 3 de 3
    • Use the J000 Philips screwdriver to remove the screws and remove the PCB board and antenna.

    • These are two 3.4mm Philips head screws found in the lower right corner of the phone.

  5. HTC One X Plus Top Speaker Replacement: paso 5, imagen 1 de 2 HTC One X Plus Top Speaker Replacement: paso 5, imagen 2 de 2
    • Pull out the power button flex cable using tweezers to disconnect from the phone.

    • Use the tweezers to then disconnect the touch screen flex cable.

  6. HTC One X Plus Top Speaker Replacement: paso 6, imagen 1 de 3 HTC One X Plus Top Speaker Replacement: paso 6, imagen 2 de 3 HTC One X Plus Top Speaker Replacement: paso 6, imagen 3 de 3
    • Remove the battery connections to the logic board.

    • This is the six pin connector seen in the red box.

    • Pull the battery away to remove from the back of the screen.

  7. HTC One X Plus Top Speaker Replacement: paso 7, imagen 1 de 2 HTC One X Plus Top Speaker Replacement: paso 7, imagen 2 de 2
    • CAUTION: carefully remove the top speaker from the phone using tweezers.

Conclusión

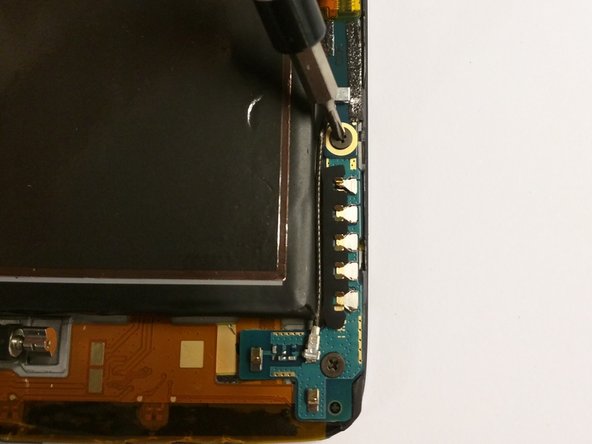
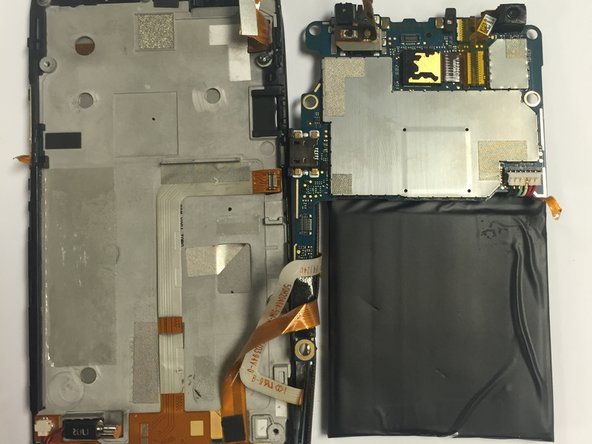
To reassemble your device, follow these instructions in reverse order.

Una persona más ha completado esta guía.

Jason Melo

Miembro Desde 08/26/15

483 Reputación

4 Guías creadas

Equipo

USF Tampa, Team 3-3, Eyestone Fall 2015 Miembro de USF Tampa, Team 3-3, Eyestone Fall 2015

USFT-EYESTONE-F15S3G3

3 Miembros

10 Guías creadas

0 comentarios

Agregar Comentario

Ver Estadísticas:

Ultimas 24 horas: 0

Ultimos 7 días: 0

Ultimos 30 días: 1

Todo El Tiempo: 419