Introducción
This guide will take you through the process of replacing the speakers for the HTC One Remix.
Qué necesitas
-
-
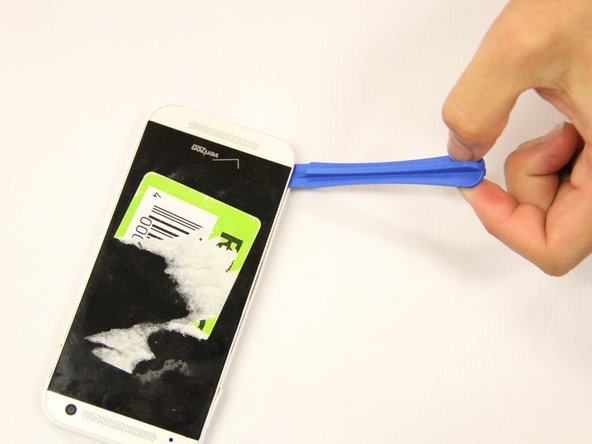
Place the warm iOpener on the top of the phone for three minutes.
-
-


Casi Terminas!
To reassemble your device, follow these instructions in reverse order.
Conclusión
To reassemble your device, follow these instructions in reverse order.
Equipo

Eastern Washington University, Team S2-G4, Ramos Spring 2018 Miembro de Eastern Washington University, Team S2-G4, Ramos Spring 2018
EWU-RAMOS-S18S2G4
5 Miembros
4 Guías creadas