Esta guía ha sufrido modificaciones. Revisa la última versión sin revisar.
Introducción
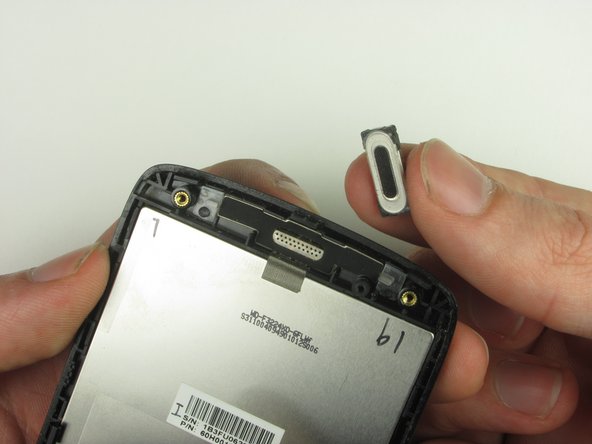
This guide shows how to remove the internal ear speaker used during phone calls. You might want to replace this if call quality has significantly dropped or if there is no sound.
Qué necesitas
-
-
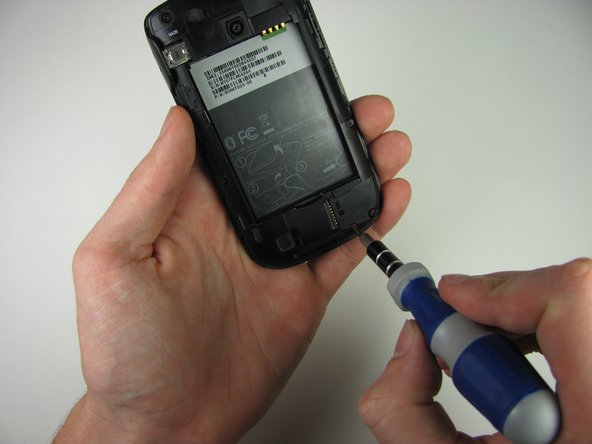
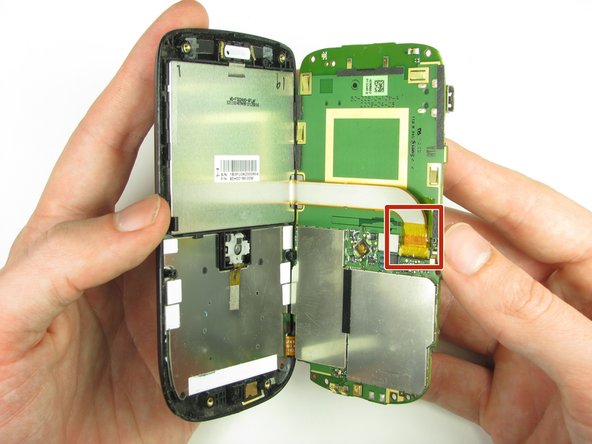
Remove the four 4.9mm T6 Torx screws that secure the back panel to the rest of the phone.
-
-


Casi Terminas!
To reassemble your device, follow these instructions in reverse order.
Conclusión
To reassemble your device, follow these instructions in reverse order.
Equipo

Cal Poly, Team 20-29, Maness Fall 2011 Miembro de Cal Poly, Team 20-29, Maness Fall 2011
CPSU-MANESS-F11S20G29
4 Miembros
18 Guías creadas