Esta versión puede contener ediciones incorrectas. Cambiar a la última instantánea verificada.
Qué necesitas
-
Este paso está sin traducir. Ayuda a traducirlo
-
Flip over to view the bottom of the laptop in order to gain access the battery and the DVD±RW Drive.
-
-
Este paso está sin traducir. Ayuda a traducirlo
-
slide release switches inward towards each other to release battery.
-
-
Este paso está sin traducir. Ayuda a traducirlo
-
after sliding the release switches, pull battery towards yourself to remove battery.
-
-
Este paso está sin traducir. Ayuda a traducirlo
-
There is one screw holding the DVD±RW Drive in place. Use the #00 screwdriver to remove the screw.
-
-
Este paso está sin traducir. Ayuda a traducirlo
-
The DVD±RW Drive is here. Remove by gently pulling it straight out.
-
After removal of the DVD±RW Drive, two screws are exposed and must be removed.
-
-
-
Este paso está sin traducir. Ayuda a traducirlo
-
Using your Phillips #00 screwdriver, remove the two screws to loosen the fittings of the keyboard.
-
-
Este paso está sin traducir. Ayuda a traducirlo
-
Flip the laptop over to view the top and lift the screen up.
-
There are sixteen clips holding the keyboard in place. Gently pry up each clip using a plastic opening tool. Once all clips are loose, lift the keyboard from the computer.
-
-
Este paso está sin traducir. Ayuda a traducirlo
-
Flip the black latch up to release the film-material. Once flipped up, simply pull the film-material out from the laptop to release the keyboard.
-
-
Este paso está sin traducir. Ayuda a traducirlo
-
Flip the laptop over to view the bottom and remove the remaining screws from the bottom.
-
-
Este paso está sin traducir. Ayuda a traducirlo
-
Flip your laptop over to view top and open it.
-
Remove the four screws and the two wires before removing the base of the laptop.
-
-
Este paso está sin traducir. Ayuda a traducirlo
-
Use your plastic opening tool to pry the base of the laptop off.
-
-
Este paso está sin traducir. Ayuda a traducirlo
-
There are two screws holding the hard drive in place. Remove these screws.
-
Remove the hard drive by pulling it to the right like shown.
-
-
Este paso está sin traducir. Ayuda a traducirlo
-
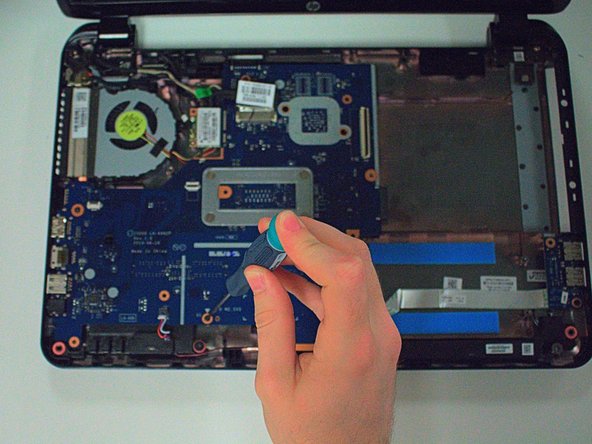
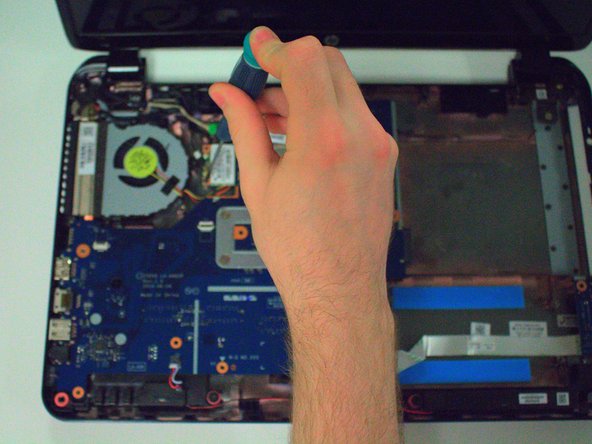
There are 3 screws holding the motherboard in place.
-
Unscrew the screws to release the motherboard.
-
-
Este paso está sin traducir. Ayuda a traducirlo
-
There are several wires that need to be disconnected from the motherboard.
-
Remove the wires carefully.
-
-
Este paso está sin traducir. Ayuda a traducirlo
-
After removing all the wires, pull the motherboard out.
-


Cancelar: No complete esta guía.
4 personas más completaron esta guía.

Equipo

USF Tampa, Team 16-4, Watkins Winter 2015 Miembro de USF Tampa, Team 16-4, Watkins Winter 2015
USFT-WATKINS-W15S16G4
4 Miembros
6 Guías creadas
Un comentario
I need to buy this motherboard online
How can i find it?