Introducción
If the laptop only powers on while plugged in, then the battery is defective. Use this guide to access, remove, and replace your battery. Separating the back panel from the clips on the device will require the use of force.
Qué necesitas
-
-
Carefully peel off the felt cover that is found beneath the display along the bottom of the device.
-
Use a spudger to gently scrape away the padding that hides the screws in each of the four locations.
-
Remove the four 4-mm Phillips #0 screws.
-
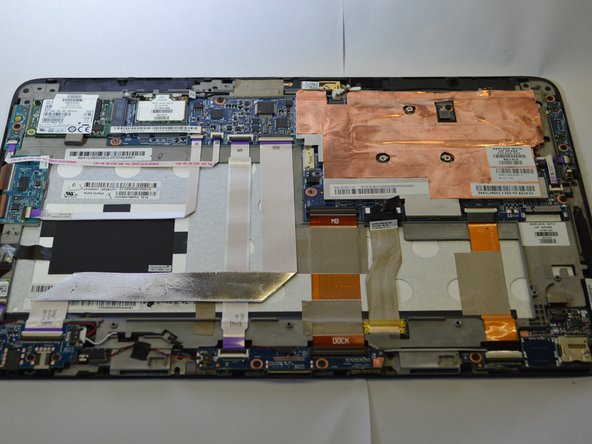
Run a spudger along the crease of the entire laptop and slowly pry off the back panel of the device, beginning with the bottom edge.
-
-
-
Remove the three 6-mm Phillips #0 screws.
-
Remove the four 4-mm Phillips #0 screws.
-
-


To reassemble your device, follow these instructions in reverse order.
To reassemble your device, follow these instructions in reverse order.
Cancelar: No complete esta guía.
4 personas más completaron esta guía.

Equipo

Purdue University Northwest, Team S4-G1, Hingst Spring 2019 Miembro de Purdue University Northwest, Team S4-G1, Hingst Spring 2019
PNW-HINGST-S19S4G1
4 Miembros
6 Guías creadas