Introducción
The HP ProBook 650 G2 makes it fairly easy to replace the battery quickly.
Qué necesitas
-
-
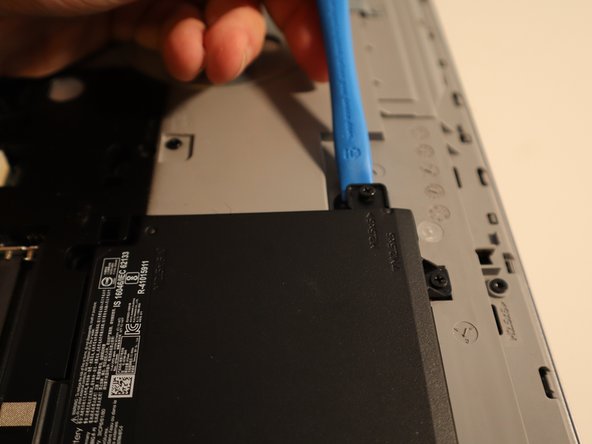
Start at the back near the hinge with a pry tool
-
Work your way around to the front using enough pressure to release the plastic clips
-
Once you get near the opposite corner it should release to a point where you can use your hand to pull it open
-
-
-
-
There are 7 captive screws (on the original HP battery) around the edge of the battery that use a PH1 bit
-
Once the screws are removed you can use the tab nearest the front center of the laptop to lift the battery up and out
-
-
-
If your new battery did not come with the captive screws you can unscrew them from the old battery by applying pressure under the screw while unscrewing them so you can transfer them to the new battery
-


To reassemble your device, follow these instructions in reverse order.
To reassemble your device, follow these instructions in reverse order.
