Introducción
Use this guide if you want to upgrade the processor inside your HP Pavilion x360 m3-u101dx laptop to improve the performance.
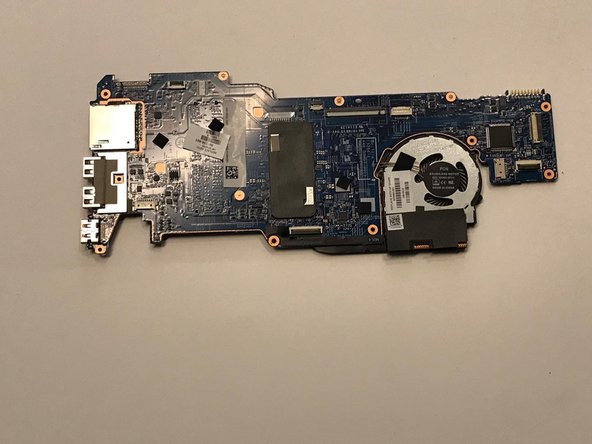
The processor is what runs your laptop, and it is one of the most vital parts to all computers. Slow performance of a computer can sometimes be caused by a faulty processor, which is very difficult to repair on your own.
Qué necesitas
-
-
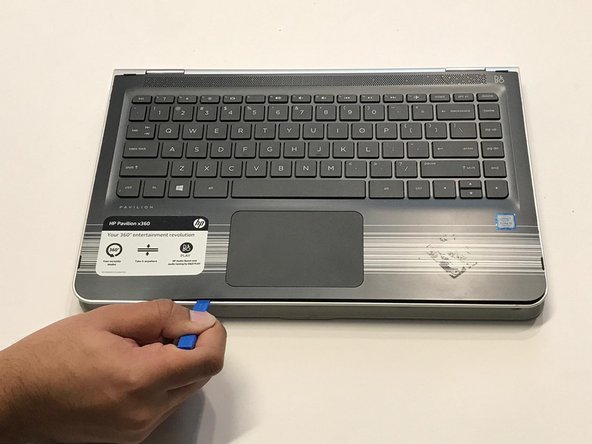
Lift open the laptop screen and flip it around so that the keyboard is facing up.
-
Insert a plastic opening tool into one of the corners to create a gap between the bottom panel and the keyboard panel.
-
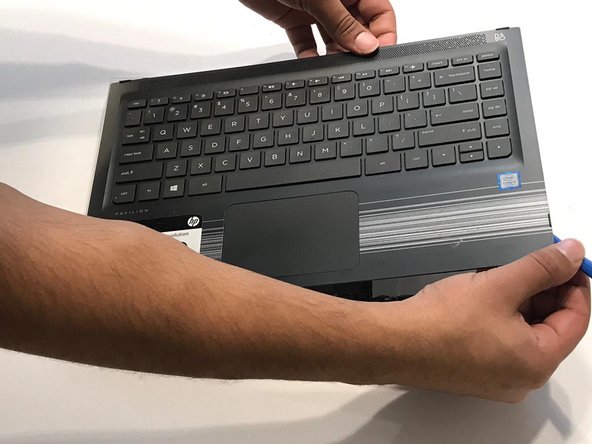
Guide the plastic opening tool around the perimeter of the panel to detach all the clips that are supporting it in place.
-
Detach the keyboard panel from the frame.
-
-
-
-
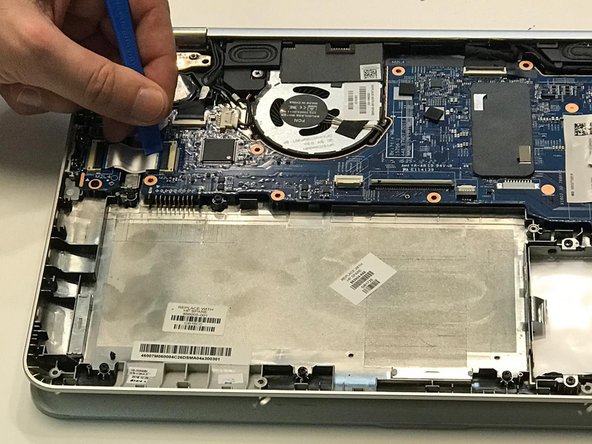
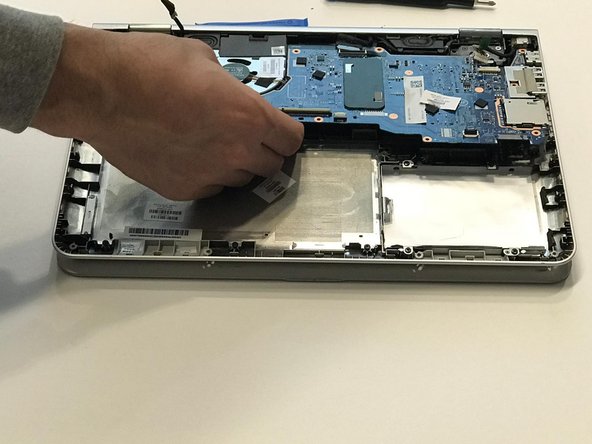
Use a plastic opening tool to lift the battery cable out from the motherboard.
-
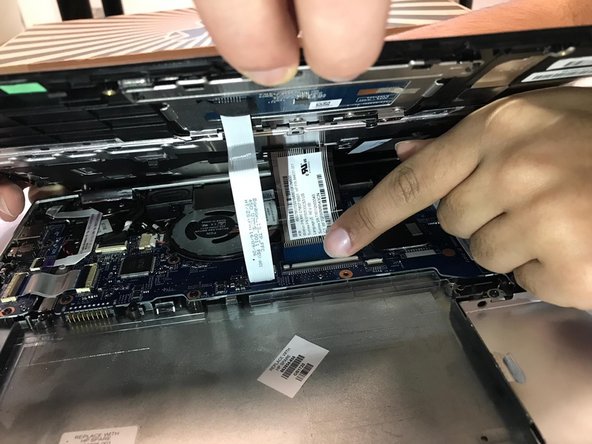
Disconnect the seven ribbon cables connected to the motherboard using a finger or plastic opening tool.
-


To reassemble your device, follow these instructions in reverse order.
To reassemble your device, follow these instructions in reverse order.

Equipo

York University, Team S8-G1, Turner Winter 2020 Miembro de York University, Team S8-G1, Turner Winter 2020
YORK-TURNER-W20S8G1
5 Miembros
7 Guías creadas
Un comentario
Thank you! Very helpful guide. After following all the steps, finally i have replaced my laptop processor. Thanks
You can also check: '''How to Make a Laptop Faster'''