Introducción
By using the following tools and the following the steps below, you can simply remove your hard drive from your HP Pavilion Sleekbook and replace it with a new one.
Qué necesitas
-
-
Open the laptop and locate the keyboard. Identify the borders of the keyboard.
-
Taking plastic opening tools in hand, carefully and gently pry open the outer perimeter of the keyboard.
-
-
-
Once part of the keyboard has popped up, continue to lift the keyboard until it is removed.
-
-
-
-
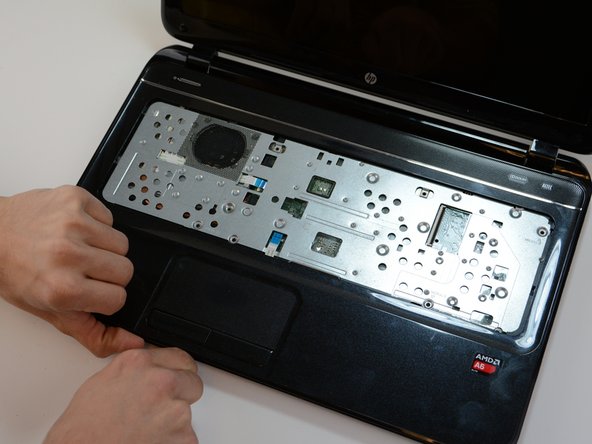
Pop out the black frame found underneath the keyboard using the plastic opening tools.
-
Once the frame is popped out continue to lift the frame gently.
-


To reassemble your device, follow these instructions in reverse order.
To reassemble your device, follow these instructions in reverse order.
Cancelar: No complete esta guía.
12 personas más completaron esta guía.
Equipo

USF Tampa, Team 3-3, Hickman Winter 2015 Miembro de USF Tampa, Team 3-3, Hickman Winter 2015
USFT-HICKMAN-W15S3G3
4 Miembros
5 Guías creadas
6 comentarios
Fatto per il modello 15-b131el!!
This technician has left out several crucial steps for this repair several screws on the bottom and several underneath the keyboard before the laptop casing will come apart, common sense for a tech but a how-to should not leave these details out.
These instructions ruined my friends laptops. PLEASE do not post directions like this if you don’t know what you ‘re doing as folks like me will mistakenly assume that you do & attempt this and then damage cables. VERY, VERY careful folks! Cost me $200 for a replacement laptop.
If you do not remove the screws you will crack the keyboard and cover.
WIll it support any SSD drive to upgrade from basic HDD?