Esta versión puede contener ediciones incorrectas. Cambiar a la última instantánea verificada.
Qué necesitas
-
Este paso está sin traducir. Ayuda a traducirlo
-
Use the nylon spudger to remove the rubber pads near the hinge for the screen. Then remove the screws under the pads.
-
Use Phillips #0 to remove four 9mm screws.
-
Use Phillips #0 to remove seven 6mm screws.
-
-
-
Este paso está sin traducir. Ayuda a traducirlo
-
Use the nylon spudger to pry the back casing near the hinges for the screen.
-
Continue to pry along the edge of the back case until the back is ready to be removed.
-
-
Este paso está sin traducir. Ayuda a traducirlo
-
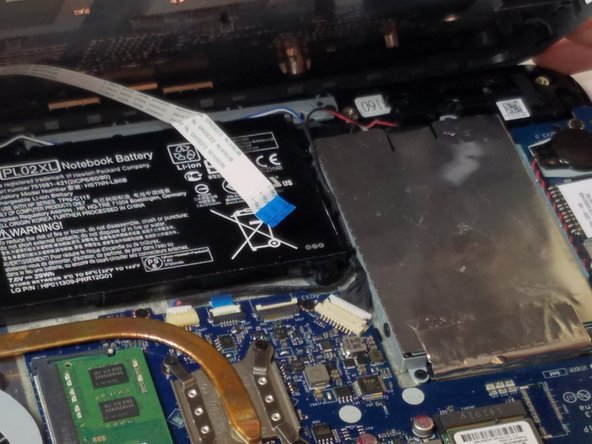
Use the plastic opening tool to lift up on the white tab that is holding the cable in place on the motherboard.
-
Now carefully pull the cable out of place and remove the entire back casing.
-


Cancelar: No complete esta guía.
Una persona más ha completado esta guía.
Equipo

USF Tampa, Team 11-5, Blackwell Fall 2016 Miembro de USF Tampa, Team 11-5, Blackwell Fall 2016
USFT-BLACKWELL-F16S11G5
3 Miembros
5 Guías creadas