Introducción
Use this guide to replace the fan in a HP Omen 15-5002xx laptop. The fan is an essential component for preventing the computer from overheating. The fan allows the computer hardware to cool off and make the computer more smoothly.
Before beginning, be sure to completely shut down the computer and it is unplugged from the charger.
Qué necesitas
-
-
Flip the laptop upside down so the backside is facing up.
-
Use a spudger or your fingers to remove the thin rubber strips that are attached from the edges of the laptop.
-
Unscrew all 14 screw with the J00 JIS Screwdriver.
-
-
-
Open the case slowly from opposite sides of the laptop.
-
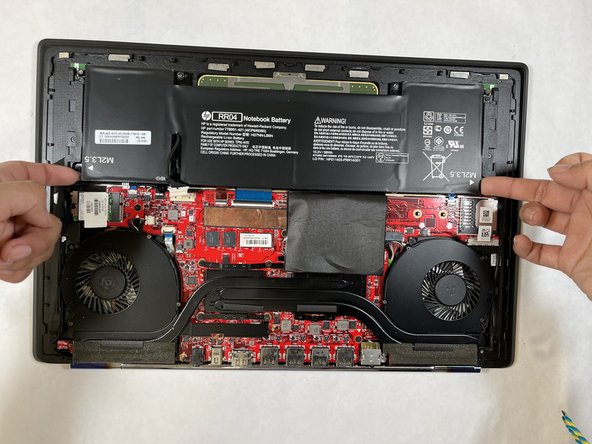
Use the J00 JIS screwdriver to remove eight screws securing the battery.
-
-
-
-
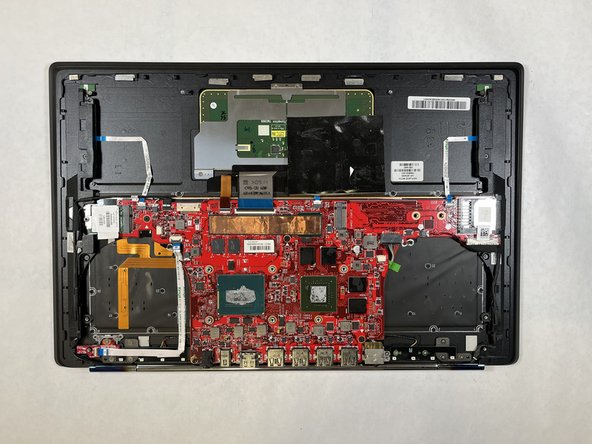
Remove the twelve big screws with the J00 JIS screwdriver.
-
Remove all eight small screws with the 1.5 flathead screwdriver.
-


To reassemble your device, follow these instructions in reverse order.
To reassemble your device, follow these instructions in reverse order.

Equipo

Gateway, Team 1-1, Saknee Fall 2021 Miembro de Gateway, Team 1-1, Saknee Fall 2021
GCC-SAKNEE-F21S1G1
5 Miembros
6 Guías creadas