Introducción
This guide will teach you how to replace the carriage belt on your HP Officejet Pro 6835 or 6830. Be prepared to get ink on your hands, as some components may have ink on them.
Qué necesitas
-
-
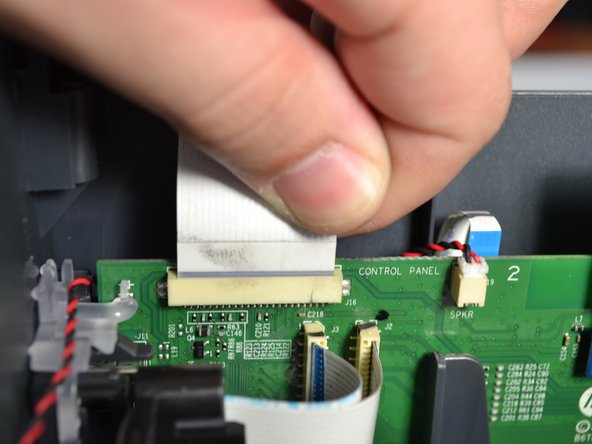
Open the main lid as far as it will go.
-
Use a plastic opening tool to gently pry off the hinge on the right side by pushing it to the left and off the hook.
-
Open the lid further.
-
-
-
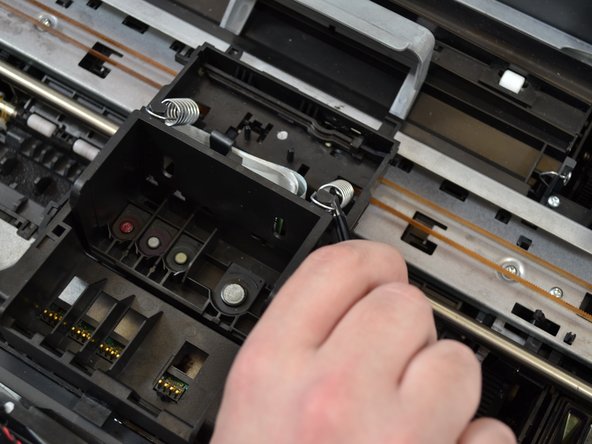
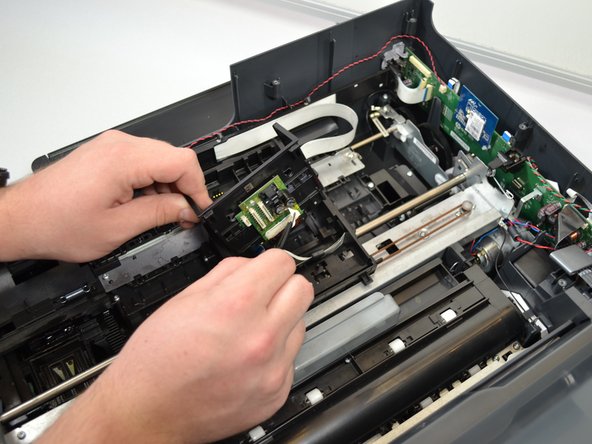
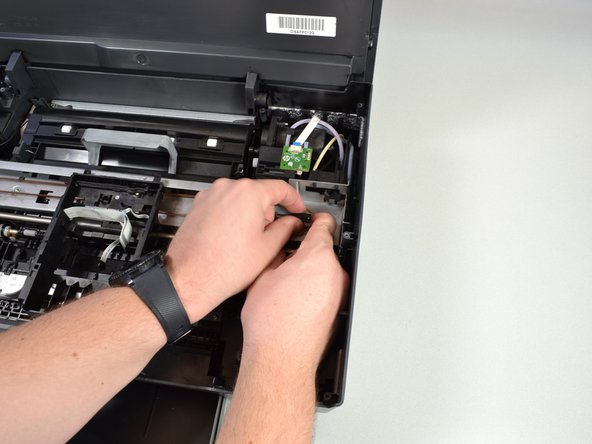
Using tweezers, pinch the top of the spring located on the right side of the printhead.
-
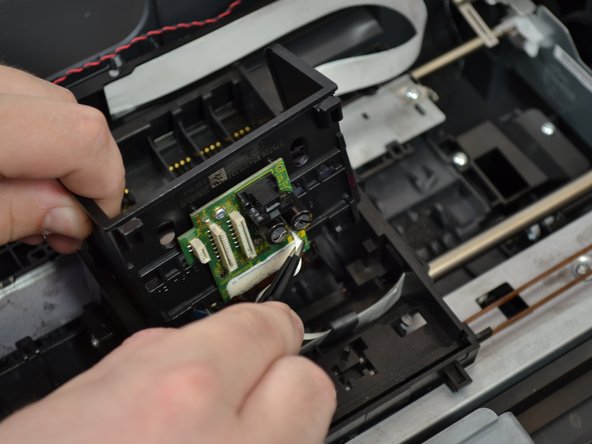
Pull the spring up and around the hook of the carriage to remove the spring from the printhead.
-
Use the same procedure to remove the left spring.
-
-
-
-
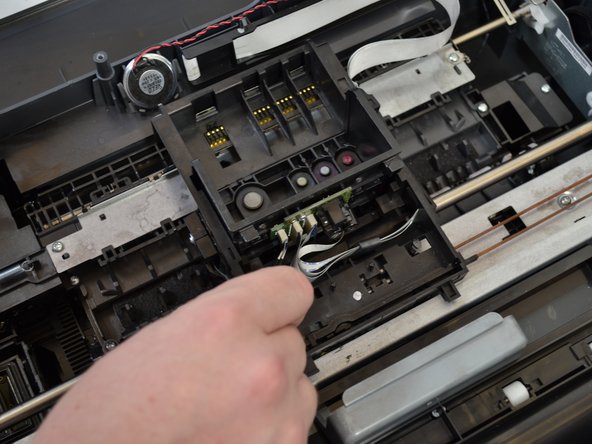
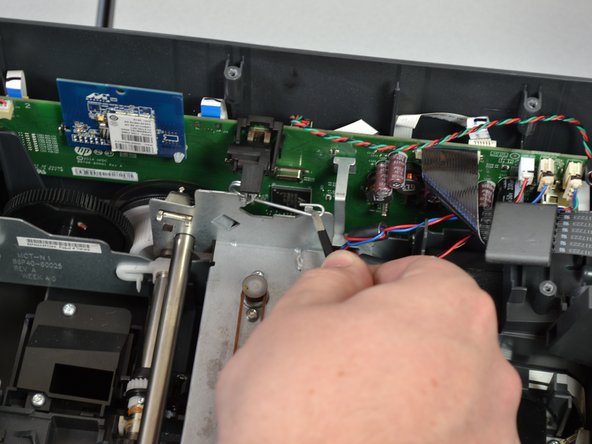
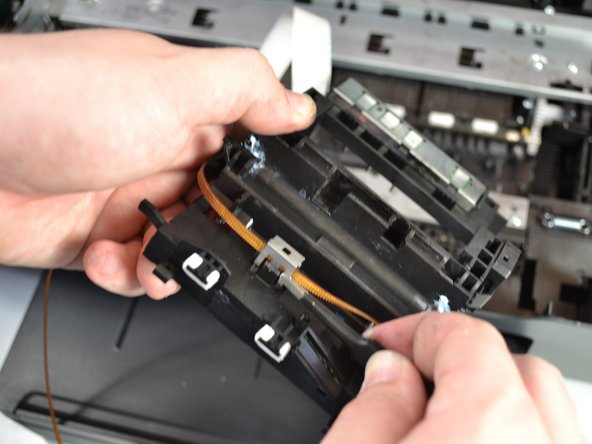
Using the tweezers, remove the right side of the metal clamp that is holding the metal frame in place by pulling up.
-
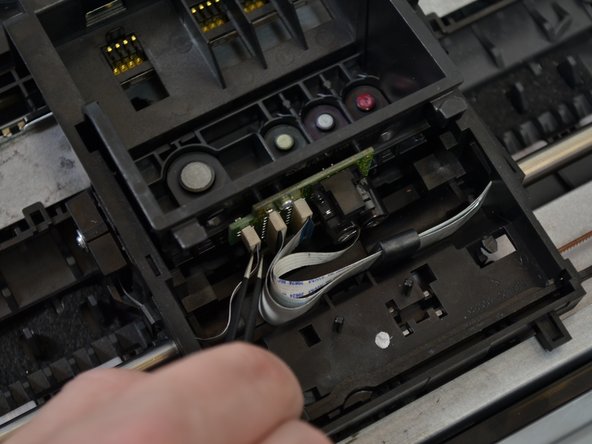
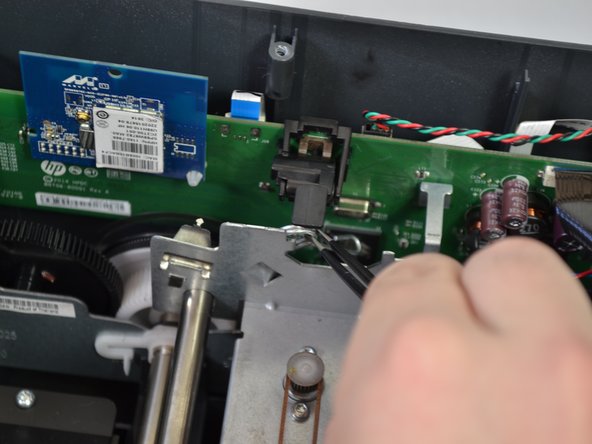
With the tweezers, unhook the metal coil side of the clamp and pull up to remove it completely.
-
Repeat these steps on the other side of the printer.
-


To reassemble your device, follow these instructions in reverse order.
To reassemble your device, follow these instructions in reverse order.
Cancelar: No complete esta guía.
Una persona más ha completado esta guía.
Equipo

Cal Poly, Team S2-G4, Livingston Winter 2018 Miembro de Cal Poly, Team S2-G4, Livingston Winter 2018
CPSU-LIVINGSTON-W18S2G4
4 Miembros
16 Guías creadas