Introducción
HP Officejet 100
Model Number: SNPRC-1003-01
Replacing the Top Panel of HP Officejet 100
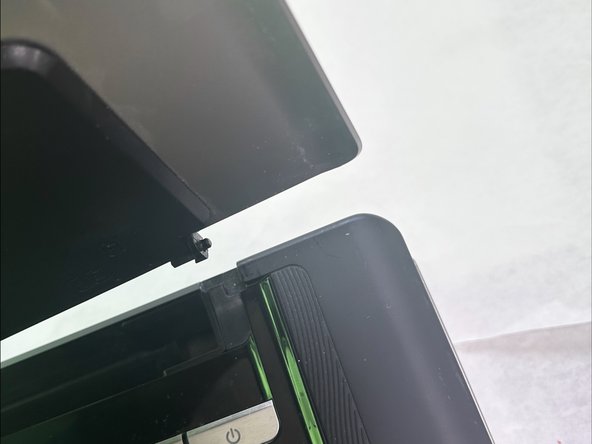
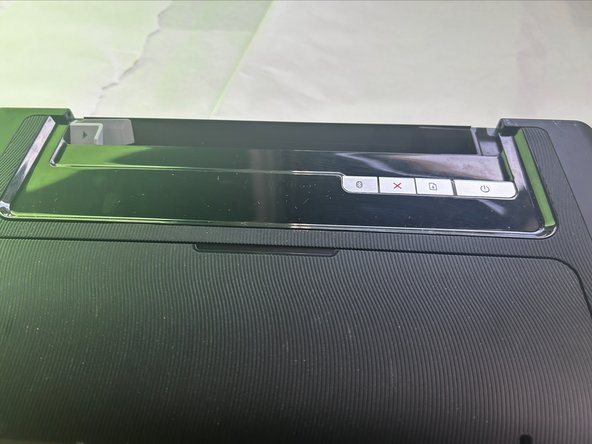
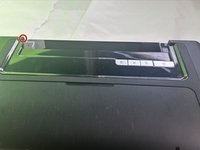
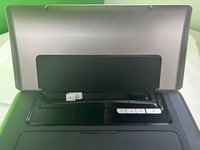
The top panel of the HP Officejet 100 closes the printer and allows you to put paper and ink in when you open it. In some cases, the top panel can be cracked, shattered, or even be hard to open because the hinges are too tight.
-
-
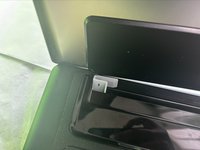
Hold the panel from the bottom corner and push it inwards and pull upwards to take it off.
-
-


To reassemble your device, follow these instructions in reverse order.
To reassemble your device, follow these instructions in reverse order.
Cancelar: No complete esta guía.
Una persona más ha completado esta guía.

Equipo

University of North Texas, Team 5-5, Kilpatrick Fall 2024 Miembro de University of North Texas, Team 5-5, Kilpatrick Fall 2024
UNT-KILPATRICK-F24S5G5
Miembros de 3
5 Guías creadas