Saltar al contenido principal

HP Envy x360 15m-bq021dx Power Input Replacement

Qué necesitas

  1. HP Envy x360 15m-bq021dx Power Input Replacement, Battery: paso 1, imagen 1 de 2 HP Envy x360 15m-bq021dx Power Input Replacement, Battery: paso 1, imagen 2 de 2
    • On the back panel of the device, remove the four (4) M2.5xL6 screws at the top of the photo using a Phillips #0 screwdriver.

    • Unscrew the three (3) screws at the bottom of the photo using a T5 Torx screwdriver.

  2. HP Envy x360 15m-bq021dx Power Input Replacement: paso 2, imagen 1 de 3 HP Envy x360 15m-bq021dx Power Input Replacement: paso 2, imagen 2 de 3 HP Envy x360 15m-bq021dx Power Input Replacement: paso 2, imagen 3 de 3
    • To remove the back cover, use the black spudger to lift up on the edges of the cover.

    • Use a suction cup to assist in lifting the back cover

  3. HP Envy x360 15m-bq021dx Power Input Replacement: paso 3, imagen 1 de 1
    • Use the Philips #0 screwdriver to remove six (6) M2.0x3.2 screws from battery.

  4. HP Envy x360 15m-bq021dx Power Input Replacement: paso 4, imagen 1 de 1
    • Using the Philips #0 screwdriver, remove the final screw from the battery connected to the SSD storage unit.

  5. HP Envy x360 15m-bq021dx Power Input Replacement: paso 5, imagen 1 de 1
    • Lift and pull the front of the battery up and out (away from the connector) to remove.

  6. HP Envy x360 15m-bq021dx Power Input Replacement, Cooling Fan: paso 6, imagen 1 de 2 HP Envy x360 15m-bq021dx Power Input Replacement, Cooling Fan: paso 6, imagen 2 de 2
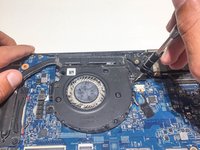
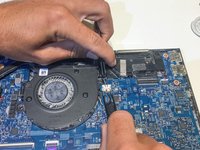
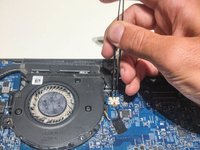
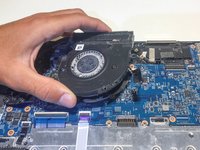
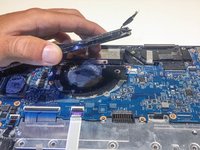
    • Using a Philips #0 screwdriver, remove the three M2x4 screws located around the cooling fan as shown in this picture.

    • Be careful as the fan might be sharp in some places when removing it.

  7. HP Envy x360 15m-bq021dx Power Input Replacement: paso 7, imagen 1 de 2 HP Envy x360 15m-bq021dx Power Input Replacement: paso 7, imagen 2 de 2
    • Remove the connector clip with the tweezers.

  8. HP Envy x360 15m-bq021dx Power Input Replacement: paso 8, imagen 1 de 1
    • Remove the four spring loaded screws with a Philips #1 screwdriver.

  9. HP Envy x360 15m-bq021dx Power Input Replacement: paso 9, imagen 1 de 2 HP Envy x360 15m-bq021dx Power Input Replacement: paso 9, imagen 2 de 2
    • Remove the cooling fan.

  10. HP Envy x360 15m-bq021dx Power Input Replacement, Motherboard: paso 10, imagen 1 de 3 HP Envy x360 15m-bq021dx Power Input Replacement, Motherboard: paso 10, imagen 2 de 3 HP Envy x360 15m-bq021dx Power Input Replacement, Motherboard: paso 10, imagen 3 de 3
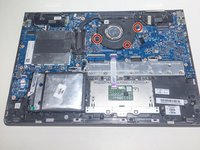
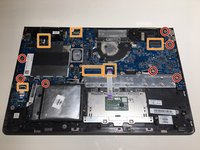
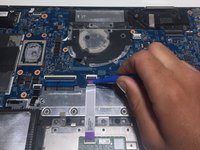
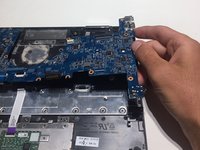
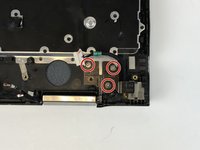
    • Using a Phillips #1, remove the seven M2.0x3.2 screws.

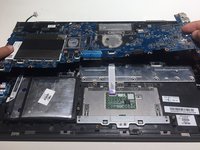
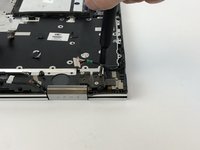
    • Undo the six connections using the blue opening tool.

  11. HP Envy x360 15m-bq021dx Power Input Replacement: paso 11, imagen 1 de 3 HP Envy x360 15m-bq021dx Power Input Replacement: paso 11, imagen 2 de 3 HP Envy x360 15m-bq021dx Power Input Replacement: paso 11, imagen 3 de 3
    • Carefully remove the aux port from the frame of the computer as shown.

  12. HP Envy x360 15m-bq021dx Power Input Replacement: paso 12, imagen 1 de 2 HP Envy x360 15m-bq021dx Power Input Replacement: paso 12, imagen 2 de 2
    • Pull the mother board up and away from frame of the computer.

  13. HP Envy x360 15m-bq021dx Power Input Replacement, Speakers: paso 13, imagen 1 de 1
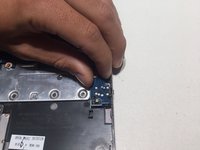
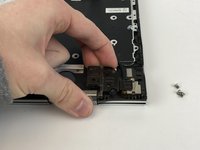
    • Use the tweezers to remove the cords from their restraints.

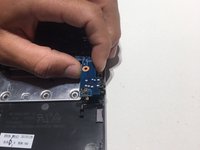
    • Lift the speakers out of the laptop.

  14. HP Envy x360 15m-bq021dx Power Input Replacement, Power Input: paso 14, imagen 1 de 3 HP Envy x360 15m-bq021dx Power Input Replacement, Power Input: paso 14, imagen 2 de 3 HP Envy x360 15m-bq021dx Power Input Replacement, Power Input: paso 14, imagen 3 de 3
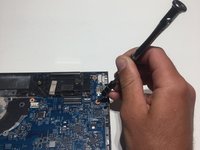
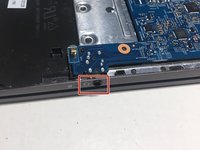
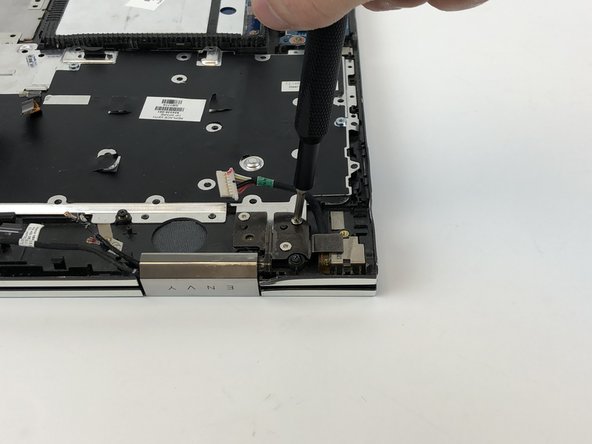
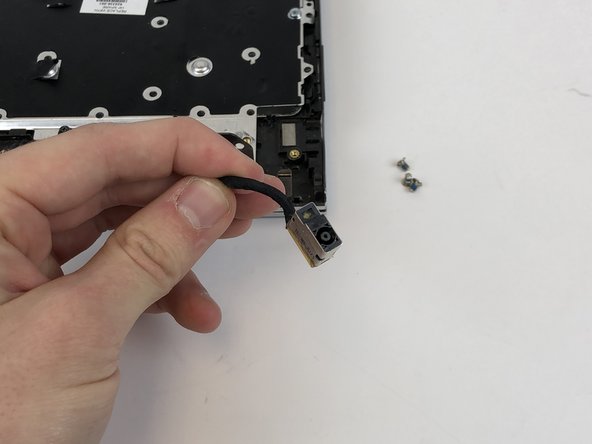
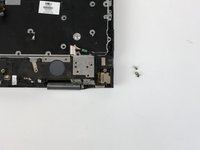
    • Remove the three M2.0x3.2 hinge screws next to the power input cord using a Philips #0 screwdriver.

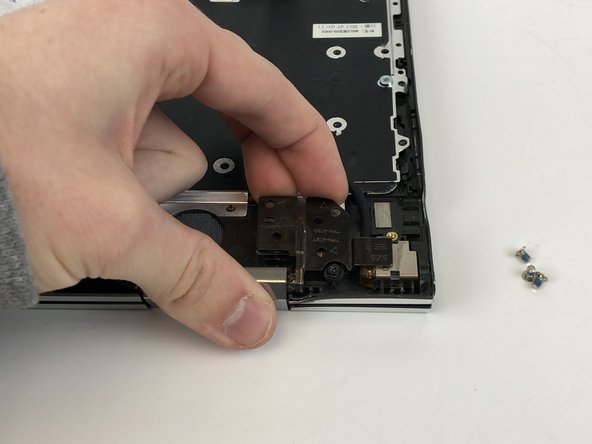
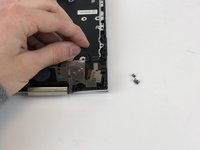
    • Pry the hinge up so that it is out of the way.

  15. HP Envy x360 15m-bq021dx Power Input Replacement: paso 15, imagen 1 de 3 HP Envy x360 15m-bq021dx Power Input Replacement: paso 15, imagen 2 de 3 HP Envy x360 15m-bq021dx Power Input Replacement: paso 15, imagen 3 de 3
    • Lift out the power input.

Conclusión

To reassemble your device, follow these instructions in reverse order.

0 comentarios

Agregar Comentario

Ver Estadísticas:

Ultimas 24 horas: 0

Ultimos 7 días: 0

Ultimos 30 días: 4

Todo El Tiempo: 235