Introducción
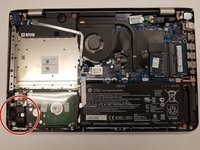
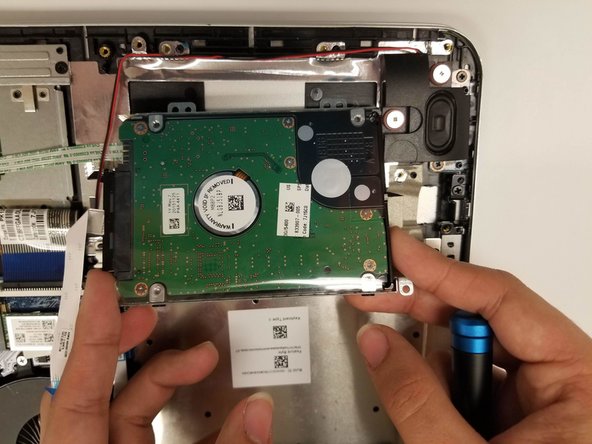
In this guide, you will learn how to remove the hard drive in order to either replace, upgrade, or manage the hard drive.
Qué necesitas
-
-
Remove the twelve screws in the back case using a Phillips #1 screwdriver.
-
-
-
-
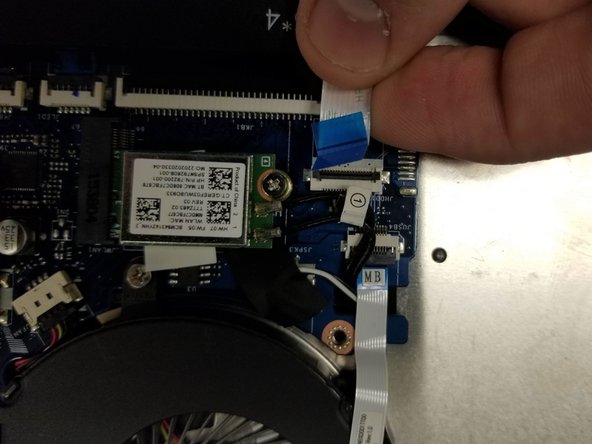
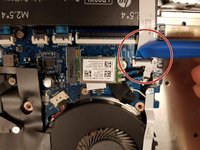
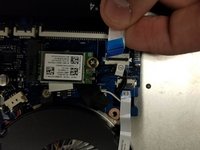
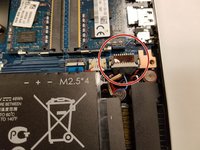
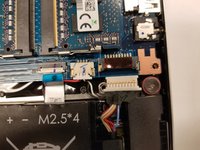
Remove the cable connecting the hard drive to the motherboard by carefully lifting the black tab, then pulling out the disconnected ribbon cable.
-
-
-
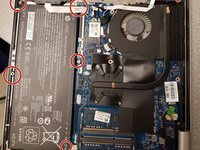
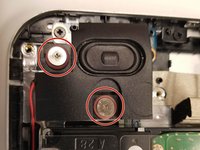
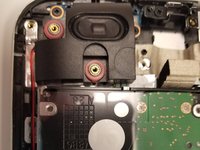
Unscrew the two screws that have a pink spacer below them with a Phillips #0 screwdriver.
-
Lift directly up to remove the main speaker.
-
Gently pull the wire out of the plastic track that it's set in.
-
-
-
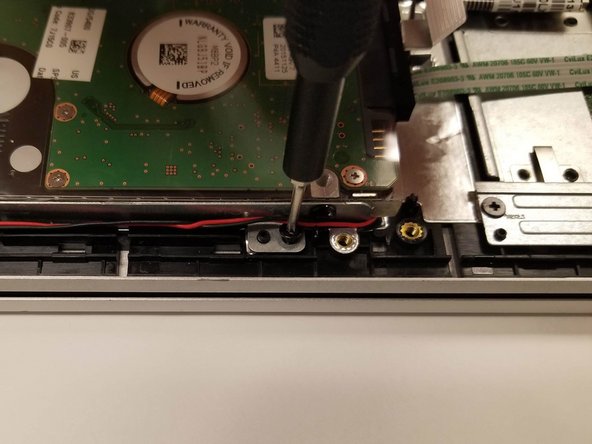
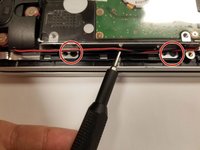
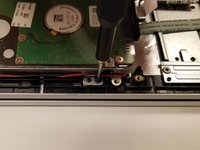
There are wires over some of the screws, use a thin implement to get the wires out of their track.
-
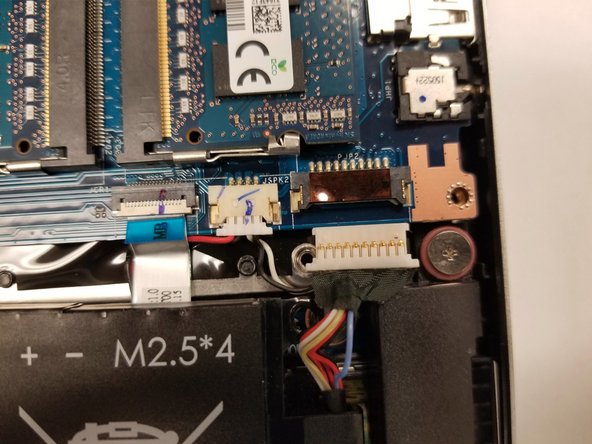
Unplug the SATA cable from the motherboard (covered in the teardown for the battery).
-
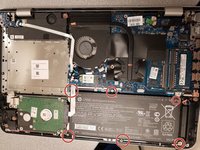
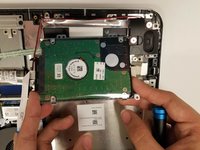
Remove the 4 screws
-
Remove the Hard drive from the unit
-
To reassemble your device, follow these instructions in reverse order.
To reassemble your device, follow these instructions in reverse order.
Cancelar: No complete esta guía.
Una persona más ha completado esta guía.
Un comentario
Thanks for this guide. It really helped out and drastically sped up the whole process.
I needed to install a 2.5" SSD and new RAM to my girlfriend's machine and have never opened up a HP laptop.
Appreciate all the effort that went in to this!


