Esta versión puede contener ediciones incorrectas. Cambie a la última instantánea verificada.
Qué necesitas
-
Este paso está sin traducir. Ayuda a traducirlo
-
Lay the printer on its back.
-
Grab the paper tray by its right side and pull it to the left and up.
-
-
Este paso está sin traducir. Ayuda a traducirlo
-
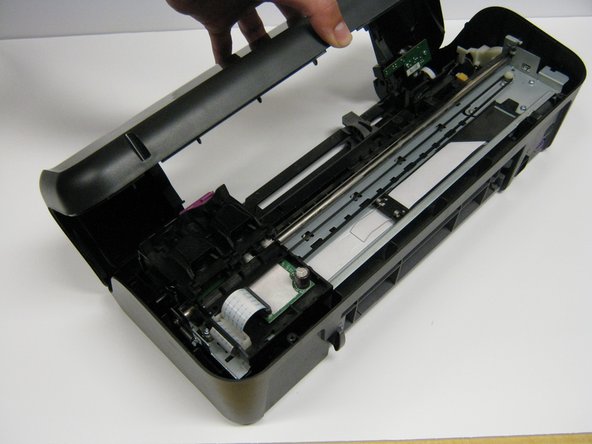
Open the frontal access panel by lifting it from the top.
-
Similar to the paper tray, grab it from the right side and pull it to the left and up.
-
-
-
Este paso está sin traducir. Ayuda a traducirlo
-
Take out the two frontal 14.0 mm Torx #10 screws.
-
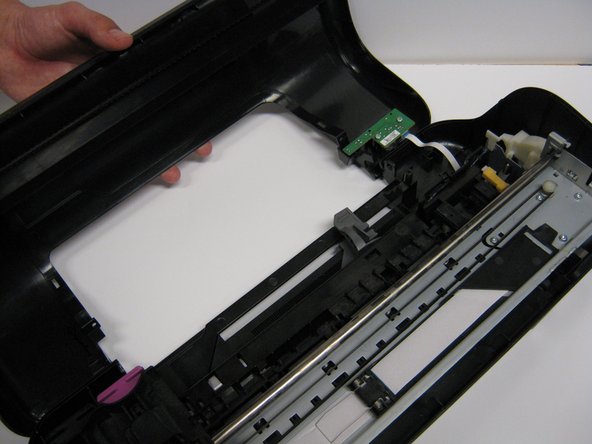
Carefully lift the frontal cover.
-
-
Este paso está sin traducir. Ayuda a traducirlo
-
Remove the strip that connects the printer to the front cover.
-
-
Este paso está sin traducir. Ayuda a traducirlo
-
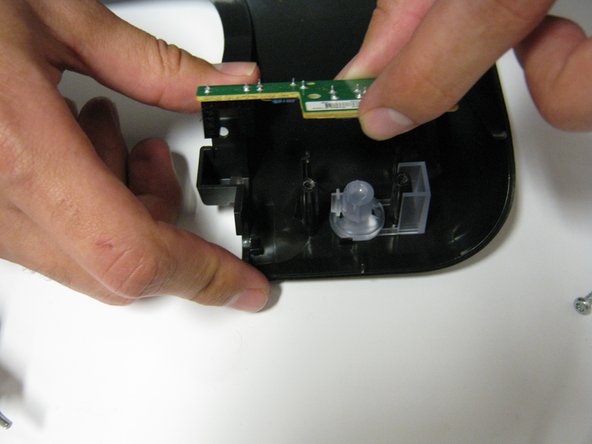
Remove the two 13.0 mm Torx #10 screws.
-
Carefully lift it up. The button will be located under it.
-


Cancelar: No complete esta guía.
Una persona más ha completado esta guía.
Equipo

Cal Poly, Team 1-41, Maness Winter 2014 Miembro de Cal Poly, Team 1-41, Maness Winter 2014
CPSU-MANESS-W14S1G41
4 Miembros
14 Guías creadas