Saltar al contenido principal

HP Compaq nc8430 LCD Screen Replacement

Qué necesitas

  1. HP Compaq nc8430 LCD Screen Replacement, Battery: paso 1, imagen 1 de 1
    • Completely shut down the device and unplug any adapters and cords connected to the device.

    • Carefully flip the device over so that the bottom is facing up.

    • Slide both of the latches to the left.

  2. HP Compaq nc8430 LCD Screen Replacement: paso 2, imagen 1 de 1
    • Slide up against the three lines the battery has.

  3. HP Compaq nc8430 LCD Screen Replacement: paso 3, imagen 1 de 1
    • Slide the battery up and away from the laptop.

    • Slowly remove the battery to prevent any connectors from getting damaged.

  4. HP Compaq nc8430 LCD Screen Replacement, LCD Screen: paso 4, imagen 1 de 1
    • Remove the four 1.2mm Phillip #1 screws circled.

    • The laptop may have rubber covers over the screws,. Remove them using a pointed tool to pry them out.

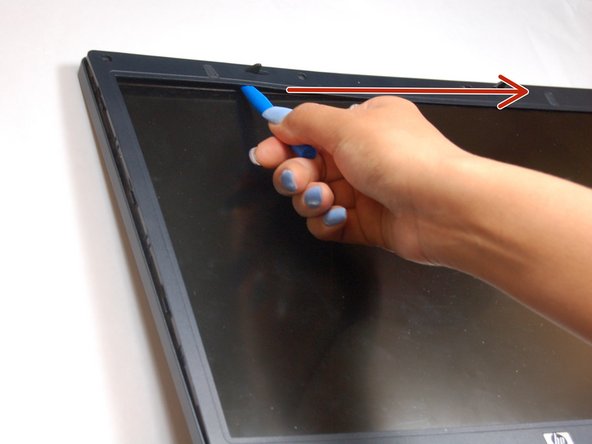
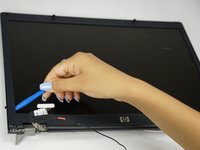
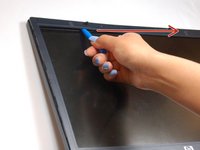
  5. HP Compaq nc8430 LCD Screen Replacement: paso 5, imagen 1 de 2 HP Compaq nc8430 LCD Screen Replacement: paso 5, imagen 2 de 2
    • Pry up the plastic screen cover with the pry tool.

    • Once a corner of the plastic screen cover is lifted, slide the pry tool around the entire screen until the screen is completely lifted from the base.

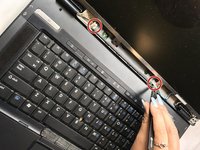
  6. HP Compaq nc8430 LCD Screen Replacement: paso 6, imagen 1 de 1
    • Remove the 1.2 Phillips screws circled.

  7. HP Compaq nc8430 LCD Screen Replacement: paso 7, imagen 1 de 1
    • Remove the four 1.2mm Phillip screws circled.

  8. HP Compaq nc8430 LCD Screen Replacement: paso 8, imagen 1 de 1
    • Gently lift the monitor, from the base of the laptop.

    • The laptop will still be connected to the monitor wires located at the bottom of the screen.

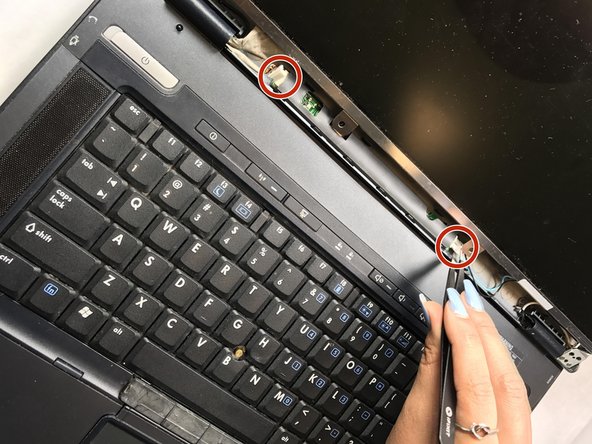
  9. HP Compaq nc8430 LCD Screen Replacement: paso 9, imagen 1 de 2 HP Compaq nc8430 LCD Screen Replacement: paso 9, imagen 2 de 2
    • Locate the video cable wires.

    • Gently remove the video cables from the sensor board with tweezers.

  10. HP Compaq nc8430 LCD Screen Replacement: paso 10, imagen 1 de 1
    • All cables should be disconnected from the sensor board. Remove the eight 2mm Phillip screws attaching the bezel to the side of the monitor.

    • Attach the bezel to the new replacement screen.

Conclusión

To reassemble your device, follow these instructions in reverse order.

Corey Nickerson II

Miembro Desde 03/20/17

111 Reputación

1 Guía escrita

Equipo

0 comentarios

Agregar Comentario

Ver Estadísticas:

Ultimas 24 horas: 0

Ultimos 7 días: 0

Ultimos 30 días: 2

Todo El Tiempo: 781