Saltar al contenido principal

HP Chromebook 14 G5 Wi-Fi Card Replacement

Qué necesitas

  1. HP Chromebook 14 G5 Wi-Fi Card Replacement, Wi-Fi Card: paso 1, imagen 1 de 2 HP Chromebook 14 G5 Wi-Fi Card Replacement, Wi-Fi Card: paso 1, imagen 2 de 2
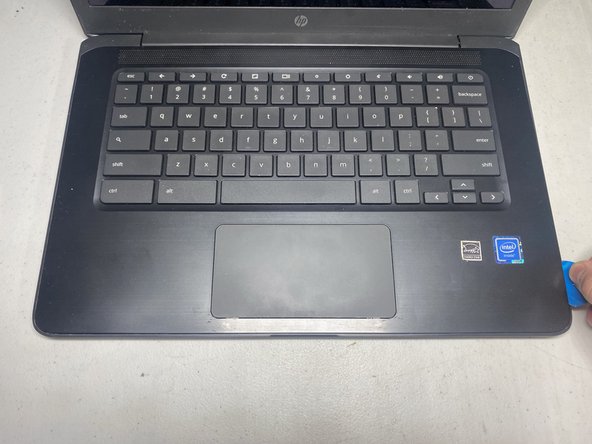
    • Use a spudger to remove four rubber feet from the corners of the laptop.

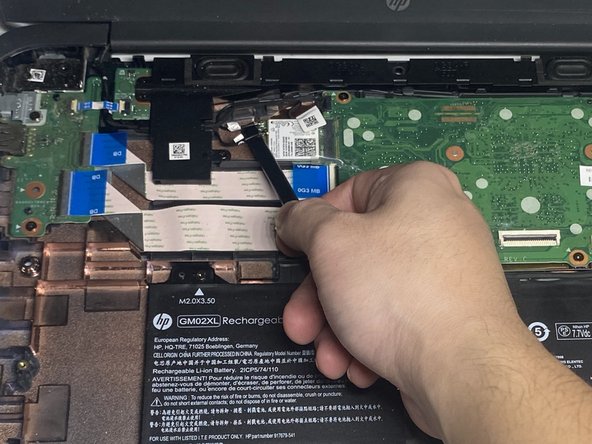
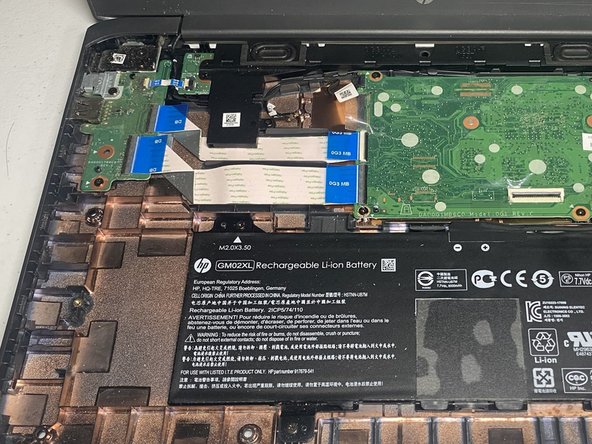
    • Use a spudger to remove seven silicone covers.

  2. HP Chromebook 14 G5 Wi-Fi Card Replacement: paso 2, imagen 1 de 2 HP Chromebook 14 G5 Wi-Fi Card Replacement: paso 2, imagen 2 de 2
    • Remove the 11 screws from the bottom panel using a Phillips #1 screwdriver.

  3. HP Chromebook 14 G5 Wi-Fi Card Replacement: paso 3, imagen 1 de 2 HP Chromebook 14 G5 Wi-Fi Card Replacement: paso 3, imagen 2 de 2
    • Flip the laptop over and open up the display.

    • Using a opening pick, carefully separate the top housing from the bottom housing by working your way around the perimeter of the laptop and prying it open.

  4. HP Chromebook 14 G5 Wi-Fi Card Replacement: paso 4, imagen 1 de 2 HP Chromebook 14 G5 Wi-Fi Card Replacement: paso 4, imagen 2 de 2
    • Peel back the black tape covering the battery connector.

    • Using the spudger, unplug the battery connector from the motherboard.

  5. HP Chromebook 14 G5 Wi-Fi Card Replacement: paso 5, imagen 1 de 2 HP Chromebook 14 G5 Wi-Fi Card Replacement: paso 5, imagen 2 de 2
    • Carefully lift the keyboard ribbon lock with the spudger and disconnect the keyboard ribbon cable from the motherboard.

  6. HP Chromebook 14 G5 Wi-Fi Card Replacement: paso 6, imagen 1 de 2 HP Chromebook 14 G5 Wi-Fi Card Replacement: paso 6, imagen 2 de 2
    • Carefully lift the touch pad ribbon lock with the spudger and disconnect the touch pad ribbon cable from the motherboard.

    • Remove the keyboard assembly from the device housing.

  7. HP Chromebook 14 G5 Wi-Fi Card Replacement: paso 7, imagen 1 de 2 HP Chromebook 14 G5 Wi-Fi Card Replacement: paso 7, imagen 2 de 2
    • Using the spudger, disconnect the two antennas from the Wi-Fi card.

  8. HP Chromebook 14 G5 Wi-Fi Card Replacement: paso 8, imagen 1 de 1
    • Using a Phillips #0 screwdriver, remove the screw securing the Wi-Fi card.

  9. HP Chromebook 14 G5 Wi-Fi Card Replacement: paso 9, imagen 1 de 2 HP Chromebook 14 G5 Wi-Fi Card Replacement: paso 9, imagen 2 de 2
    • Gently remove the Wi-Fi card.

Conclusión

To reassemble your device, follow these instructions in reverse order.

Ethan Tran

Miembro Desde 10/24/23

169 Reputación

1 Guía escrita

Equipo

0 comentarios

Agregar Comentario

Ver Estadísticas:

Ultimas 24 horas: 0

Ultimos 7 días: 9

Ultimos 30 días: 14

Todo El Tiempo: 73