Saltar al contenido principal

HP Chromebook 11-v002dx USB Board Replacement

Qué necesitas

  1. HP Chromebook 11-v002dx USB Board Replacement, Keyboard: paso 1, imagen 1 de 2 HP Chromebook 11-v002dx USB Board Replacement, Keyboard: paso 1, imagen 2 de 2
    • Working with your device plugged in may result in electric shock. Be sure to power off your device and unplug it from any power source before proceeding with step one.

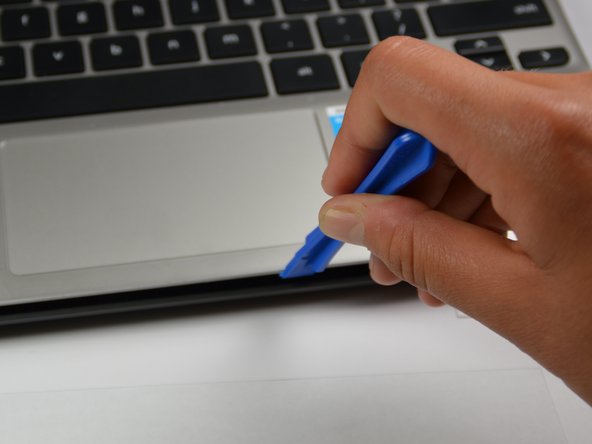
    • Place your laptop bottom up on your work space.

    • Use a Phillips #0 screwdriver to remove the eleven 0.2 mm screws, including the six from underneath the adhesives.

  2. HP Chromebook 11-v002dx USB Board Replacement: paso 2, imagen 1 de 3 HP Chromebook 11-v002dx USB Board Replacement: paso 2, imagen 2 de 3 HP Chromebook 11-v002dx USB Board Replacement: paso 2, imagen 3 de 3
    • Using a sharp tool, remove the six adhesives from the bottom of your laptop to expose the screwheads underneath. Two of the pads are small and four are larger.

  3. HP Chromebook 11-v002dx USB Board Replacement: paso 3, imagen 1 de 2 HP Chromebook 11-v002dx USB Board Replacement: paso 3, imagen 2 de 2
    • Use a plastic opening tool to loosen the keyboard face from the device.

    • Start prying at one end of the laptop and slowly work your way around so as not to break the keyboard.

  4. HP Chromebook 11-v002dx USB Board Replacement: paso 4, imagen 1 de 2 HP Chromebook 11-v002dx USB Board Replacement: paso 4, imagen 2 de 2
    • Lift the keyboard so that the inner workings of the laptop are exposed.

    • Gently pull each of the two ribbons connecting the keyboard to the device so that neither ribbon is still connected to the device, only to the keyboard.

  5. HP Chromebook 11-v002dx USB Board Replacement, USB Board: paso 5, imagen 1 de 3 HP Chromebook 11-v002dx USB Board Replacement, USB Board: paso 5, imagen 2 de 3 HP Chromebook 11-v002dx USB Board Replacement, USB Board: paso 5, imagen 3 de 3
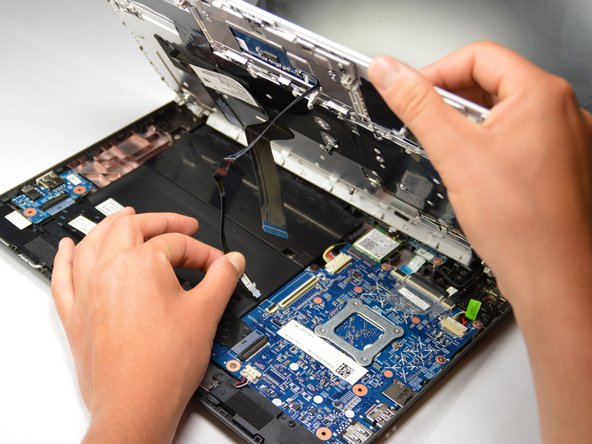
    • Pull out the black belt from across the battery.

    • Use your Phillips #0 screwdriver to unscrew the two .2 mm screws from the USB board.

    • Pull out the USB board from the laptop starting at its top right corner.

Conclusión

To reassemble your device, follow these instructions in reverse order.

Abby Zilvitis

Miembro Desde 04/17/17

448 Reputación

4 Guías creadas

Equipo

Cal Poly, Team S14-G1, Banghart Spring 2017 Miembro de Cal Poly, Team S14-G1, Banghart Spring 2017

CPSU-BANGHART-S17S14G1

4 Miembros

5 Guías creadas

0 comentarios

Agregar Comentario

Ver Estadísticas:

Ultimas 24 horas: 0

Ultimos 7 días: 1

Ultimos 30 días: 1

Todo El Tiempo: 264