Esta guía ha sufrido modificaciones. Revisa la última versión sin revisar.
Introducción
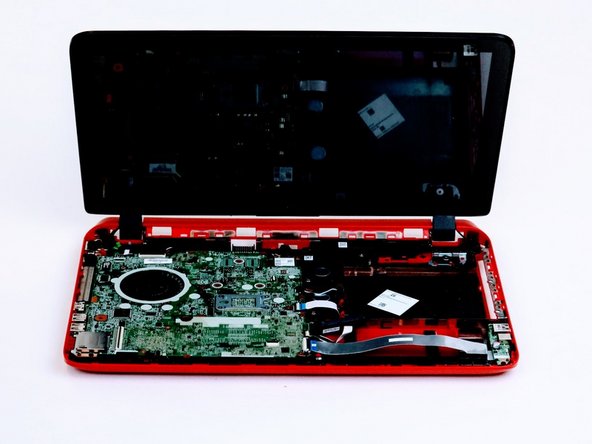
Use this guide to help disassemble the keyboard panel for any parts needing to be replaced located under the keyboard panel.
Qué necesitas
-
-
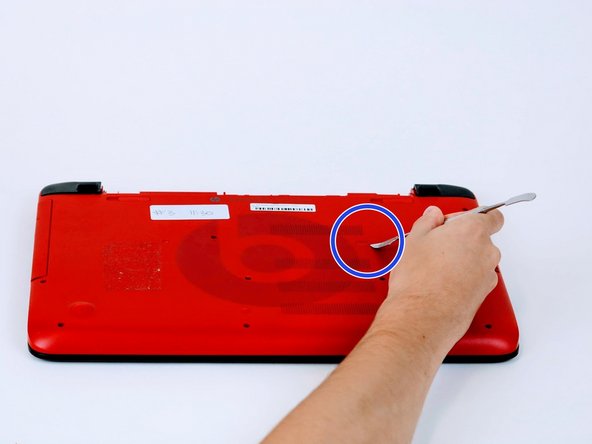
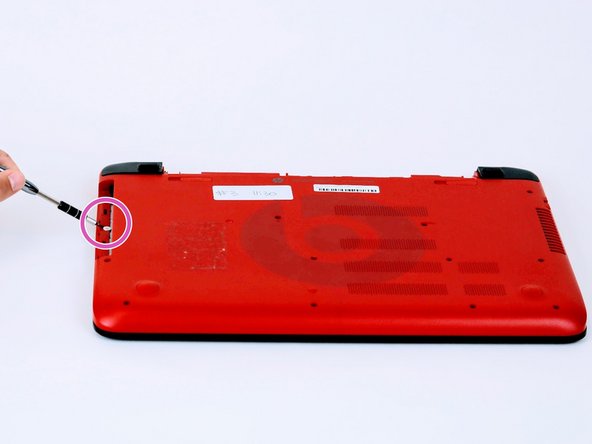
Turn computer over and begin removing noticeable 8mm screws with a Phillips #0 screwdriver.
-
-


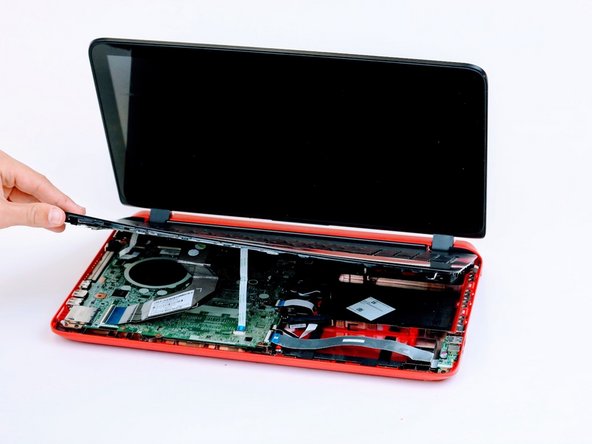

To reassemble your device, follow these instructions in reverse order.
To reassemble your device, follow these instructions in reverse order.
Cancelar: No complete esta guía.
4 personas más completaron esta guía.
Equipo

Linn Benton Community College, Team S1-G3, Karnes Fall 2018 Miembro de Linn Benton Community College, Team S1-G3, Karnes Fall 2018
LBCC-KARNES-F18S1G3
4 Miembros
7 Guías creadas