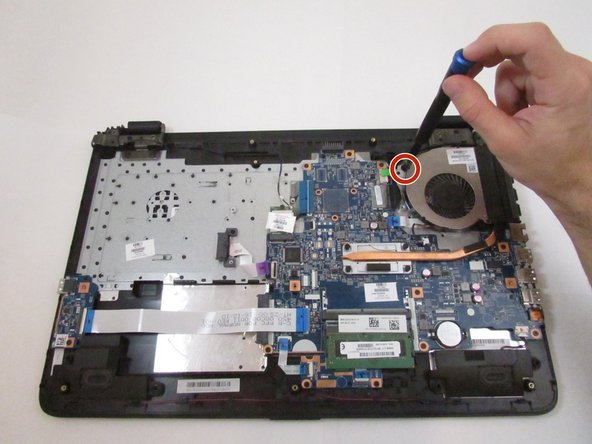
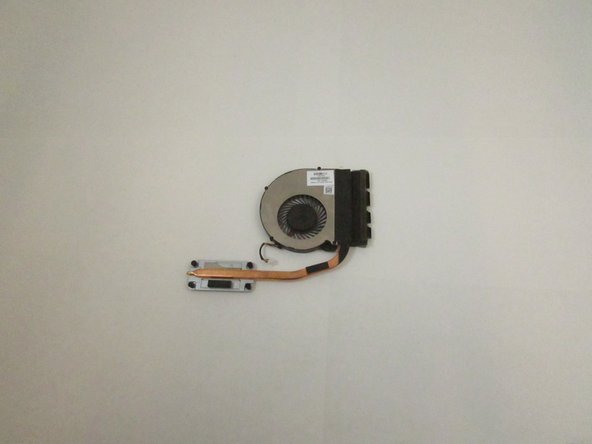
Saltar al contenido principal

HP 17-x173dx CPU Cooling Fan Replacement

Qué necesitas

  1. HP 17-x173dx CPU Cooling Fan Replacement, Battery: paso 1, imagen 1 de 2 HP 17-x173dx CPU Cooling Fan Replacement, Battery: paso 1, imagen 2 de 2
    • Begin by sliding the left tab to the unlock position

  2. HP 17-x173dx CPU Cooling Fan Replacement: paso 2, imagen 1 de 1
    • Push each of the two tabs in the direction specified by the picture.

  3. HP 17-x173dx CPU Cooling Fan Replacement: paso 3, imagen 1 de 3 HP 17-x173dx CPU Cooling Fan Replacement: paso 3, imagen 2 de 3 HP 17-x173dx CPU Cooling Fan Replacement: paso 3, imagen 3 de 3
    • Slide and hold the right tab to the left, while gently pushing out the battery with your thumbs

  4. HP 17-x173dx CPU Cooling Fan Replacement, CPU Cooling Fan: paso 4, imagen 1 de 2 HP 17-x173dx CPU Cooling Fan Replacement, CPU Cooling Fan: paso 4, imagen 2 de 2
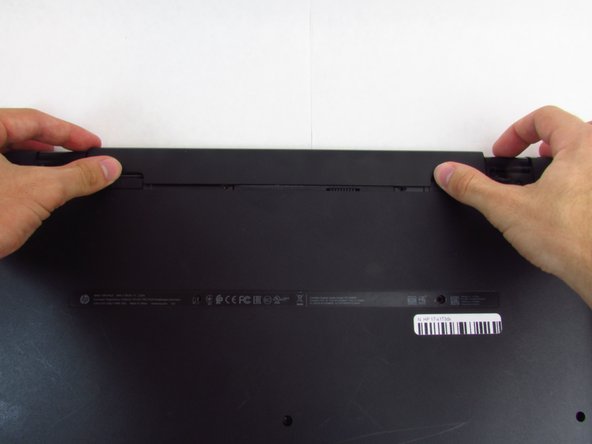
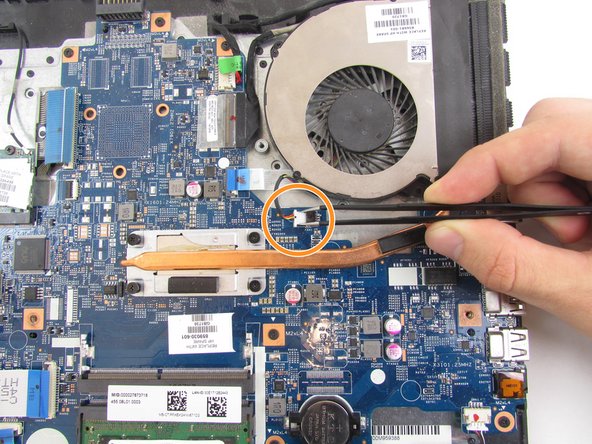
    • Use a spudger or Jimmy to lift the plastic back cover starting from the back right side near the vents.

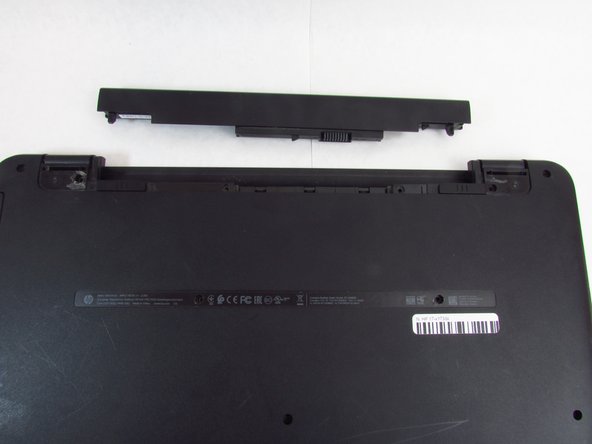
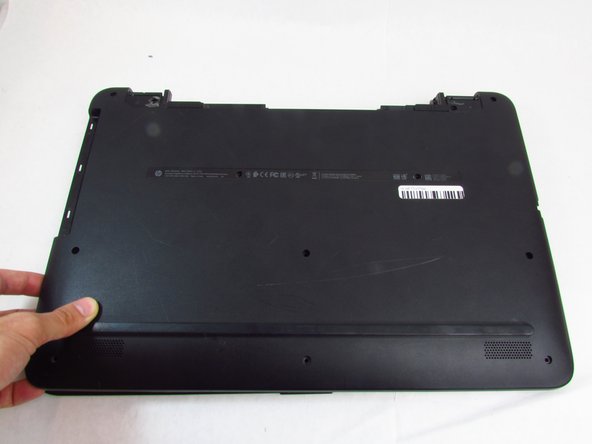
    • Remove the back cover of the device by continuing to lift the plastic around the entire perimeter of the device.

  5. HP 17-x173dx CPU Cooling Fan Replacement: paso 5, imagen 1 de 3 HP 17-x173dx CPU Cooling Fan Replacement: paso 5, imagen 2 de 3 HP 17-x173dx CPU Cooling Fan Replacement: paso 5, imagen 3 de 3
    • Using the Phillips #0 screwdriver, unscrew four heat-sink screws (These will unscrew, but will stay attached to the heat-sink), and one screw towards the top.

    • Disconnect the power cable.

  6. HP 17-x173dx CPU Cooling Fan Replacement: paso 6, imagen 1 de 2 HP 17-x173dx CPU Cooling Fan Replacement: paso 6, imagen 2 de 2
    • Remove the CPU cooling fan.

Conclusión

To reassemble your device, follow these instructions in reverse order.

Una persona más ha completado esta guía.

0 comentarios

Agregar Comentario

Ver Estadísticas:

Ultimas 24 horas: 1

Ultimos 7 días: 3

Ultimos 30 días: 8

Todo El Tiempo: 376