Esta guía ha sufrido modificaciones. Revisa la última versión sin revisar.
Introducción
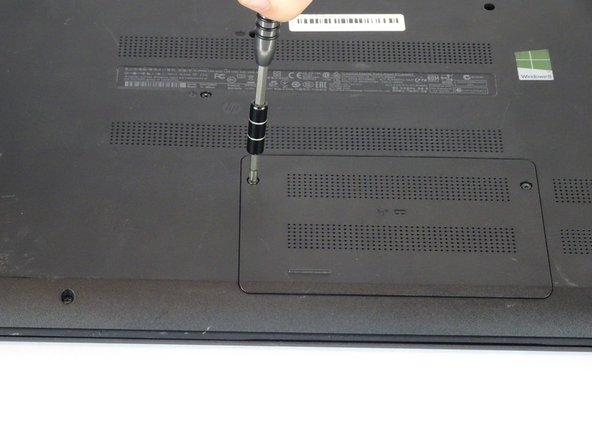
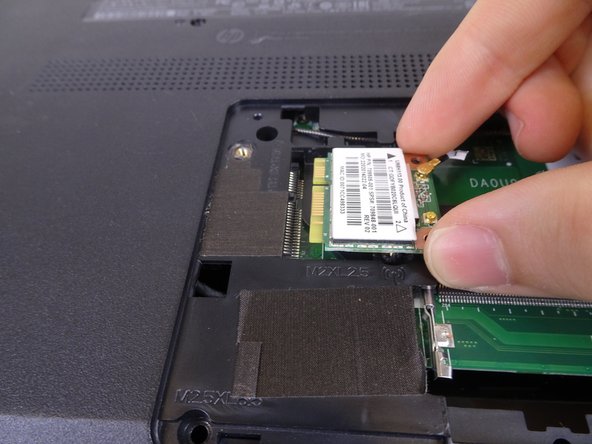
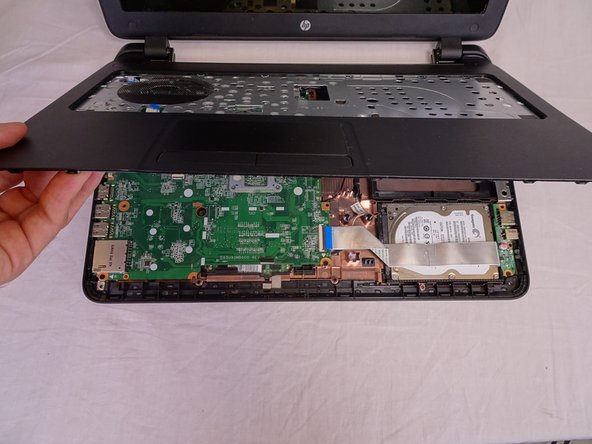
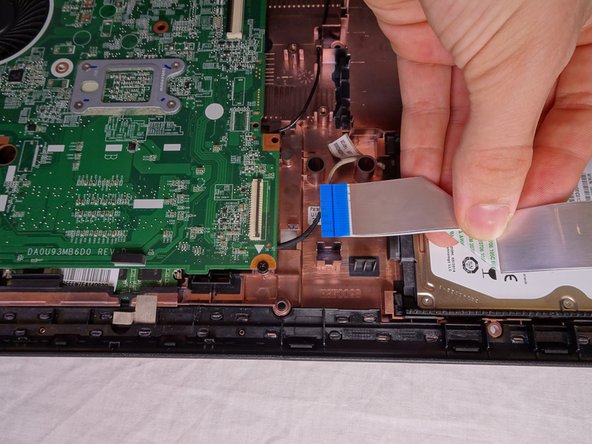
This guide explains how to remove the Hard Drive from the HP 15-f009wm notebook computer. This could be done to either replace a corrupt Hard Drive or to upgrade to a larger Hard Drive.
Qué necesitas


To reassemble your device, follow these instructions in reverse order.
To reassemble your device, follow these instructions in reverse order.
Cancelar: No complete esta guía.
9 personas más completaron esta guía.
Equipo

USF Tampa, Team S2-G2, Nance Spring 2018 Miembro de USF Tampa, Team S2-G2, Nance Spring 2018
USFT-NANCE-S18S2G2
4 Miembros
5 Guías creadas
3 comentarios
This guide helped me so much with my laptop, thanks m8
Hello, i have a question. How much of capacity and technology i could use to upgrade my hard drive?